
Watch as we show you how to breathe new life into a boring living space with a step-by-step guide to creating a gallery wall for your home or office.
A living space is just that – a space you spend a good amount of your life in. So it needs to be invigorating and inspiring, there’s no reason to spend your time in a dull environment.

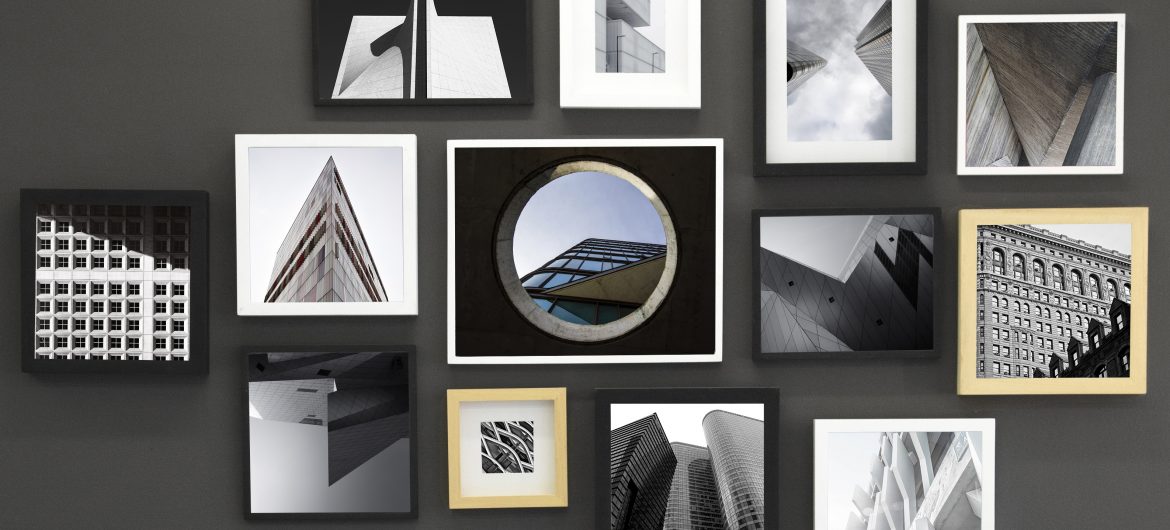
If you’re looking to revamp a living space or bring a new vibe to a particular room, you need not rush off and spend thousands on new decor. All you really need is something fresh to look at. Setting up a gallery wall with Orms Print Room & Framing is the easiest way to bring life to a room at an affordable price. And the best thing about it – you can easily change the artwork inside the frames whenever you need a change in mood. You’ll never be bored of your office or bedroom again!
It may seem like a lot of work but don’t freak out – we’ve got you covered with a step-by-step how-to!
Here’s what you’ll need:
Frames (which you can get from the Orms Printroom and Framing either by selecting from our ready-made range in store or have us custom frame for you)
Artwork (either your own which you can get printed at Orms Print Room & Framing or you can select from our PhotoArt collection)
Brown paper, tape, a hammer and nails.
Step 1:
Get Inspired. One thing about the gallery wall is that once you’ve decided on a layout and hammered nails into the wall, it’s pretty hard to change. So this step is really important – you need to decide what style of gallery wall you want, randomly scattered or grid format. Once that decision has been made you need to actually plan the layout. Lay out the frames on the ground and figure out how you’d like them to fit together. It’s best to start off with a bold centre frame and work your way outwards in all directions so that you have a balanced gallery wall at the end. Snap a picture on your phone and then swop the frames around and take another one. Once you’ve exhausted all the different possible layouts it’s easier to choose from the options on your phone.


Step 2:
Mock it up. To be sure that your layout will work on the wall and that it fits in the space, use your brown paper to mock up where each of the frames will be hung. Trace each frame onto the brown paper, cut it out and tape it to the wall in the desired space. Pay careful attention to how it fills the space, the height of the gallery, the distance between the frames as well as the distance from any nearby furniture or decor. Once you’re happy with this, it’s on to step 3.

Step 3:
Step 2 is optional but we suggest it as it makes this step so much easier. Having the brown paper as a mock frame helps figure out exactly where to hammer the nail, eliminating unwanted mistakes and holes in the wall. When you’re finished hammering, pull off the brown paper and you’re ready for step 4!
Step 4:
Hang up your frames and enjoy your new space!
Before:

After:
Other popular posts you might enjoy:
Printing on Wood with Weylandts
Bernard Gallery’s ‘Alexia Vogel, Along the Way’ Book
Behind the Scenes at the Orms Photo Book Factory
Print Your Own Recipe Book with Orms
Out With The Old, In With The New


