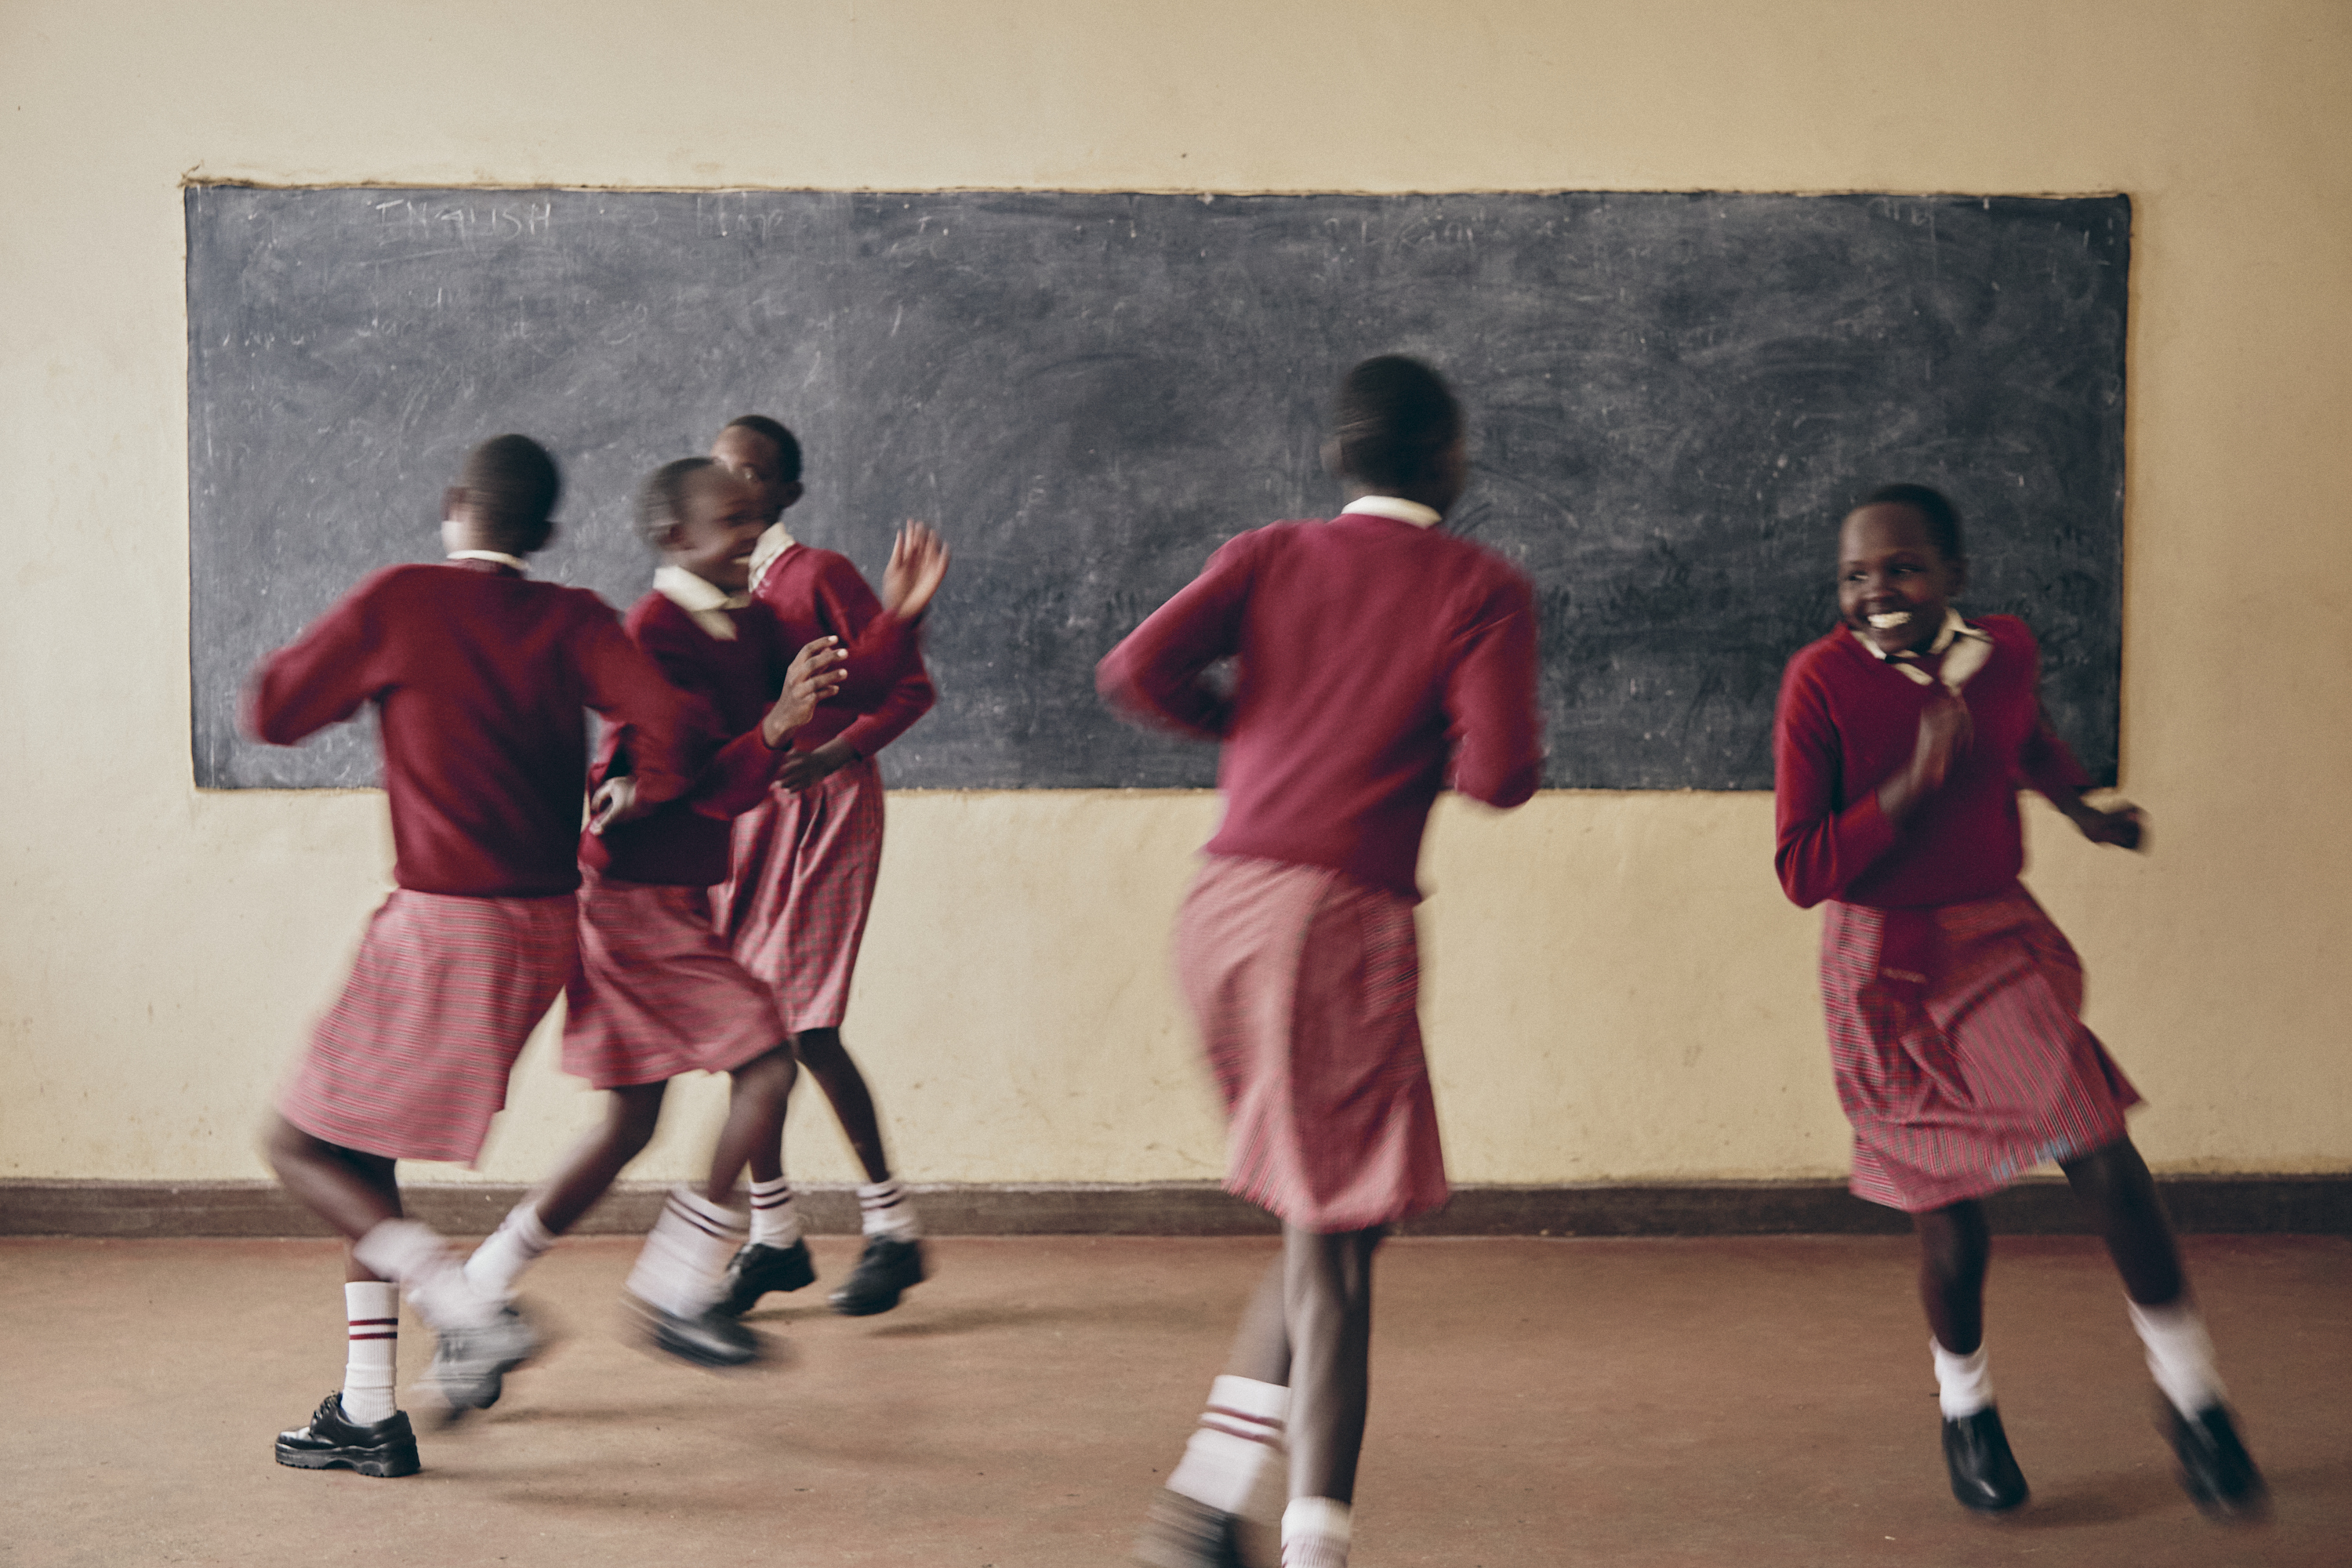
This week, Manni from RetutPro demonstrates how to use a combination of different adjustments to create colour pop in Photoshop.
Article and video tutorial created by Manfred Werner, a Cape Town-based photographer and founder of RetutPro.
This tutorial is all about creating a colour pop in Photoshop. This image has already been retouched. That includes skin retouching, cropping, dodging and burning, etc. We start off by adding more contrast and highlights with a Curves Adjustment Layer. We then tweak the colours with A Hue and Saturation Adjustment Layer in the Master Tones. Next, we’ll flatten our blacks with a Selective Colour Adjustment Layer and only work in the black tones. We’ll then play around with a Levels Adjustment layers to add some contrast and highlights.
We’ll then add another Selective Colour Adjustment Layer and play around in the red, magentas and neutral colour tones. We’ll move around between the different tones. This would involve playing around with the sliders to get the right effect. We’ll also go back in the black colour tones to flatten the blacks a bit.
For our final adjustment, we add another Levels Adjustment Layer to add a bit of contrast and highlights.
If you would like to download this episode for free, you can do so by following this link.
We’re excited to be sharing regular tutorials again from RetutPro, the largest photography and retouching YouTube channel in Africa with over 90,000 subscribers!


