Handy advice for beginners: Get better shots in low light with these grip and stabilising tips from Karl Taylor.
What’s the best way to hold or stabilise your camera when you’re shooting in low light? While most experienced photographers may already know these skills intuitively, British photographer Karl Taylor has put together some advice for those just starting out.
Essentially, Karl’s tips boil down to these basics:
- Steady your lens from the bottom with your left hand, and tuck your elbows in towards your body.
- Place your feet apart for a wider, more stable stance.
- Breath out and relax just before taking your shot – don’t hold your breath.
- If possible, lie down on or sit cross legged and form a support with your elbows.
- If you can, find some support around you – lean into a tree or a wall to add the third leg to your ‘tripod’, or rest your camera on a bench.
When you’re shooting in low light, a good rule of thumb is to keep your shutter speed at 1/(focal length x crop factor)s. For example, if you were using a Canon 700D with a 50mm lens, your minimum hand held shutter speed should be 1/(50 x 1.6)s or 1/80s. With these tips and some practice, you should be able to get sharp photos at even slower shutter speeds, and with optically stabilised lenses, you also gain another 3 or 4 stops of leeway.
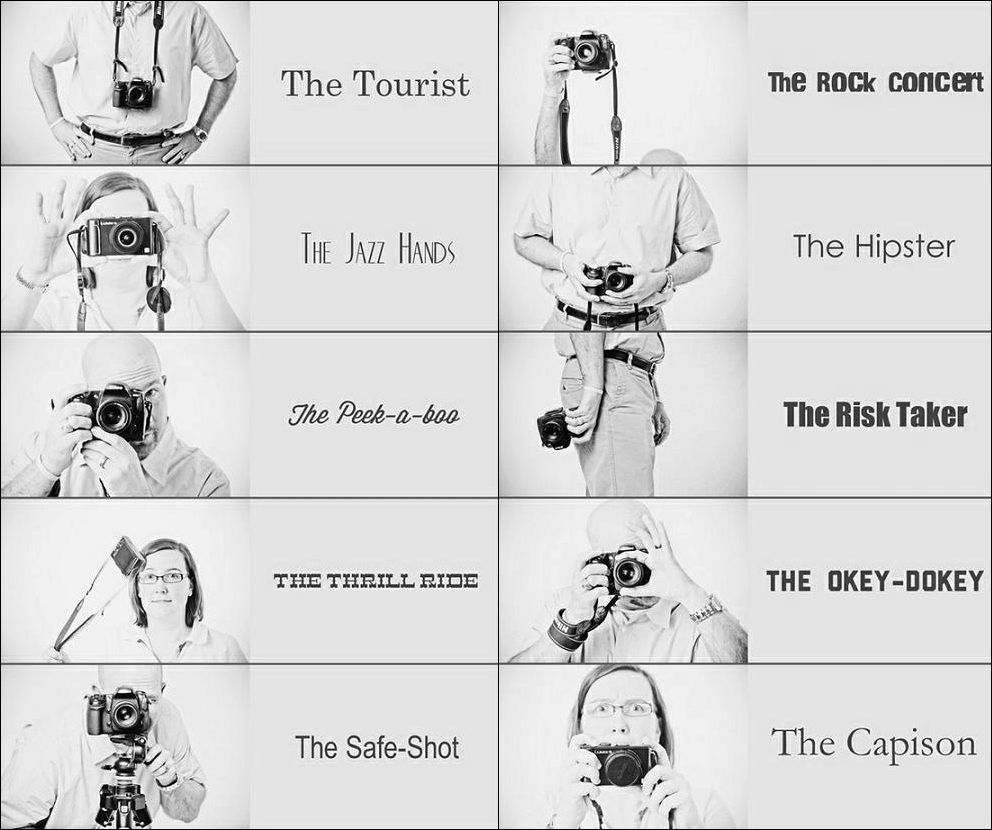
As an aside, Karl’s video reminded us of this graphic that we shared on Facebook a few years ago. Which grip do you prefer? Let us know in the comments!
Graphic shared via Canvas Press