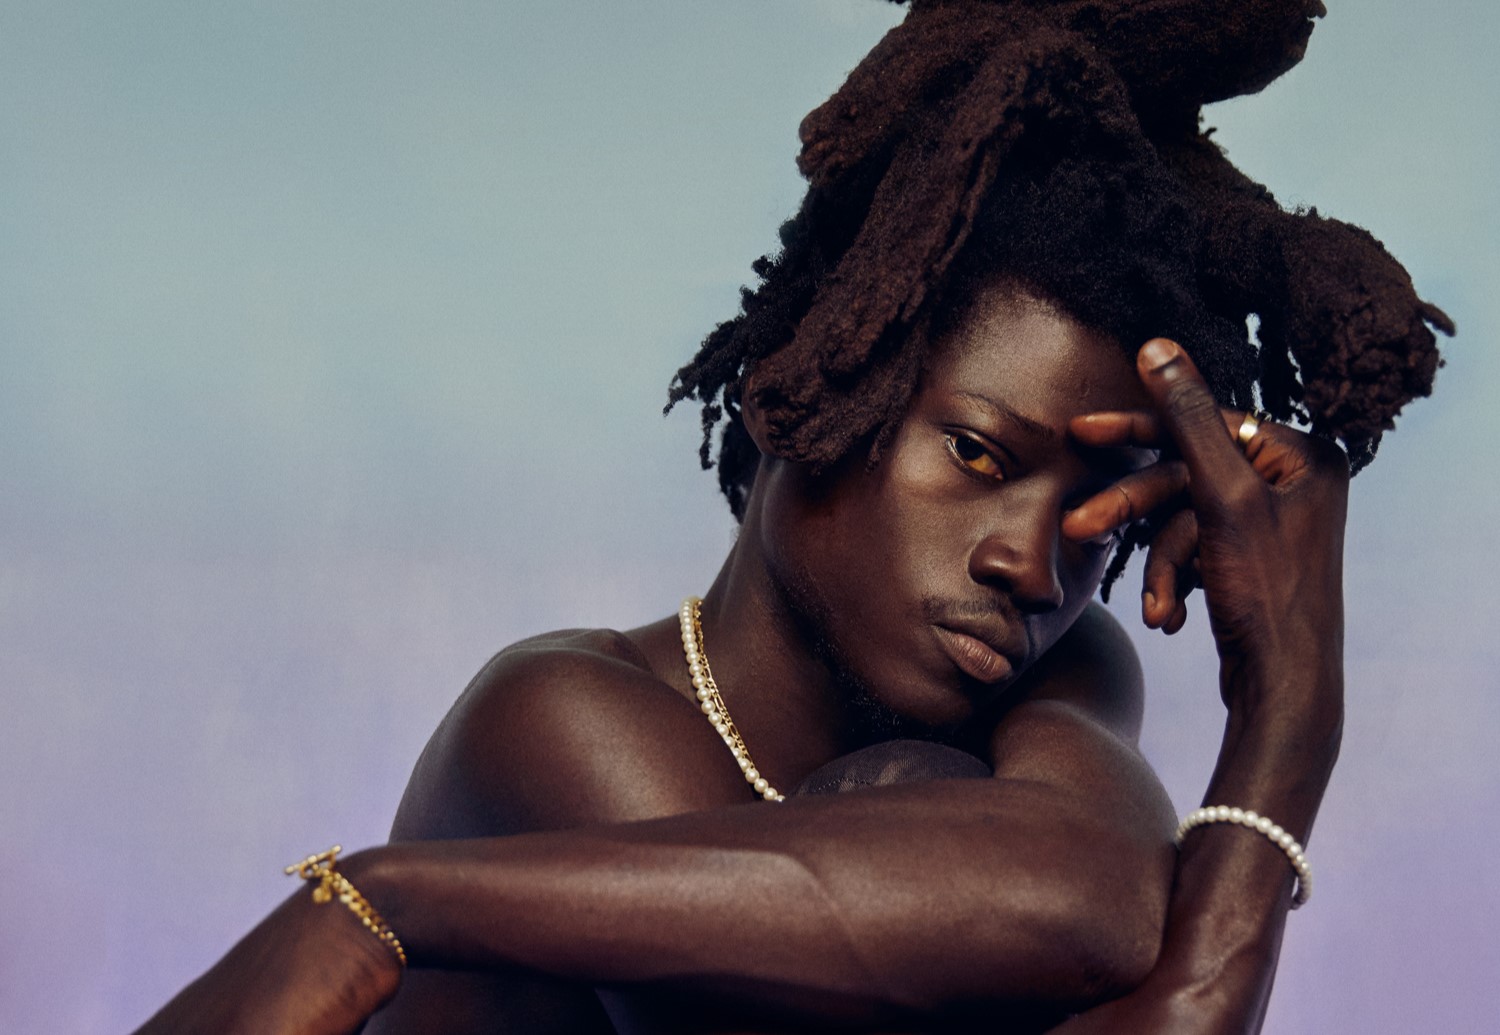
In today’s Photoshop video tutorial, Manfred Werner continues with the third part of advanced hair retouching techniques.
Learn essential retouching and post production skills each Wednesday, right here on Orms Connect. Tutorial Wednesdays are brought to you by Manfred Werner.
Welcome to the new Photoshop video tutorial series presented by Manfred Werner. These new tutorials are aimed at intermediate to advanced Photoshop users, but you can get up to speed by viewing the Basics & Tools series. Hair Retouching Techniques will be a four part series and each video will be between 15 and 20 minutes.
In today’s video tutorial, I will show Part 3 of our mini hair retouching series. We you are going to retouch and clean up the front parts of the pony. Incase you’ve missed out on the basic hair retouching, please fall back to Hair Retouching Techniques Part 1 & Part 2.
In this video post we will be working from the second stage. We will create a new layer via a master shortcut and start healing and cloning again in new areas! Once we are done with that, we will go over to the our brush tool and paint back our missing hair.
When creating new hair, work with very small brushes sizes and full opacities. If you have any questions about this please leave a comment below.


The techniques that have here is totally awesome. I really learn some good tips of doing the hair retouching by doing at my own way. This can simply be the best techniques for me to use for my own hair treatment and makeover.