Part 1 of our long exposure tutorial looks at astrophotography – start trails and star fields, and how to make them!
Long exposure photography is a very creative and fun way of producing great photographs. By slowing your shutter speed down to a few seconds or more, you can capture images that go unseen by the naked eye. A long exposure time can be used for many different types of subject matter, from nighttime landscapes to astrophotography to light painting. For the first part of this tutorial we’ll be looking at astrophotography.
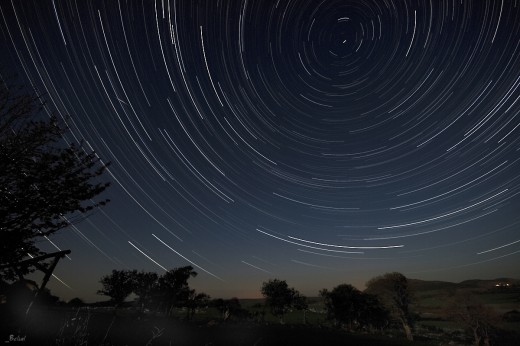
655 seconds at f/4 and ISO 100
What you’ll need
• A camera with manual controls (look for the M on the mode dial) – You’ll typically use an SLR (digital or film) for long exposures, but some bridge-type and high-end point and shoots also have manual settings.
• A tripod – The camera will need to be motionless for the duration of the exposure, so you’ll need a steady mount for it. While a wall or balcony railing could work, it limits your composition options.
• A way to keep the shutter open – If you own a DSLR, you can purchase a remote (aka cable release), otherwise you can make use of the rubber band trick.
• A clear, moonless night.
How to get started
Set your camera to manual mode by twisting the mode dial to “M”. This allows you to set the shutter speed and aperture manually – although the combination of settings used will be different for each scenario. You might also want to set your white balance manually, although this can be changed later if you’re shooting RAW.
Next you’ll need to stabilise the camera. Most tripods will be fine, but if your exposure is going to be a couple of hours (not uncommon in astrophotography), you might want to hang a sandbag or your backpack from the center of the tripod to counter any movement. Be sure to tighten your adjustment screws properly (but not too tight), especially if you’re using a heavy lens.
Most programmable SLRs, digital and film, can do timed exposures of up to 30 seconds. For star fields (no visible star movement), 30 seconds will be fine. For star trails, you’ll need to make use of the bulb function – which means the shutter opens when you push the button, and closes when you release the button. This allows you to open the shutter for hours if you need to. Of course, you don’t want to be standing next to your camera holding down the button for that long, so you’ll need a way to lock the shutter open. If you are planning to get into long exposure or time-lapse photography, a remote is a good way to go. It offers a reliable way of locking down the shutter release. In a pinch, however, you can make use of the rubber band trick. You’ll need an elastic band and a small piece of pencil eraser – place the eraser on the shutter release and wrap the rubber band around the grip of the camera. Neat trick. (In my experience, the rubber band has a tendency to slip off at times, so make sure it’s fairly stable before you start shooting. I ended up buying Canon remotes for both my film and digital EOS SLRs.)
Astrophotography
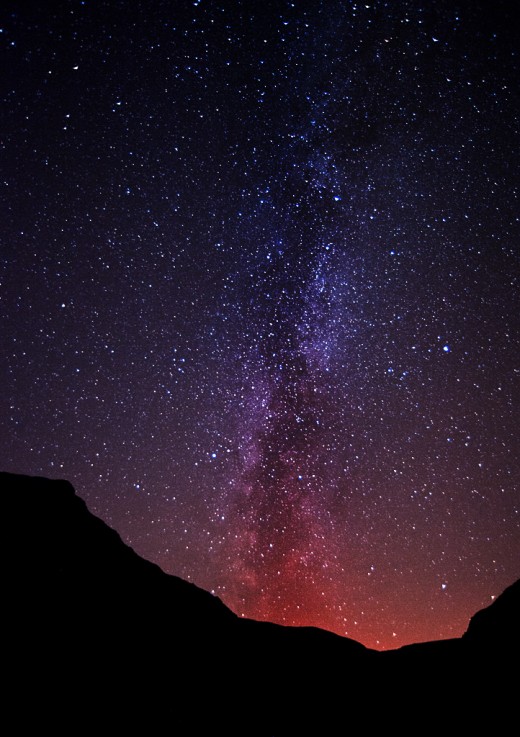
Shooting star trails or star fields is very easy and creates “wow” photographs.
Location & Timing: Urban areas aren’t great for capturing star trails. It can be done, but the light pollution from the city or town often wash out the stars. However, experimentation is key – YMMV. Assuming you have a nice location to shoot from, the next step is composition – try to include something in the foreground, if possible. A tree or mountain peak will give some form of context to your image. For circular star trails, shoot towards the South or the North. Also, keep an eye on the weather reports as well as the moon cycle – shoot on a cloudless night, and avoid the full moon. The best times for incredible star trails range from a few hours after sunset to a few hours before sunrise on a moonless night.
Exposure: Stick to a rather wide aperture, f/4 should be fine. Remember to disable autofocus – manually turn the zoom ring to infinity. Stars “move” pretty quickly, and will start to form trails after about 30 seconds exposure with a wide lens – less time for a long lens. For star fields, limit your exposure to 20 seconds or so, open up your aperture, and push your ISO up a few stops. For star trails, you can use ISO 100 (or native ISO) and leave the shutter open for as long as you’d like – the longer you expose, the longer the star trails will become. Unless there is light pollution, faint clouds, or a lit object in the foreground, you can’t overexpose the photograph, as the stars are constantly “moving” across the sensor!
Post-Processing: Use your editing software to correct any exposure and colour issues, and to darken the background if the stars are being washed out – but don’t overdo it!
The most important thing about long exposure is experimentation – to see what works and what doesn’t. If you manage to get some nice photos, send them through to us! Give us a shout in the comments if you have any questions. Next time we’ll look at light painting.
Photographs courtesy of Flickr users under the Creative Commons license.
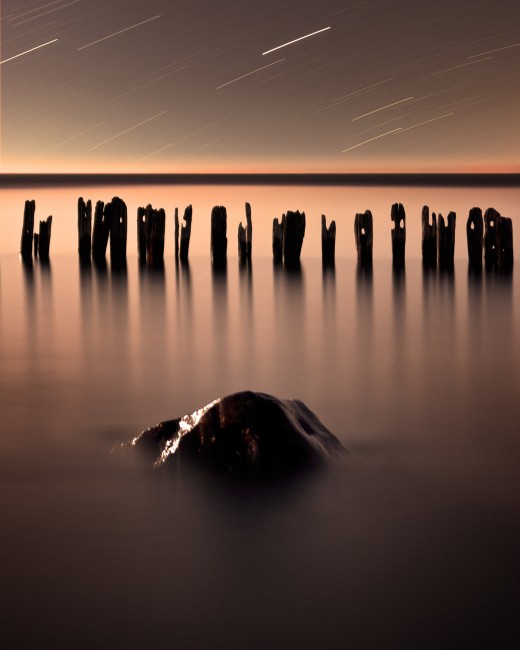 Photo above: 128 seconds at f/2.8 and ISO 100 (Although I suspect the EXIF is for the foreground – background might be 20 minutes or so)
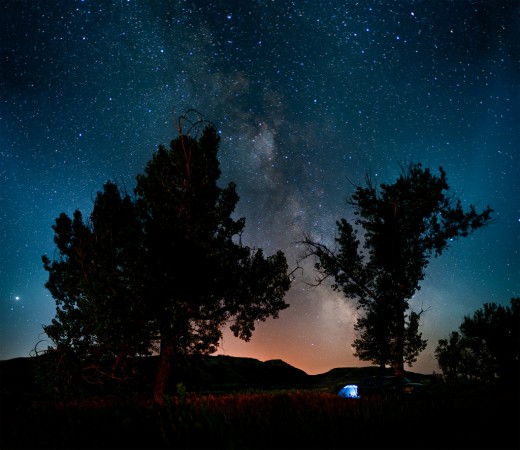 Photo above: 30 seconds at f/1.8 and ISO 100
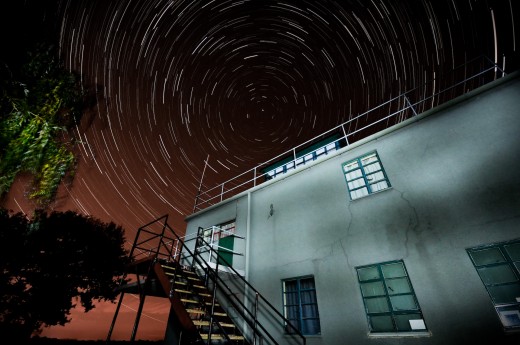 Photo above: Blended 30 second exposures at f/4 and ISO 800
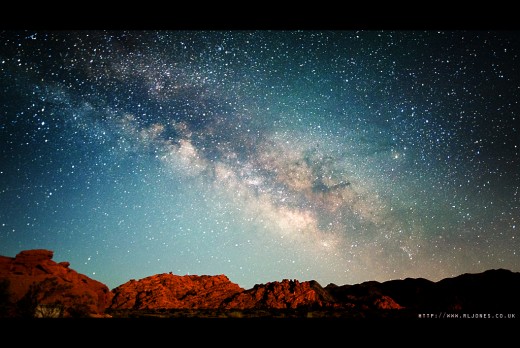 Photo above: 30 seconds at f/2.8 and ISO 3200
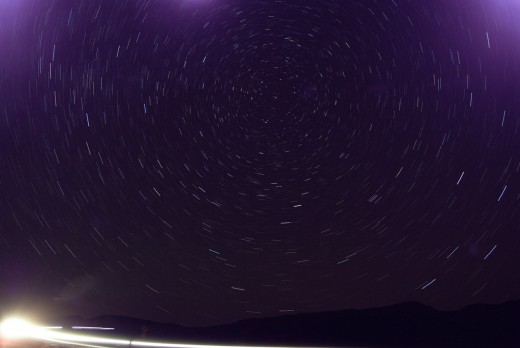 Photo above: Unknown exposure – probably 15 minutes
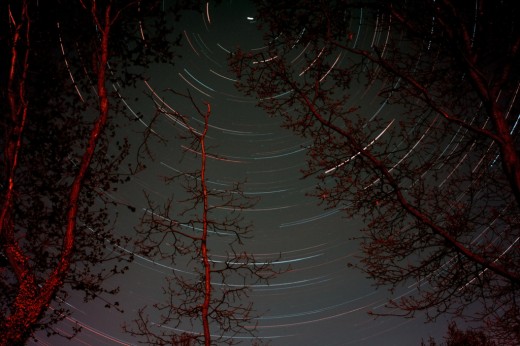 Photo above: 104 minutes at unknown settings
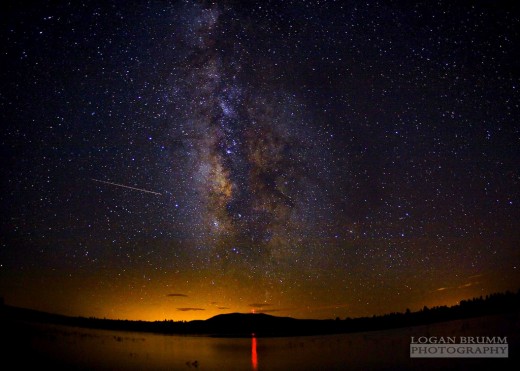 Photo above: 27 seconds at f/2.8 and ISO 1600





Great tutorial. Awesome shots! Heartfelt inspiration! 🙂