Tutorial: Ett Venter is back with Part 2 of the CamRanger tutorial. See just how powerful this handy device can be!
Tutorial and photos by Ett Venter, a Pretoria-based photographer.
CamRanger Tutorial: Part 2
Missed the first part of the tutorial? View Part 1 here.
Aaaaand we’re back with some more CamRanger love. The more I use this thing, the more I see the power it has.
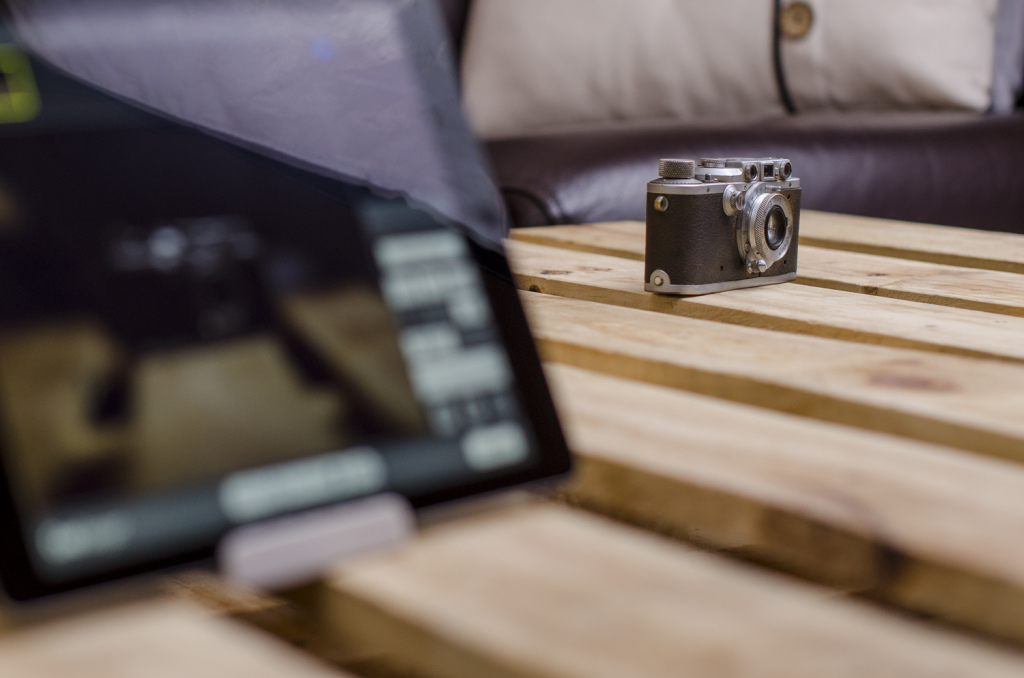
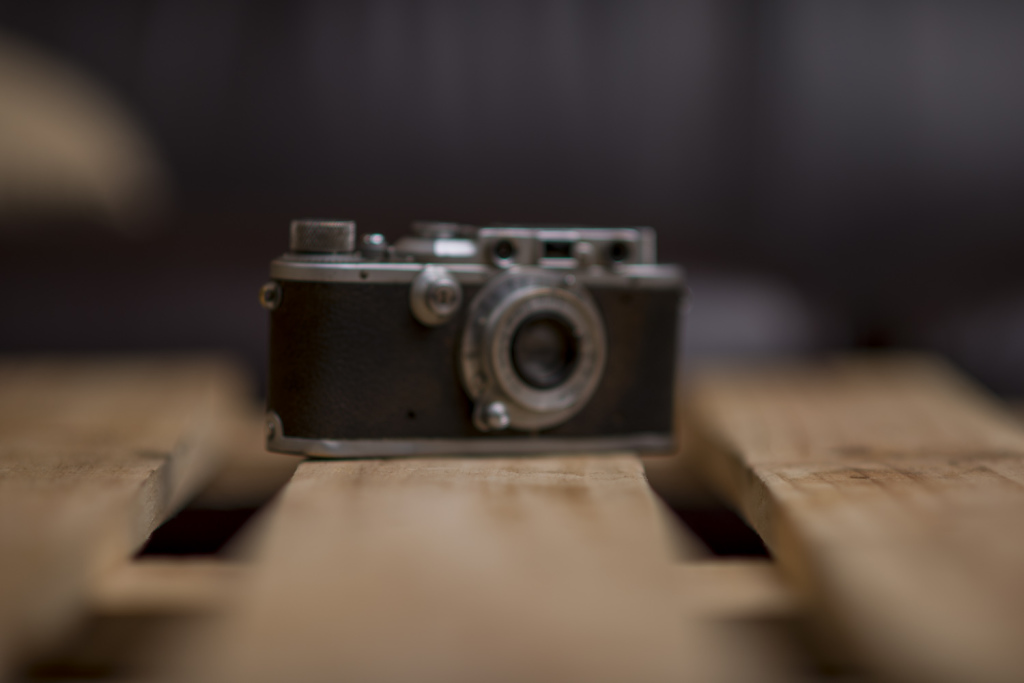
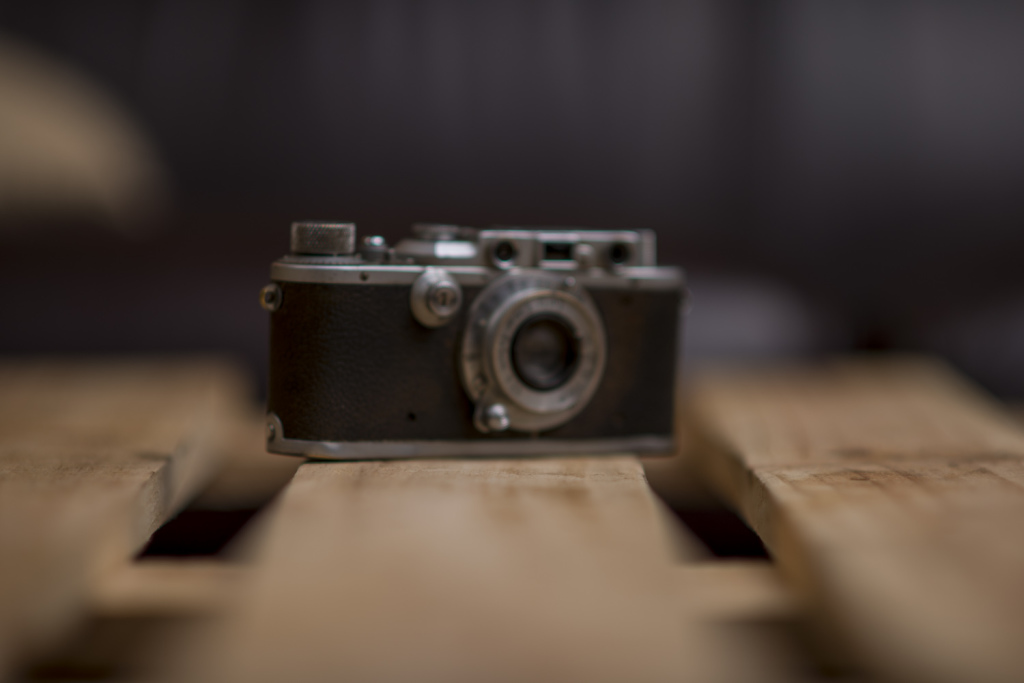
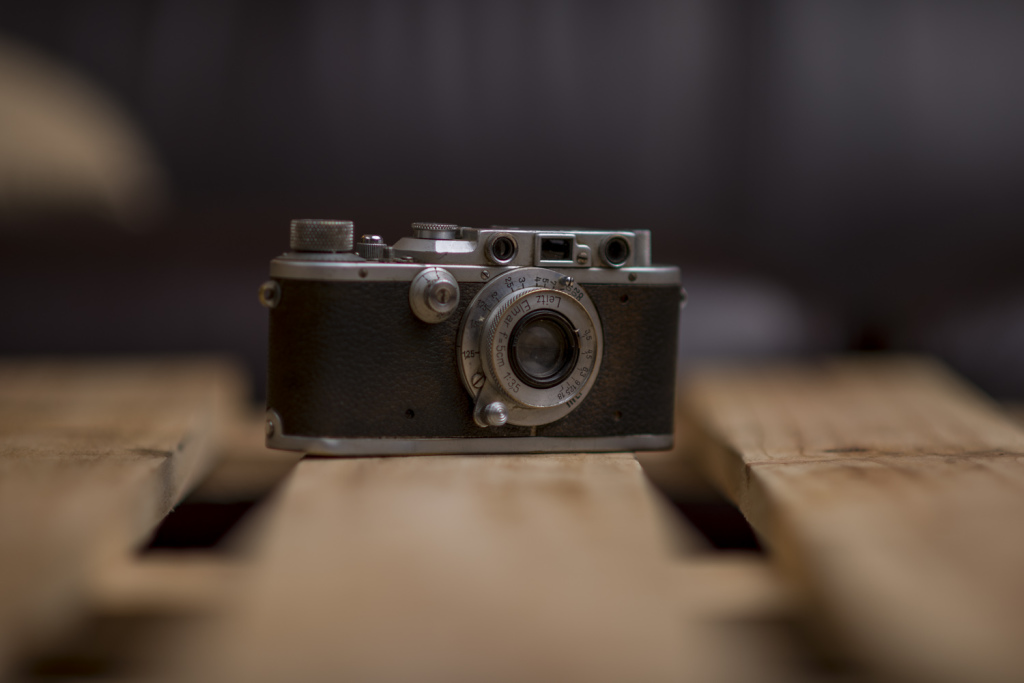
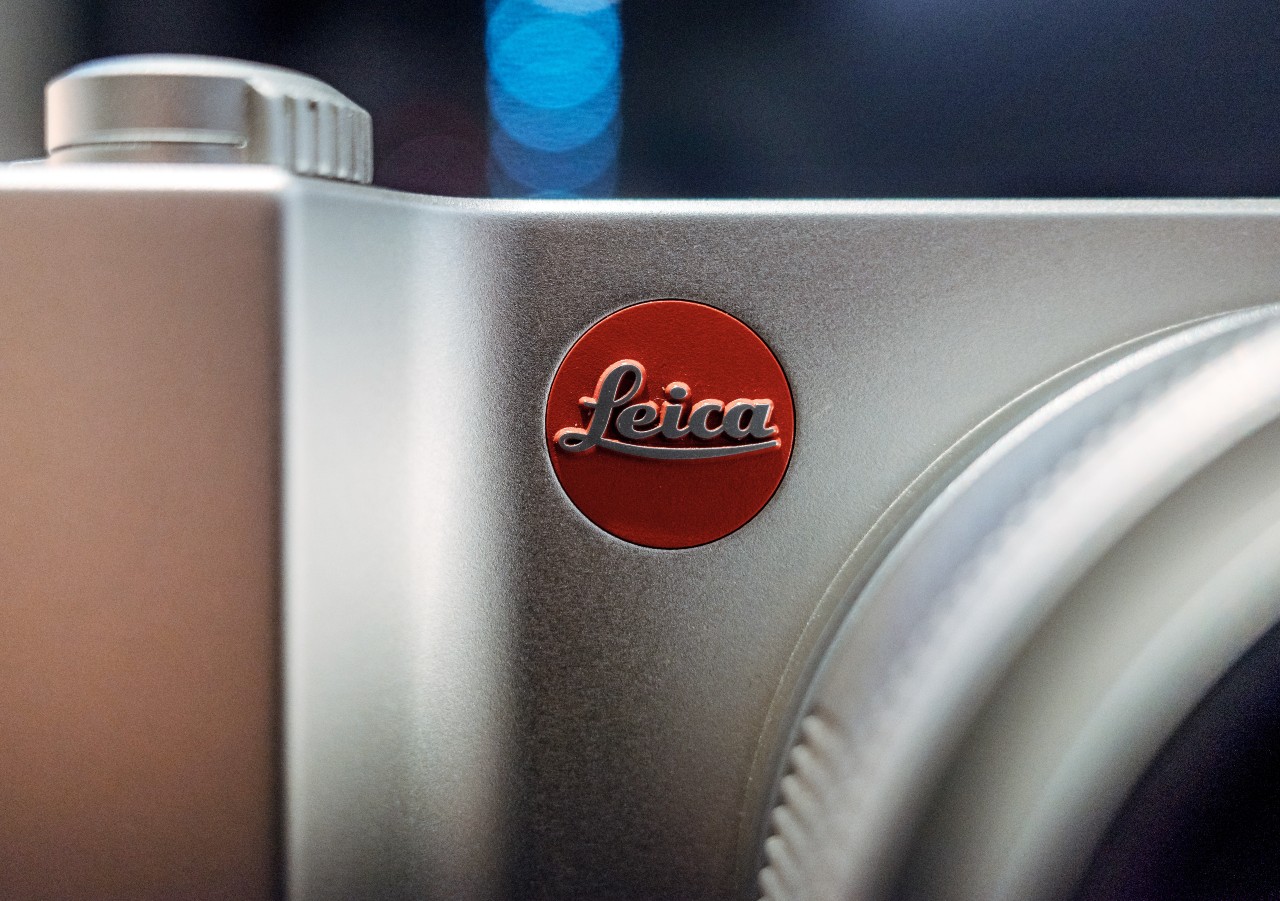
Today, I’m going into a little more detail on some of the other features the device has – specifically timelapse, focus adjustments, and HDR. Our subject today is this little Leica IIIa:
Focus Controls
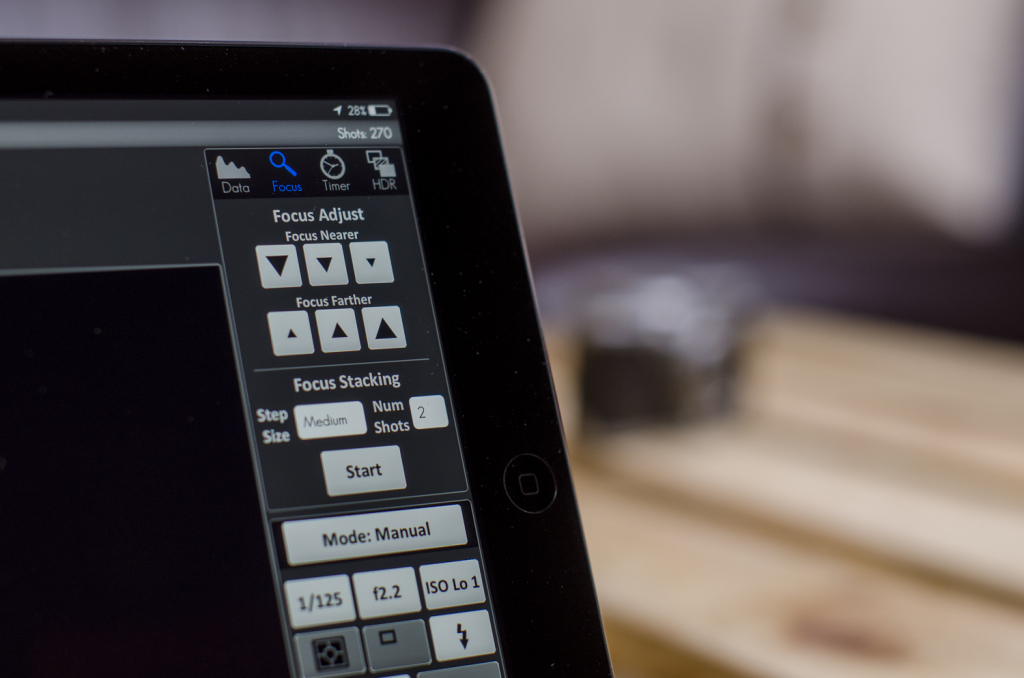
Let’s get started with the focus adjustments. The finer focus adjustments are probably my favourite feature of the CamRanger. Once you’ve got your shot set up, and you’re focused on your subject (by simply tapping anywhere on your iPhone/iPad screen), you can then further adjust that focus with these controls:
As you can see below, I did fine adjustments on the AF to shift the DoF around:
So this gives you super precise control over your focus, which can be very helpful when doing product work with a very shallow depth of field. I shot these on a 135mm F2 lens, so you can see that my DoF was absurdly shallow.
Focus Stacking
Something else that I can cover, with regards to focus, is the focus stacking.
Focus stacking is a technique used primarily in Macro photography. When shooting macro images, it’s incredibly difficult to have a large depth of field, even when shooting with a very small aperture. This is due to the focal length of the lens (usually around 105mm), as well as the close proximity to the subject.
The issue here is that you might want more in focus, but not have the ability to do so. This is where focus stacking comes in. Essentially, what focus stacking does is allow you to take the same image multiple times, but with a shift in your focus on every shot. This changes the position of the Depth of Field for every image, leaving you with a set of images that all have different areas in focus. Then you’ll bring the photos into photoshop (for example) and use all of those small areas in focus to create one image with a larger Depth of Field than what’s actually possible.
The old-school way of doing this would be to use a Macro Rail, which moves the camera for every image. This way is not ideal on any level, as you’re essentially changing your composition and perspective with every shot.
The Camranger allows you to rack focus, and makes it really easy by automating the entire process for you. You can set it to adjust the focus in small, medium, and large steps. It can do 50 shots in a set, and if that’s still not enough for you, you can reinitiate the process and do another 50.
So, macro shooters – this is pretty much a must-have device for you.
Time-Lapse Photography
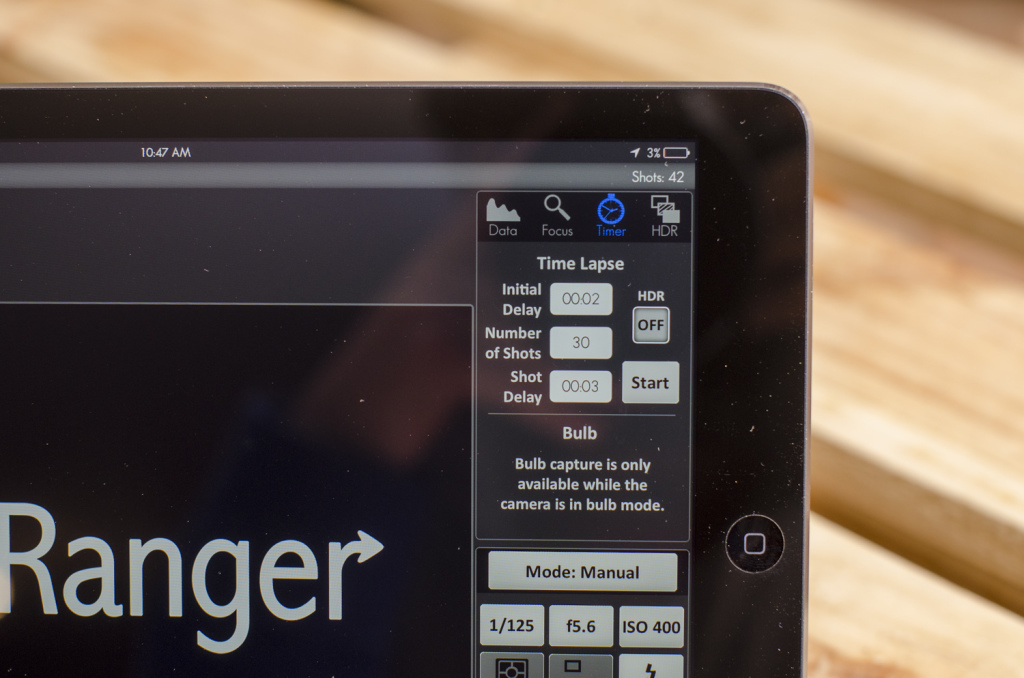
The next thing I want to cover is time-lapse. The CamRanger does a great job with timelapses, and it’s an absolute breeze to set up. The controls are easy to understand, and it’s just a matter of figuring out how you want your particular timelapse to look. Here are the possible configurations:
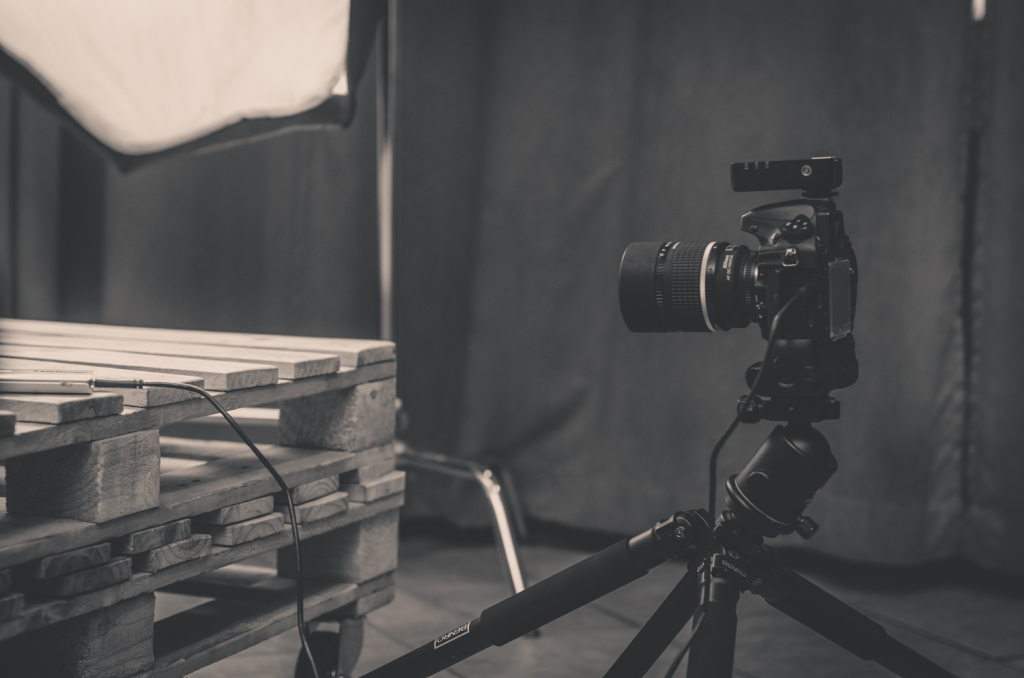
As a portrait photographer, I don’t do much time-lapse work, but I did do a time-lapse of myself setting up for the photos above:
High Dynamic Range (HDR) Photography
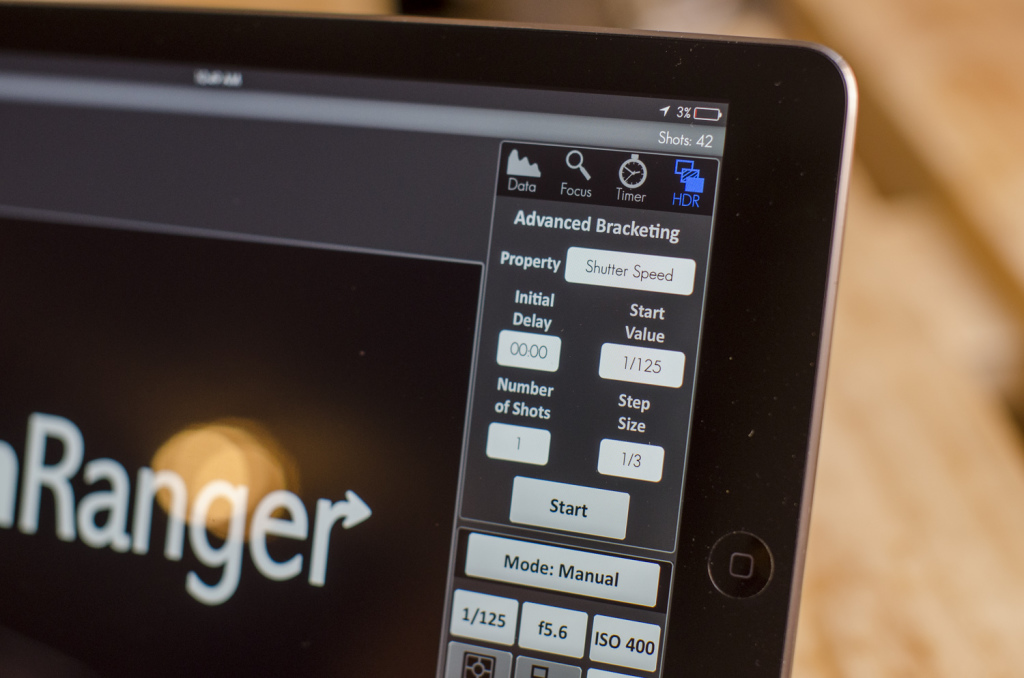
The next thing I want to cover is HDR. The HDR capability of the CamRanger is fantastic.
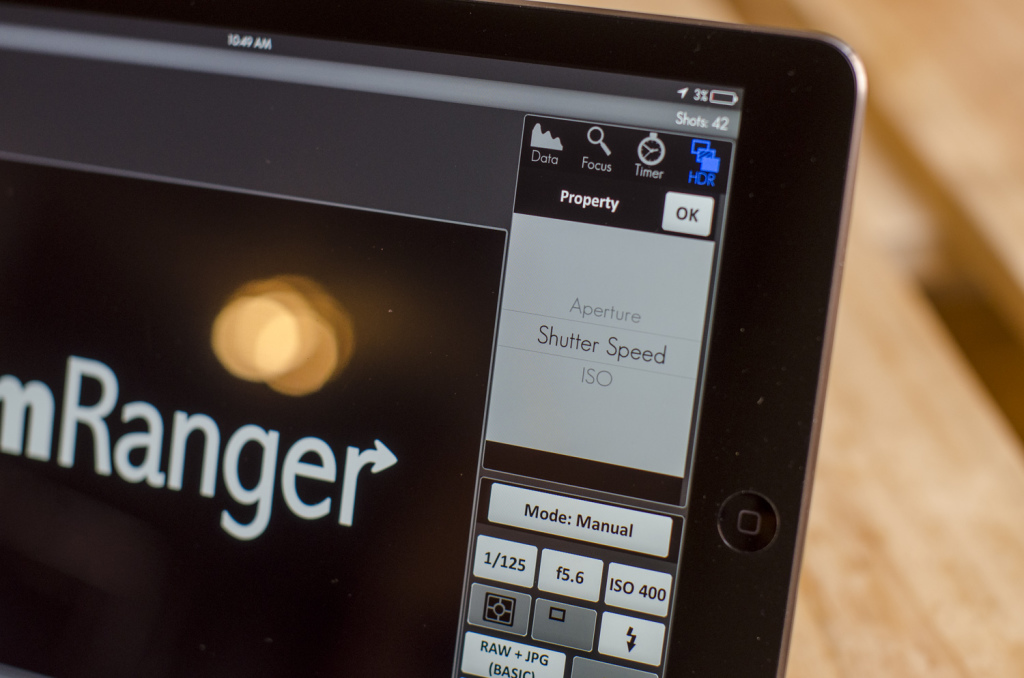
Not only does it allow you to define the exact details of the bracketing it does, but you can also choose which settings are adjusted for the different exposures. You’re not stuck to shutter speed as you are on many DSLRs – you can bracket using your shutter speed, aperture, or ISO.
This will be especially handy if you’re in a very low light environment, where bracketing shutter speed might not be ideal, but where you have a lot of headroom with your ISO. Bracketing with your aperture probably isn’t a great idea, as that’ll affect your focus as well, but perhaps you could use it on a massive landscape shot around f/22, if you really need to.
Something else I’d like to mention is that in aperture mode, you can adjust the increments in exposure by 1/3, 2/3, and 1/1 stop increments. This allows for some pretty ridiculous bracketing. I measure that on a lens that’s got an aperture range of 2.8 – 22, you can get 19 different images. 19 images on a single HDR?! What is that… 18 million stops of dynamic range? That’s like trying to get detail on the sun and detail in the pitch blackness of space in a single image.
Obviously, The CamRanger is only shooting these files for you. It’s up to you to put them together in post. You can do this in Photoshop.
That’s it for this tutorial! Visit Ett Venter’s website, Facebook page and Instagram to view his work. The CamRanger is available online on Orms Direct: CamRanger Wireless Transmitter for Select Canon and Nikon DSLR Cameras.


