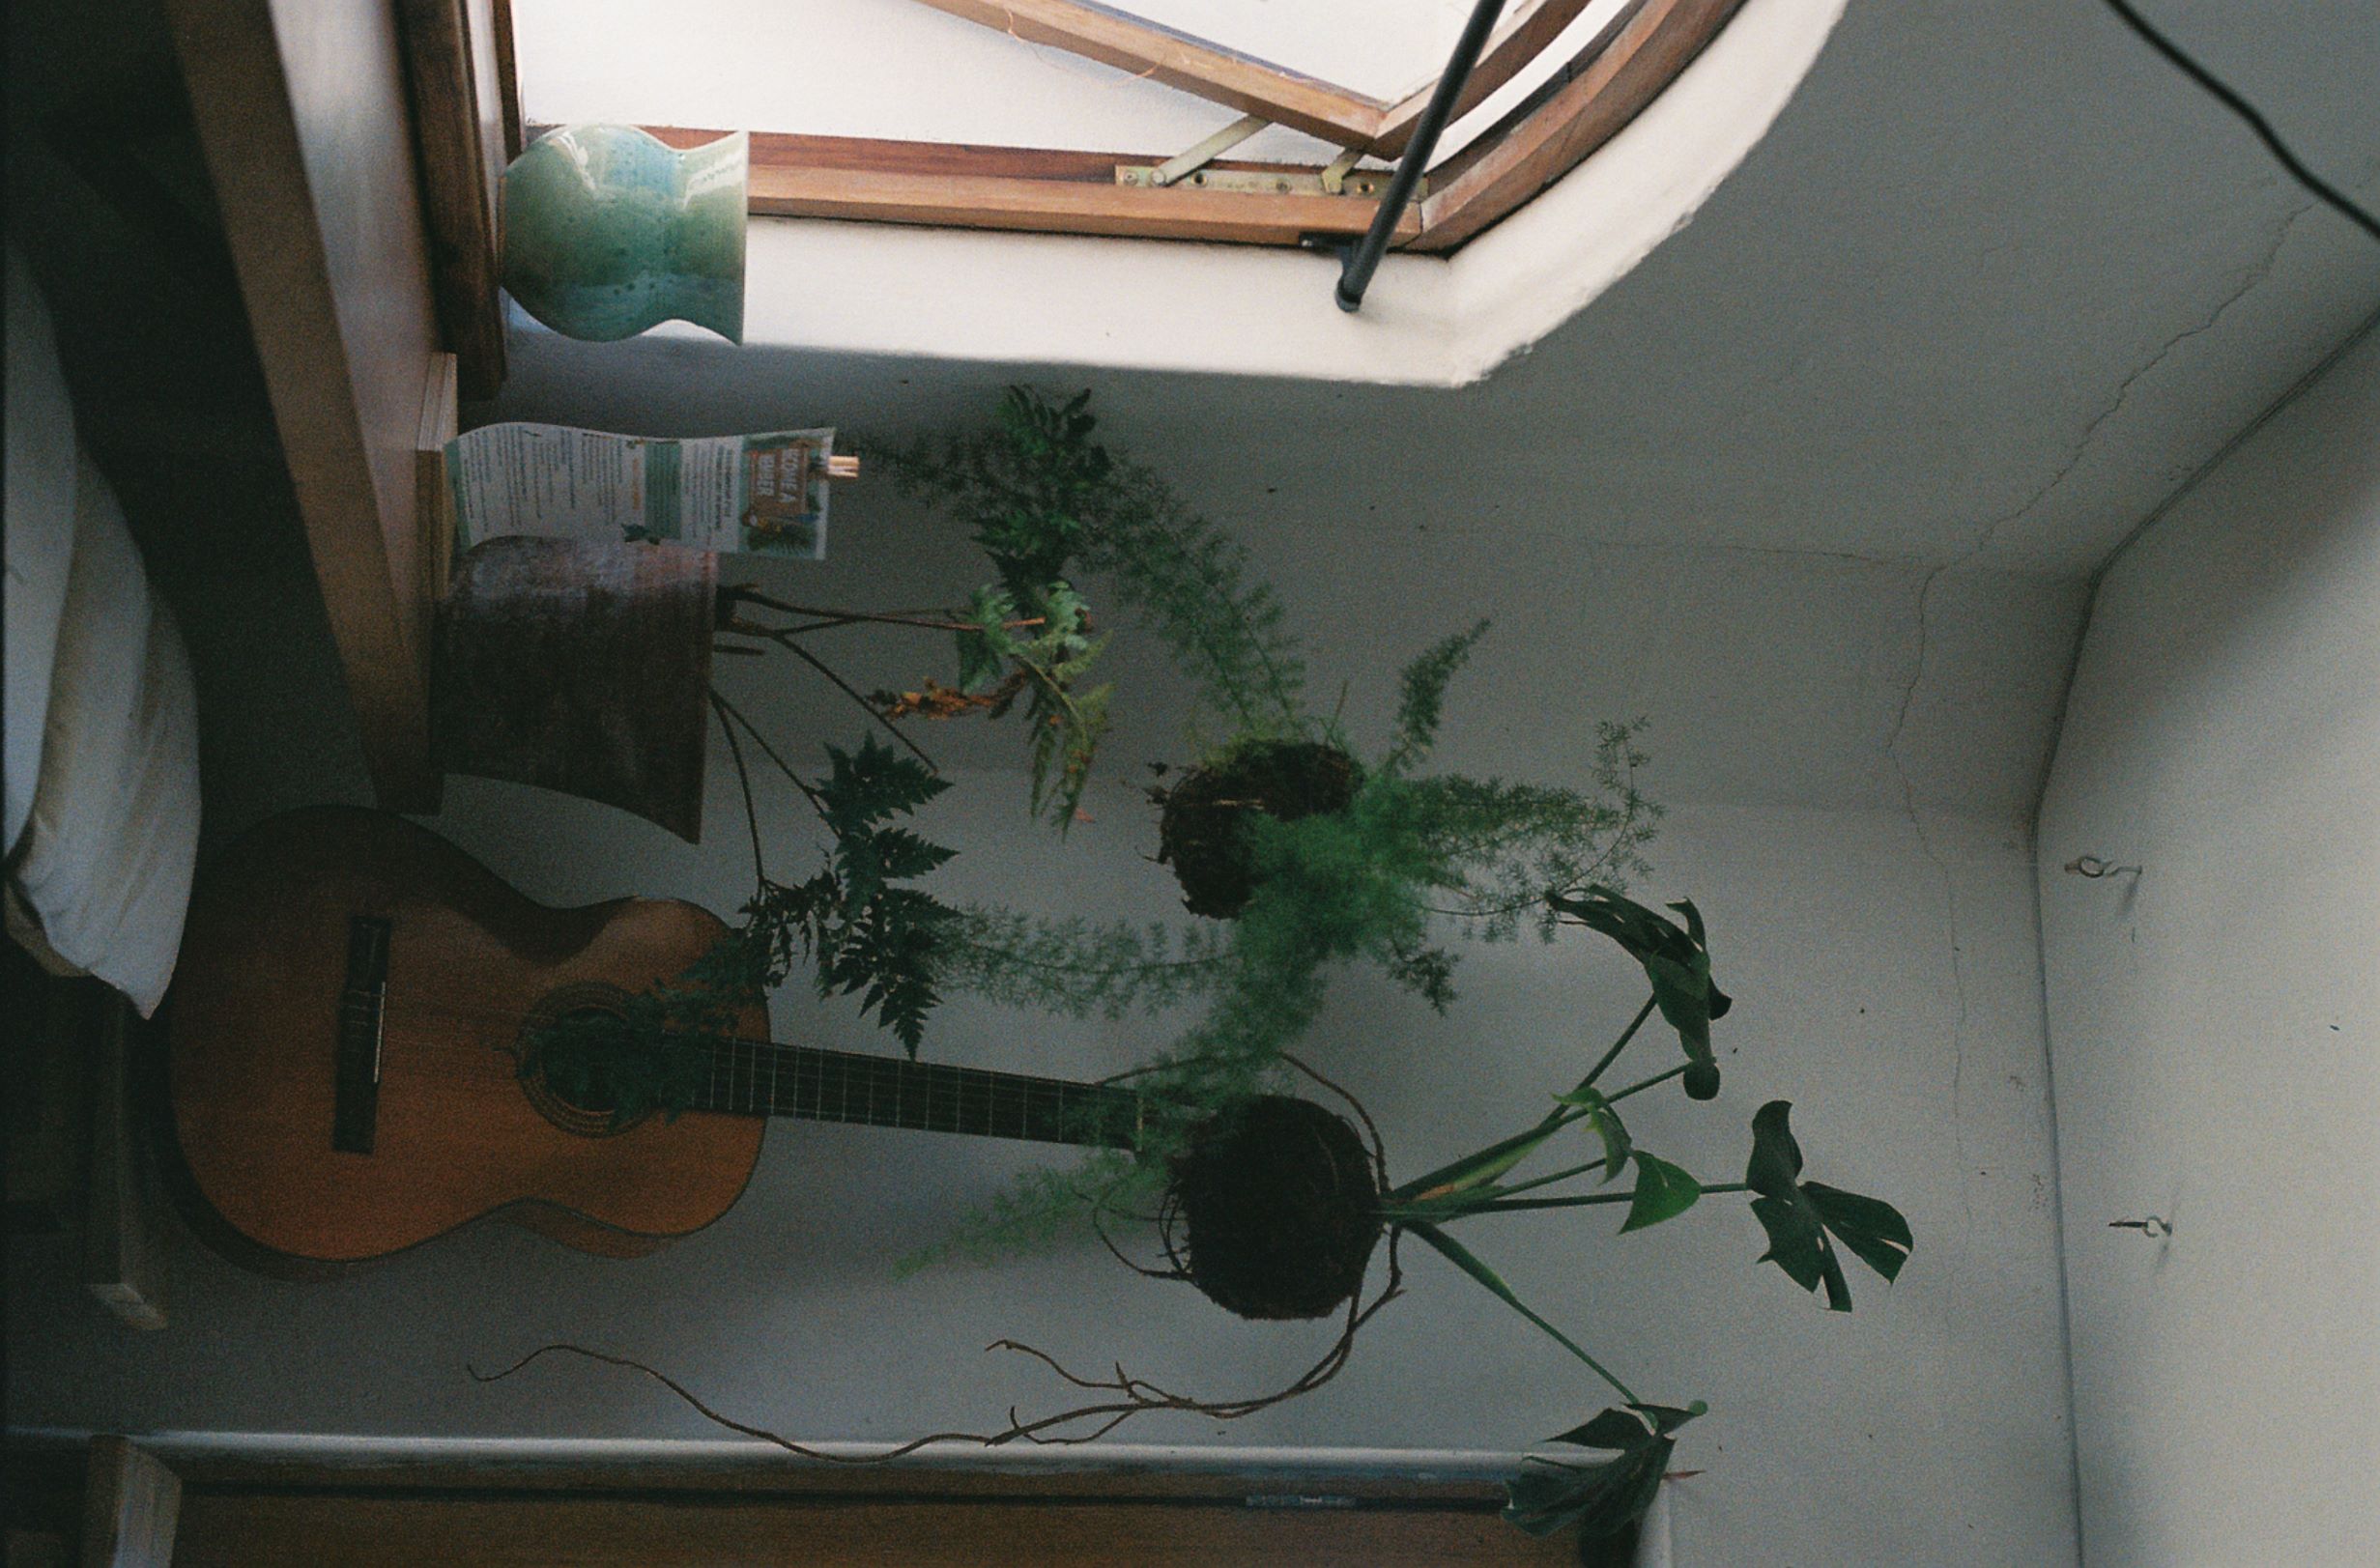
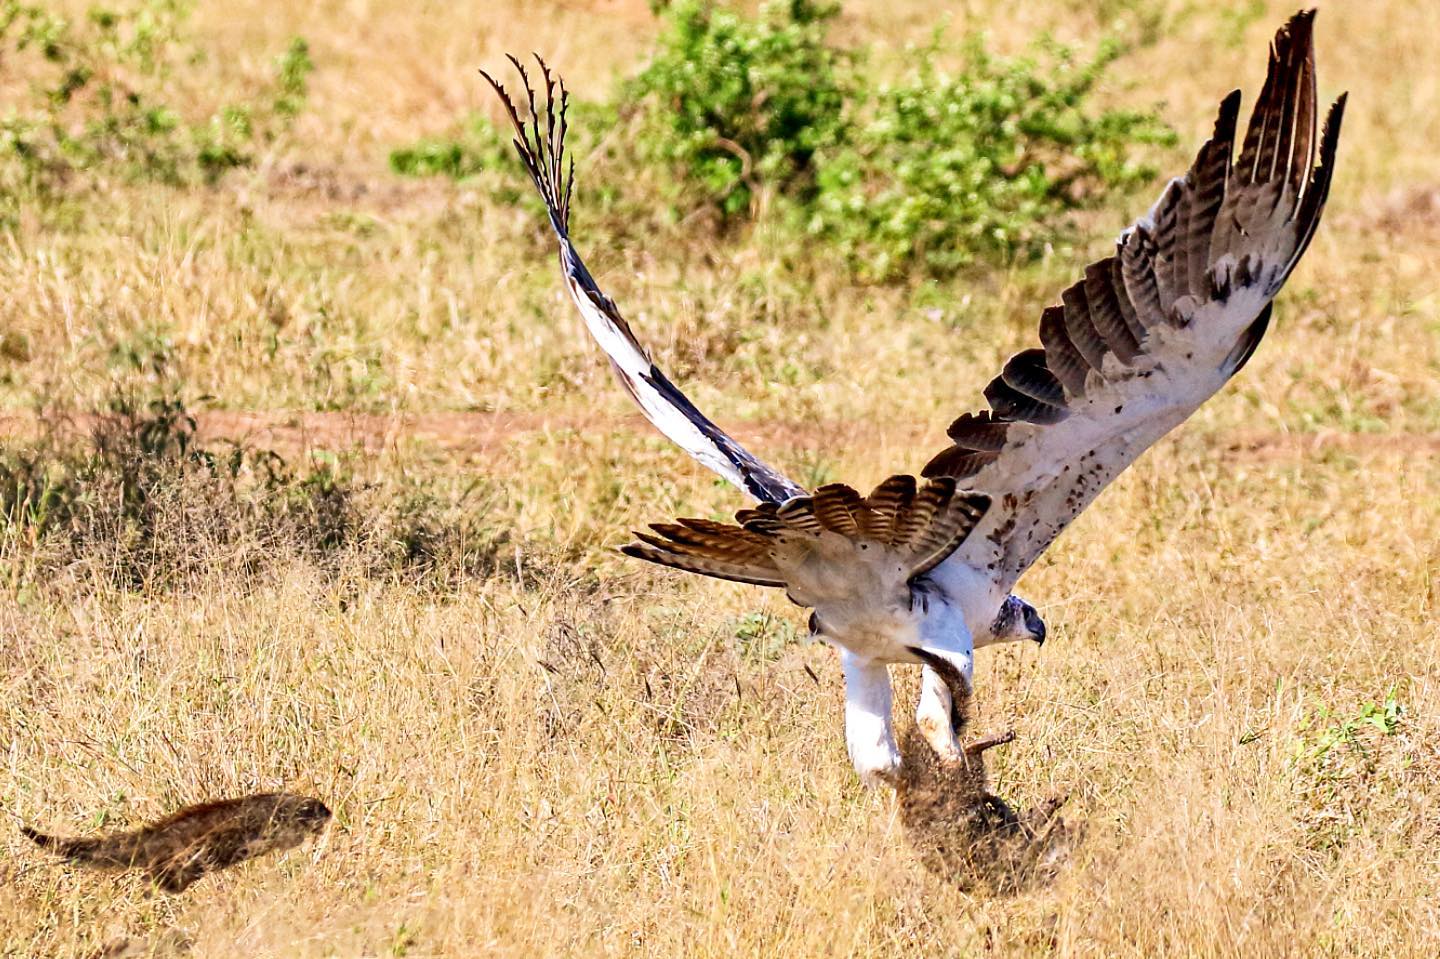
Hi, my name is Jess. I’m the Content Manager for the Orms marketing team, and for the last eighteen months, I have been shooting almost exclusively on film. I wanted to take some time today to share my top seven tips for how you can take better film photos — immediately!
No complex learning required, no need to pick up stacks of new terminology or waste another precious roll on dud shots. These are my simple takeaways based on the easy-to-remedy mistakes I made very early in my analogue journey. I’m also going to include a stack of example photographs to illustrate what some of these mistakes look like.
Oh, by the way, if you want to find out why I ditched to take the leap and ditch digital forever, you can watch this video that I made about that whole process on our YouTube channel.
Counting down from the top, let’s begin with Number Seven.
#7 OBEY THE RECIPROCAL RULE TO PREVENT BLURRY PHOTOS.
This rule basically states that if you are shooting handheld (i.e. not using a tripod or any other kind of support), you mustn’t let your shutter speed drop below your lens’ focal length.
For example, if like me you have a 50mm lens, you could go down to a shutter speed as slow as 1/50th of a second, but not slower. Obeying this rule will make it much more difficult for you to take blurry and out of focus shots due to the micro-movements of your hands that occur at longer shutter speeds or when holding longer lenses, which tend to be (a) heavier and (b) magnify camera shake due to their focal length and narrower field of view.
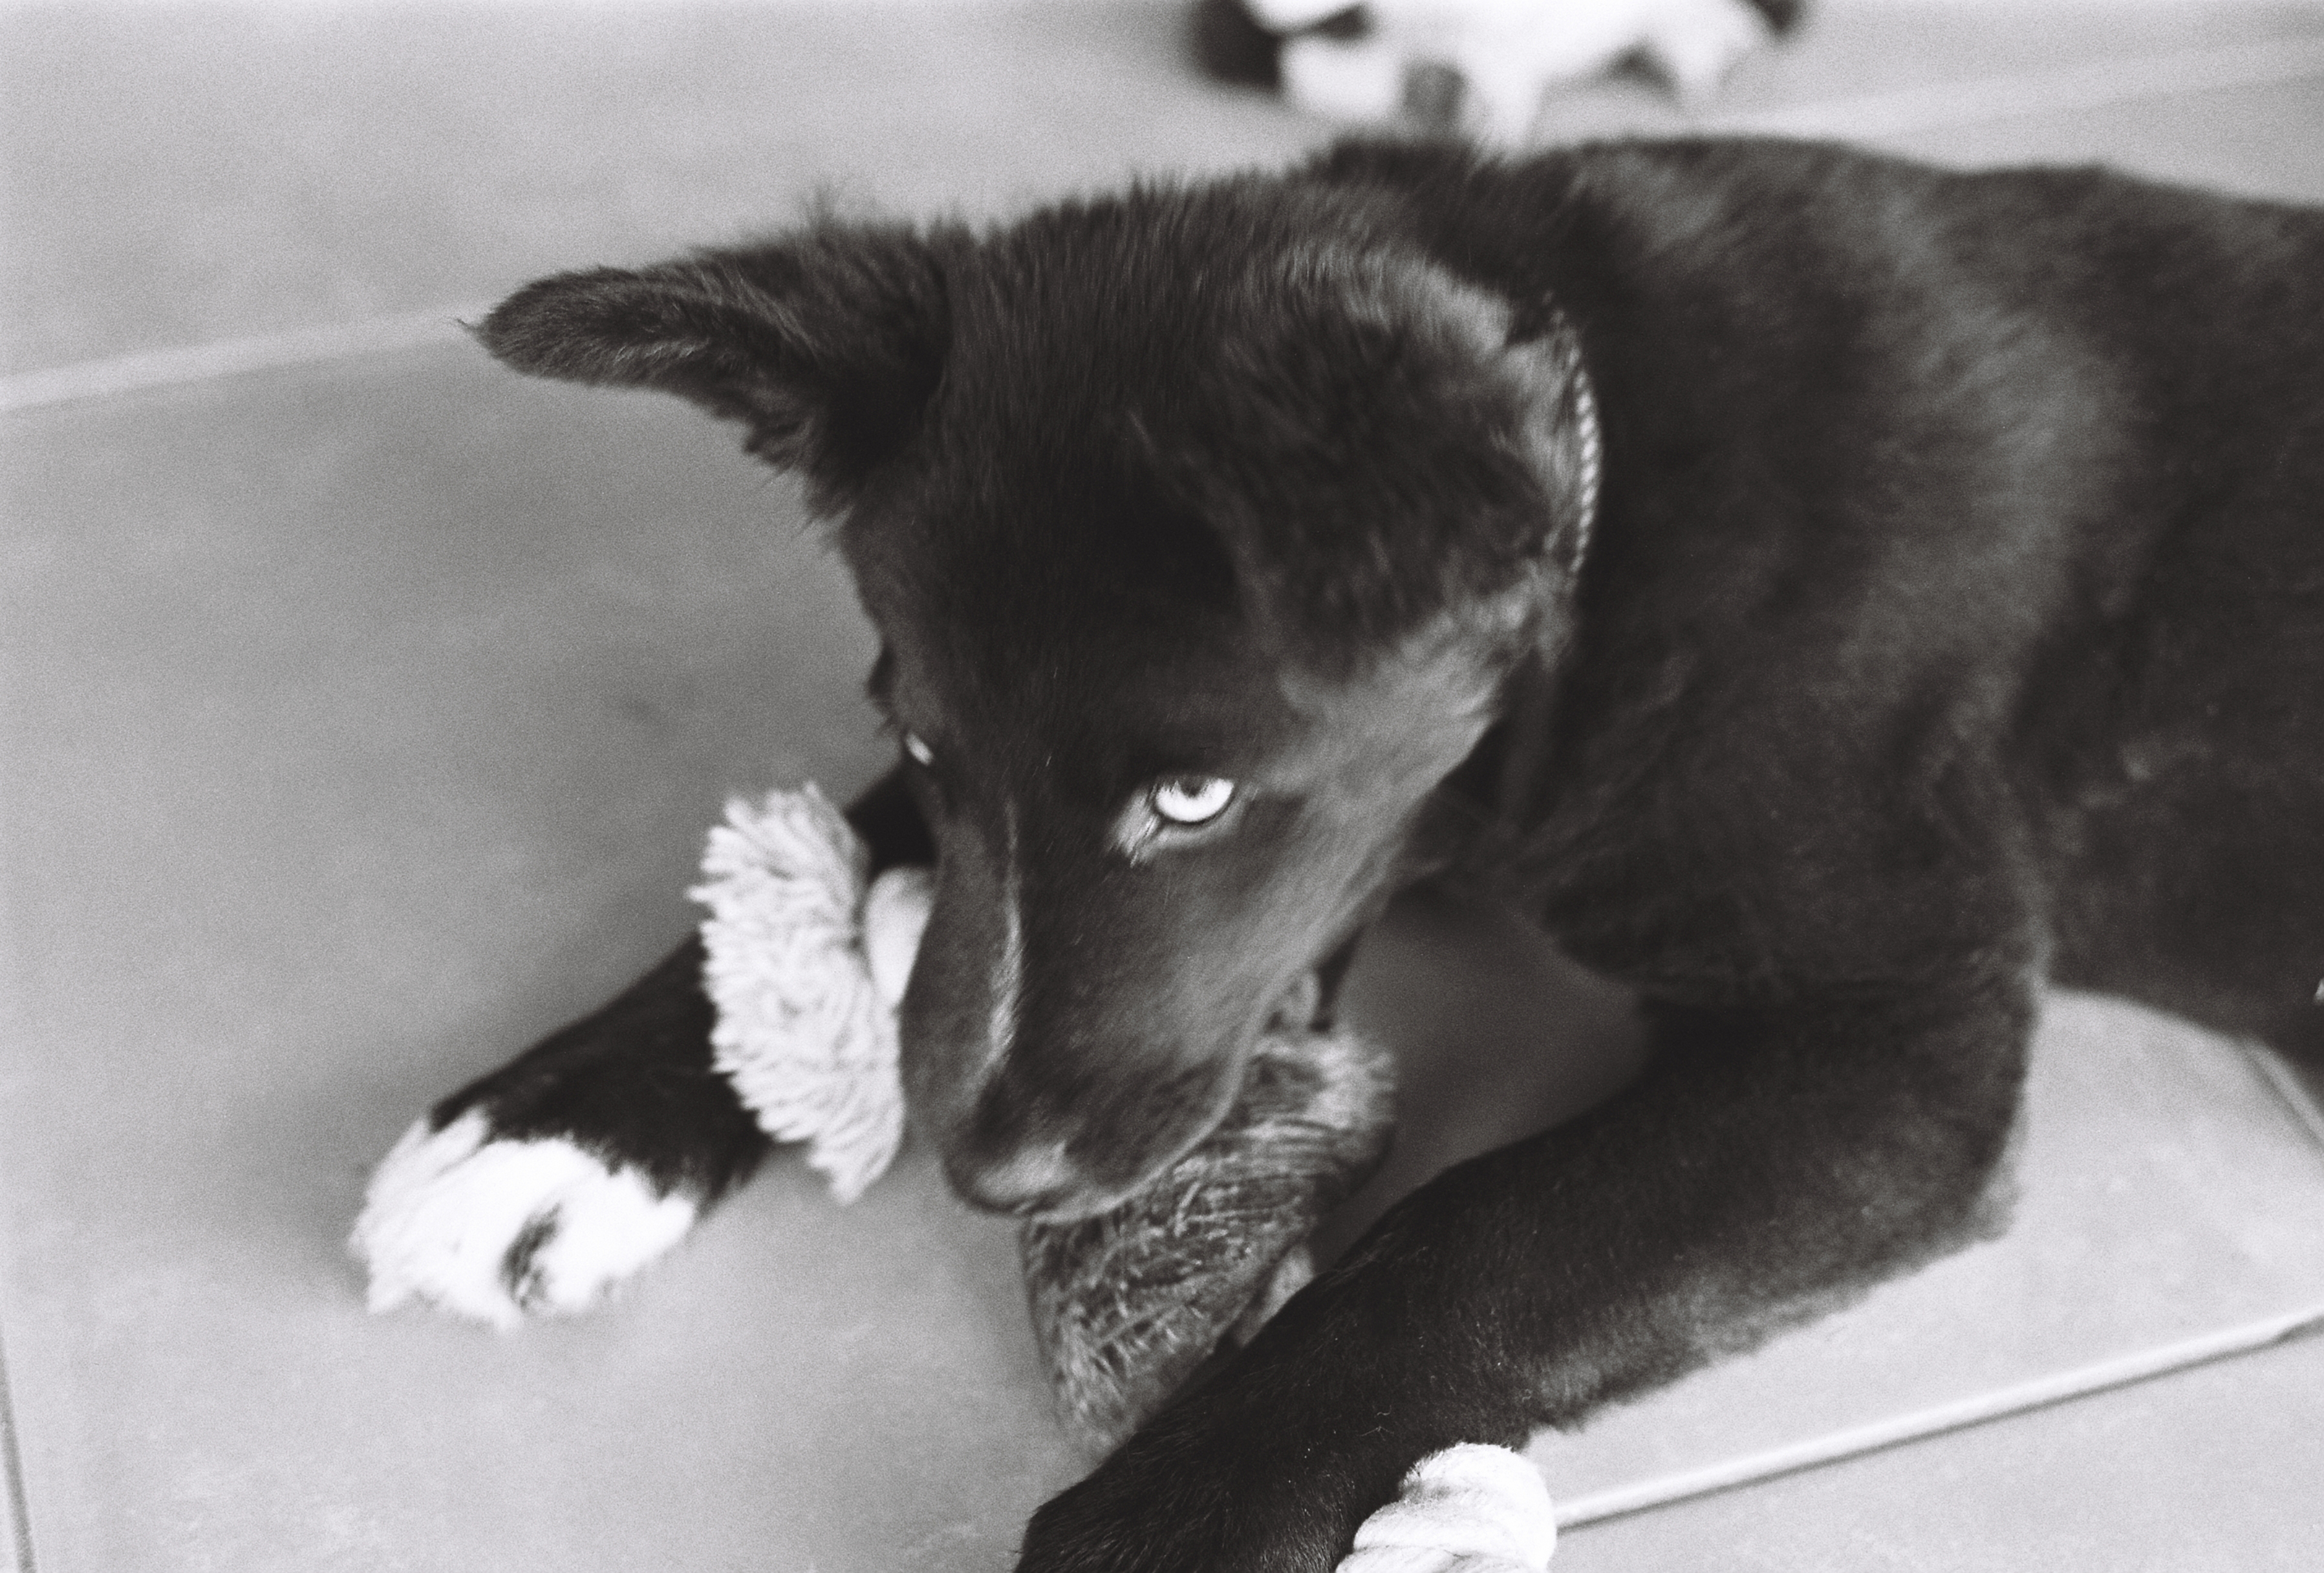
#6 PREVENT ACCIDENTAL SHUTTER RELEASE WITH THIS ONE SIMPLE STEP.
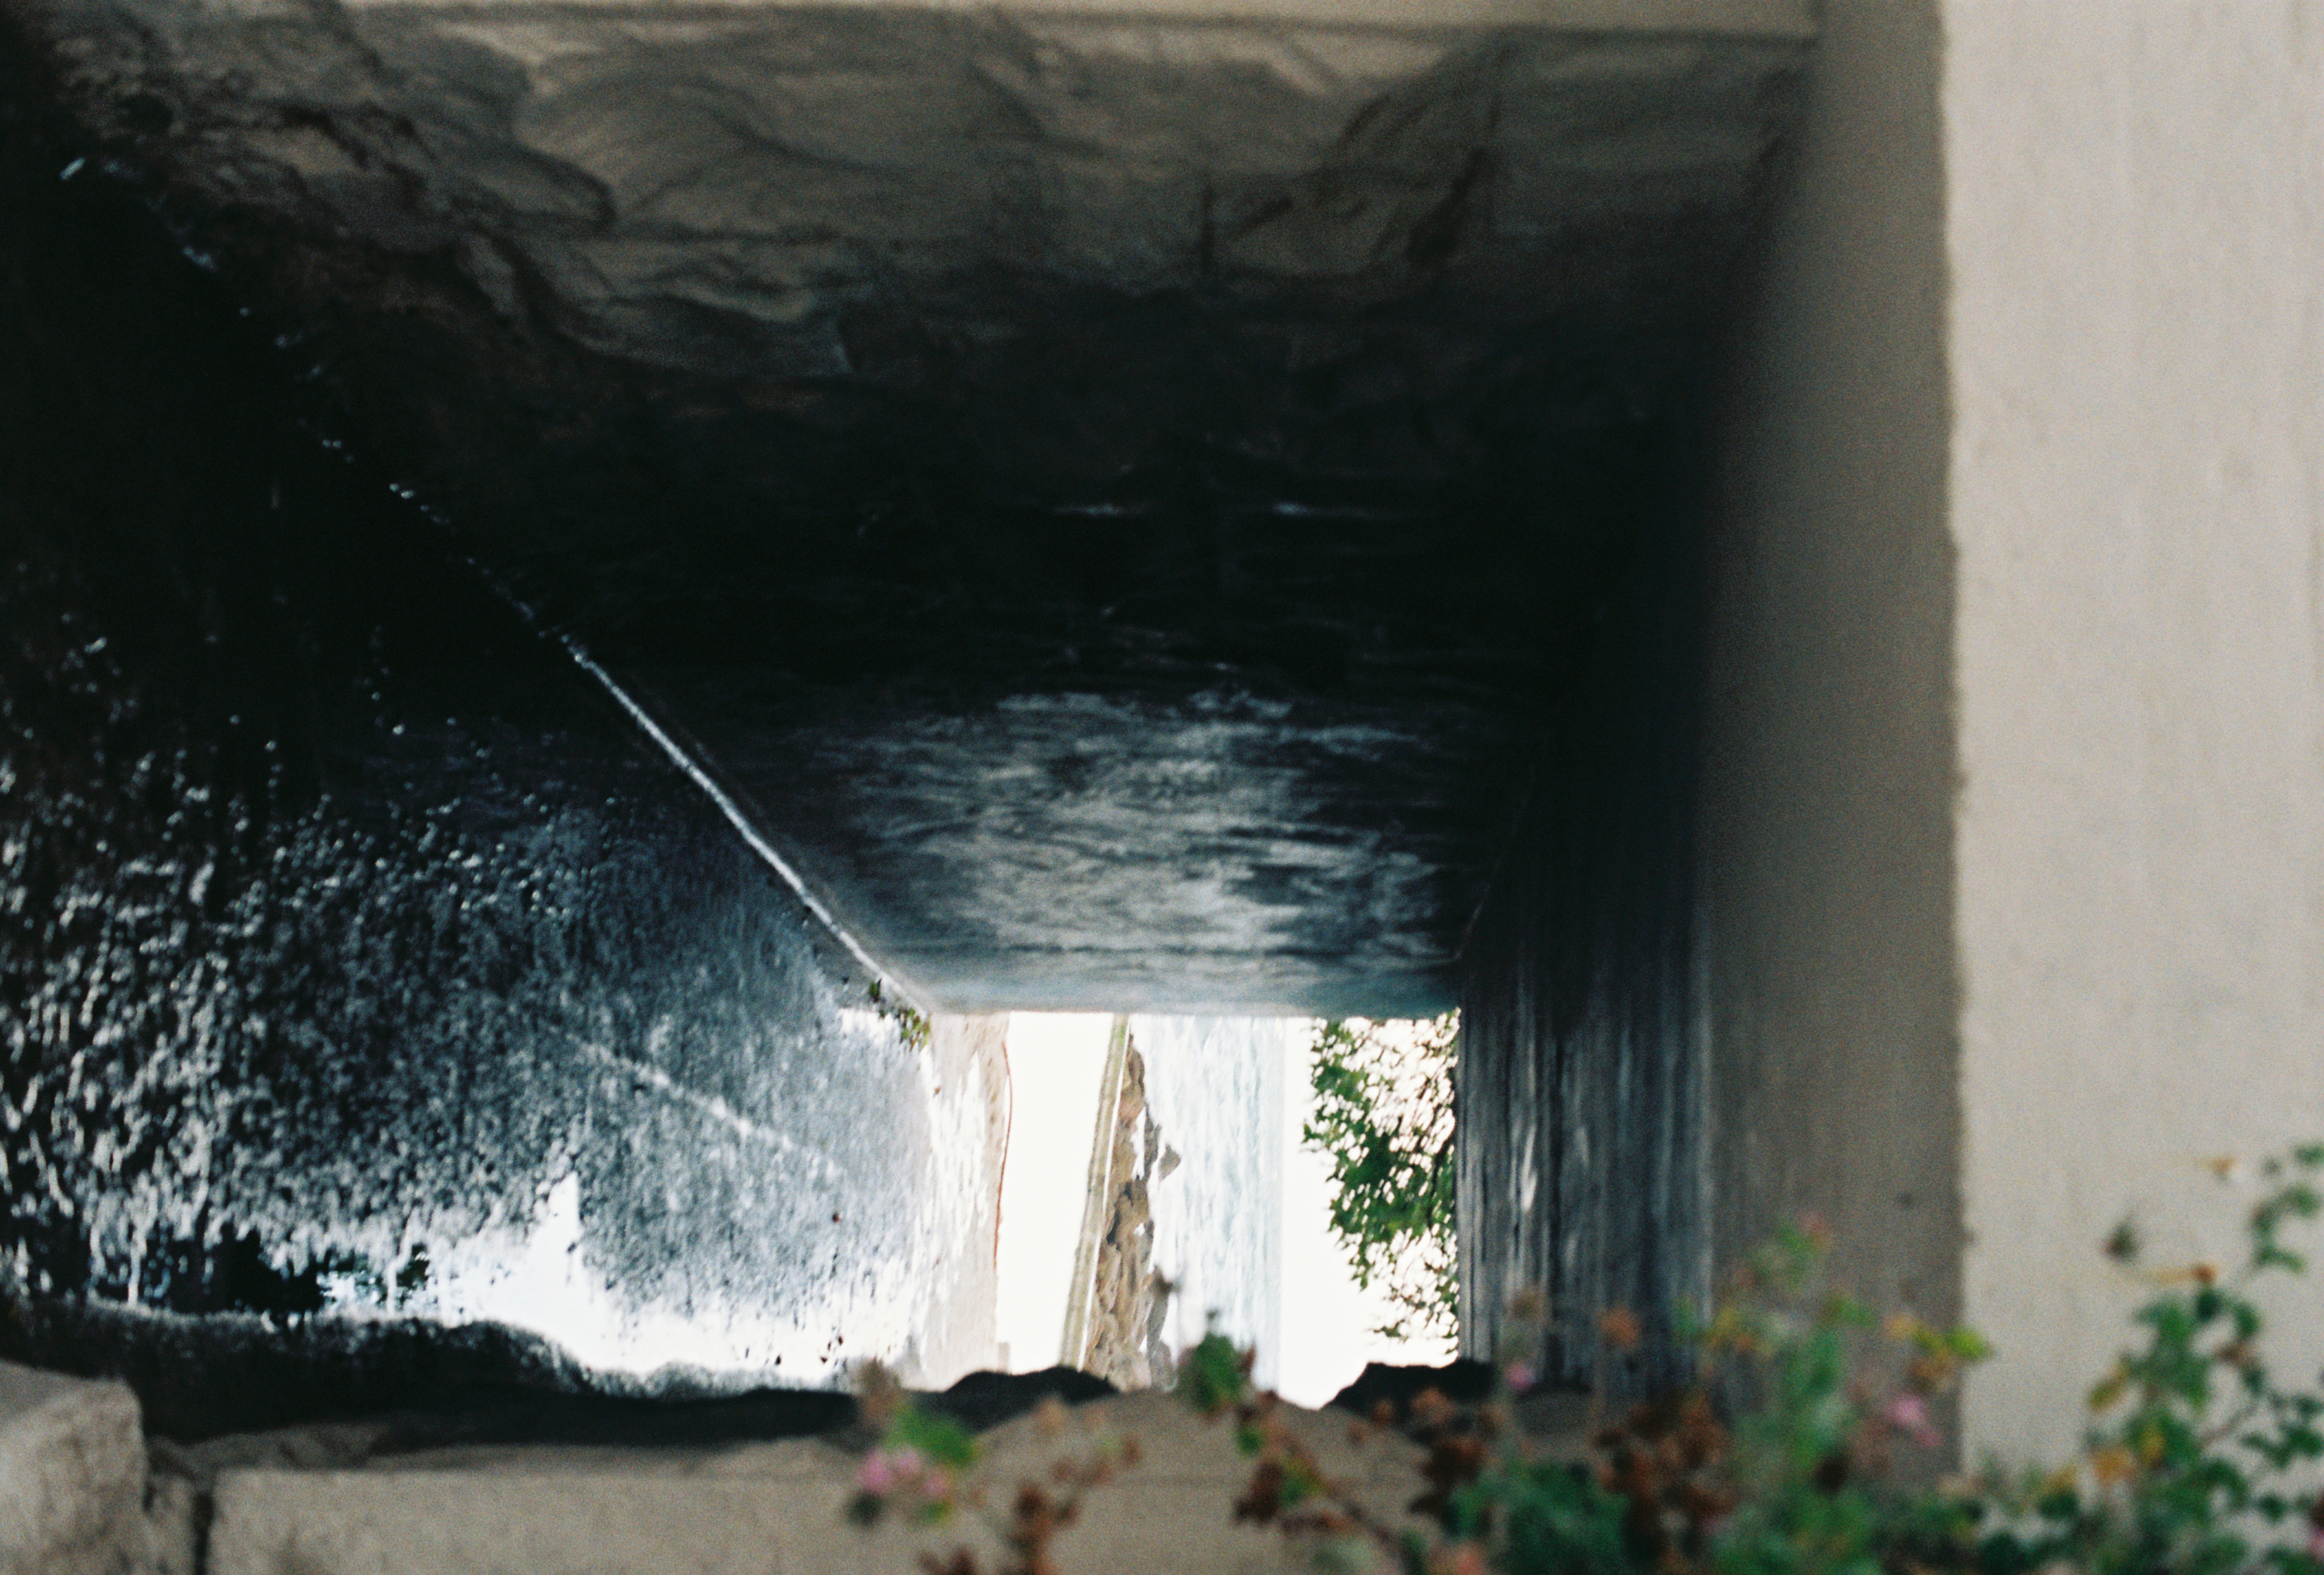
What is that step, you ask? Always assume you’re ready to take a shot (or a rule also known as… never advance to your next frame on your roll of film immediately after taking a shot).
Do you want to know how many photographs I have accidentally taken because I touched my shutter button, assuming that I had not wound my advance lever? Well, I’m not going to tell you because it’s embarrassing. (It’s some number around 1-2 shots per roll I shoot.)
We all know that film is expensive and developing is expensive and even scanning can be expensive. Rather don’t wind your advance lever until your image is composed and you’re ready to shoot. This will ensure you aren’t still taking dud shots eighteen months after starting to shoot film.
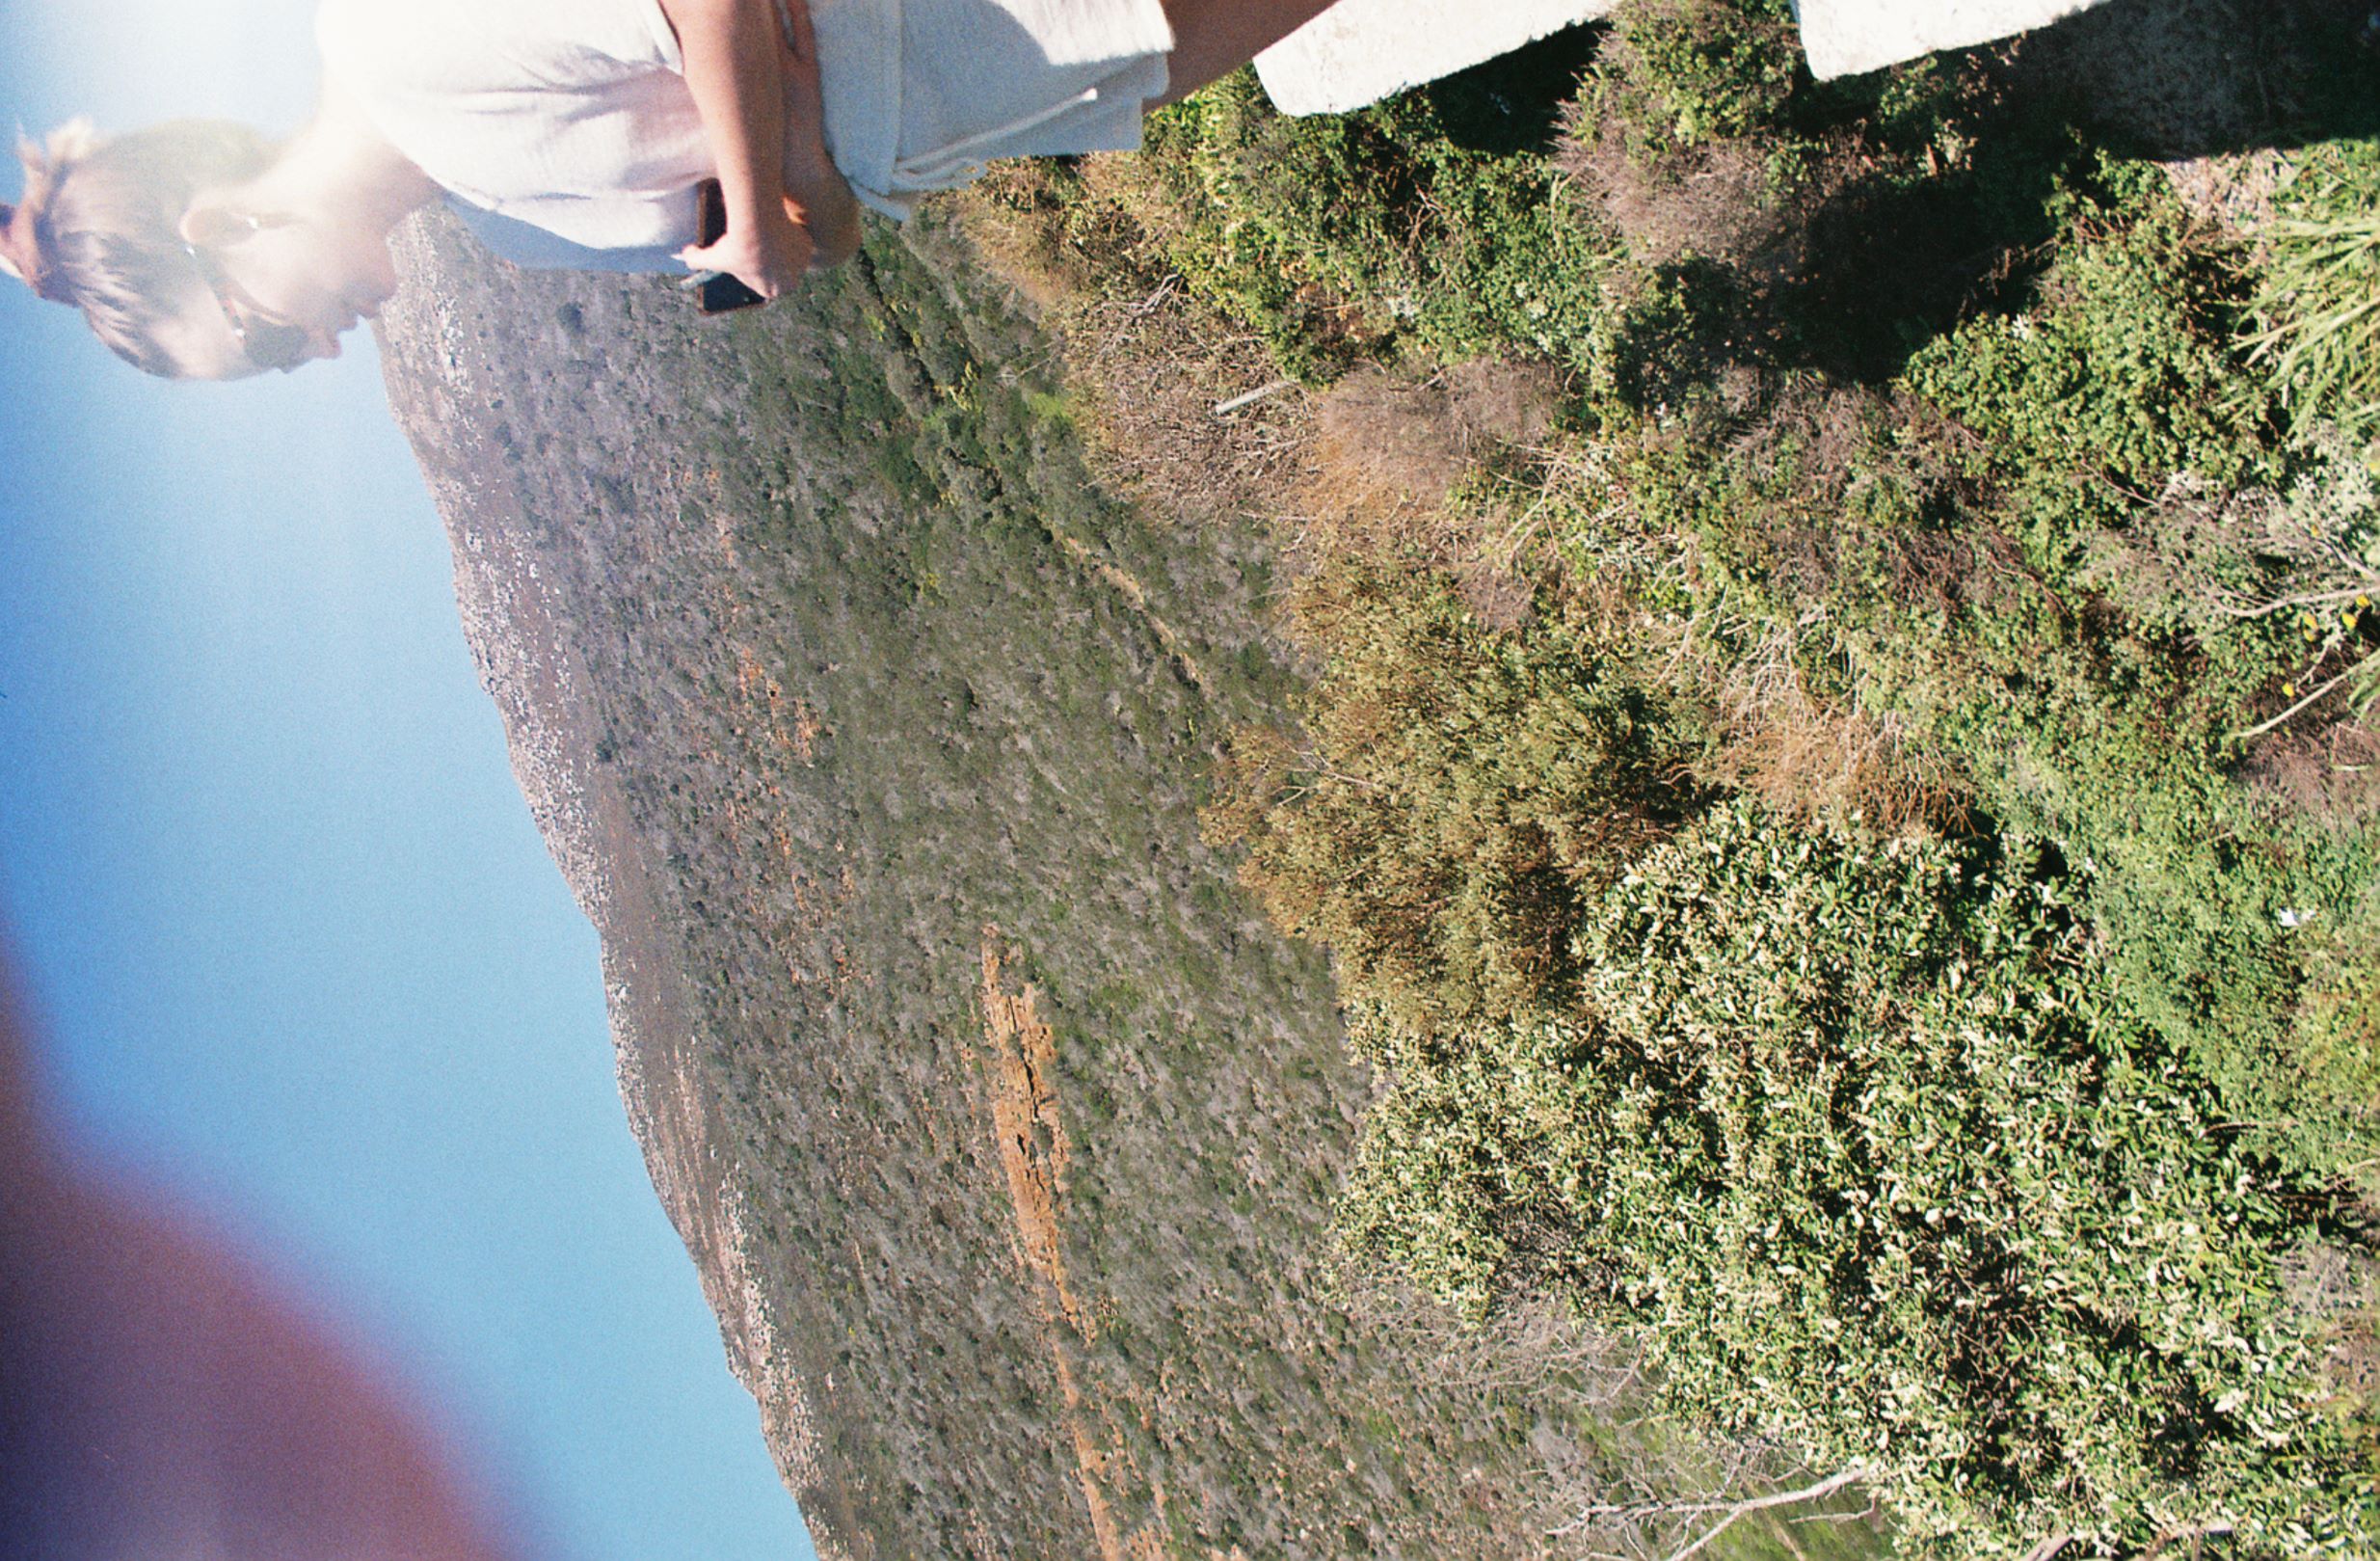

#5 KNOW WHAT KELVIN YOUR FILM IS BALANCED TO.
Unlike shooting RAW on a digital camera where you can change the white balance after the fact, each roll of film will have a certain white balance baked into it. Daylight balanced films should be used with natural light. Tungsten films should be used with tungsten light (unless it’s Cinestill 800T, of course).
If you use a roll of film in an incorrect lighting environment, your colours will come out weird, making it kind of hard for you to take better film photos.
You can find out more about how film comes out in the developing process by watching our step-by-step tutorial on how you can develop your own black and white film at home.
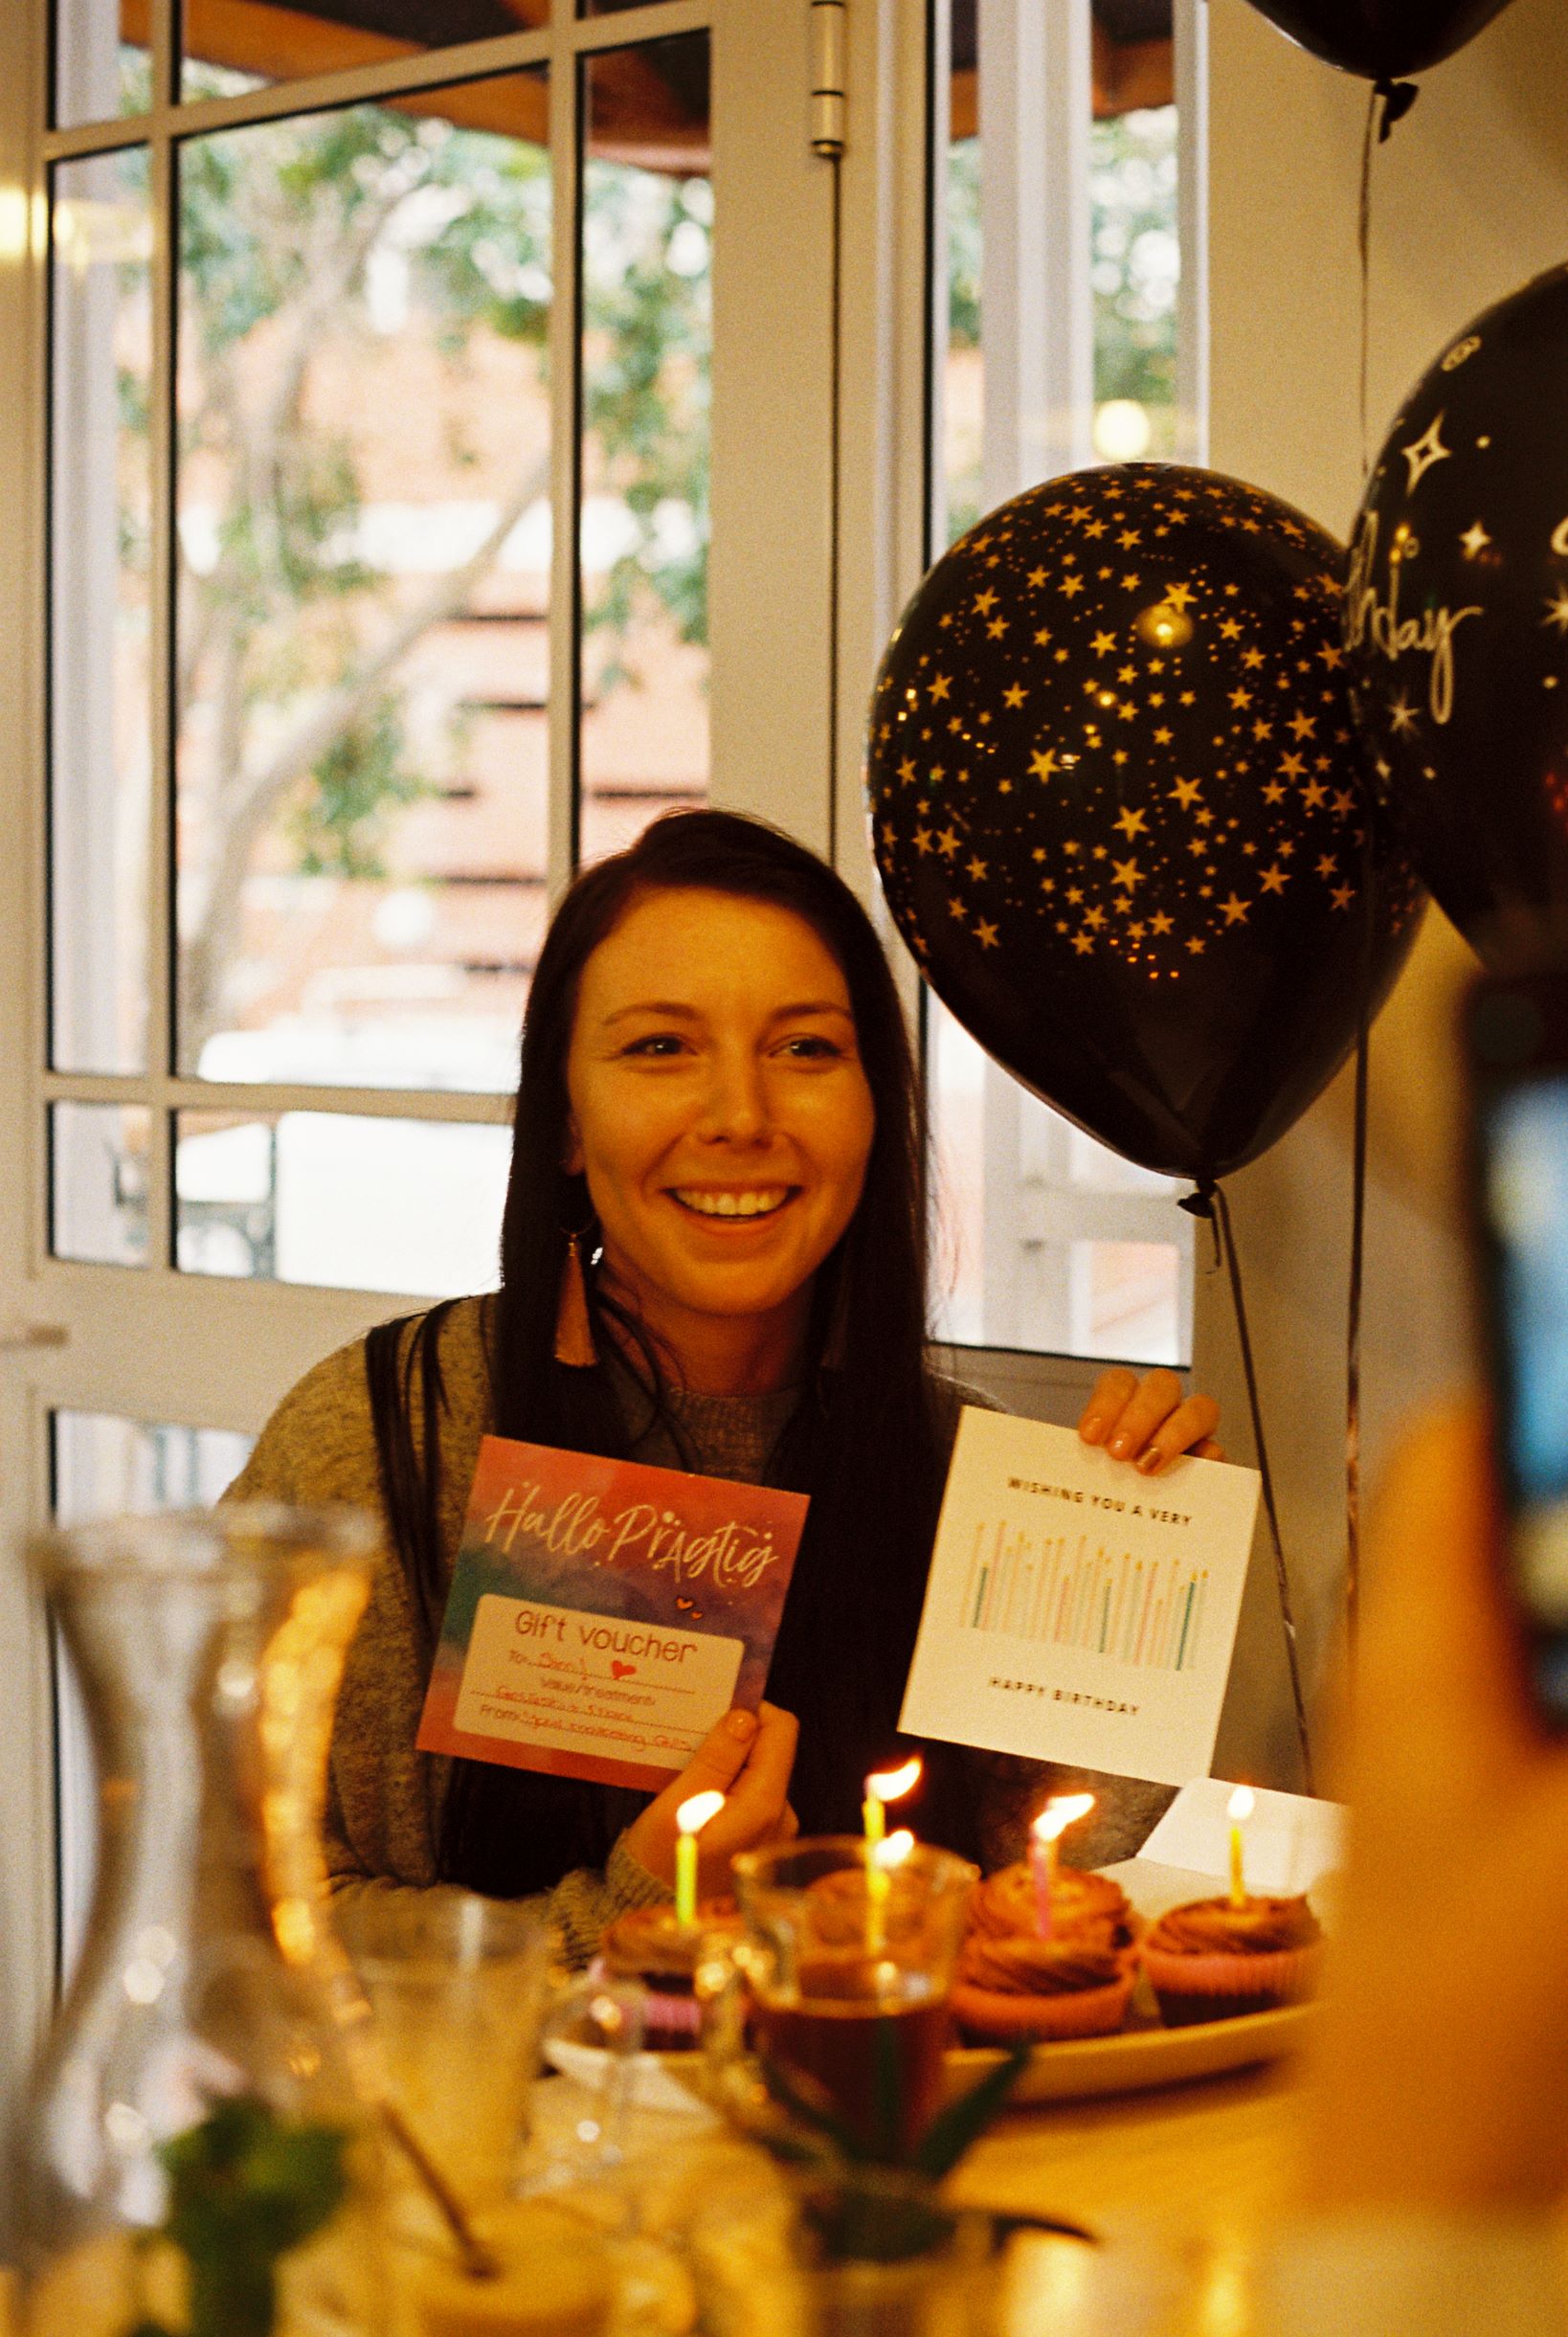

#4 GET FAMILIAR WITH YOUR FOCAL LENGTHS AND THE TYPES OF IMAGES THEY PRODUCE.
Have you ever taken a landscape shot on a 50mm lens and wondered why it looked like all the elements in the frame were cramped and smushed and stacked right up on top of each other? That’s because narrower focal length lenses compress the foreground, middle ground and background. The longer the focal length, the greater the compression.
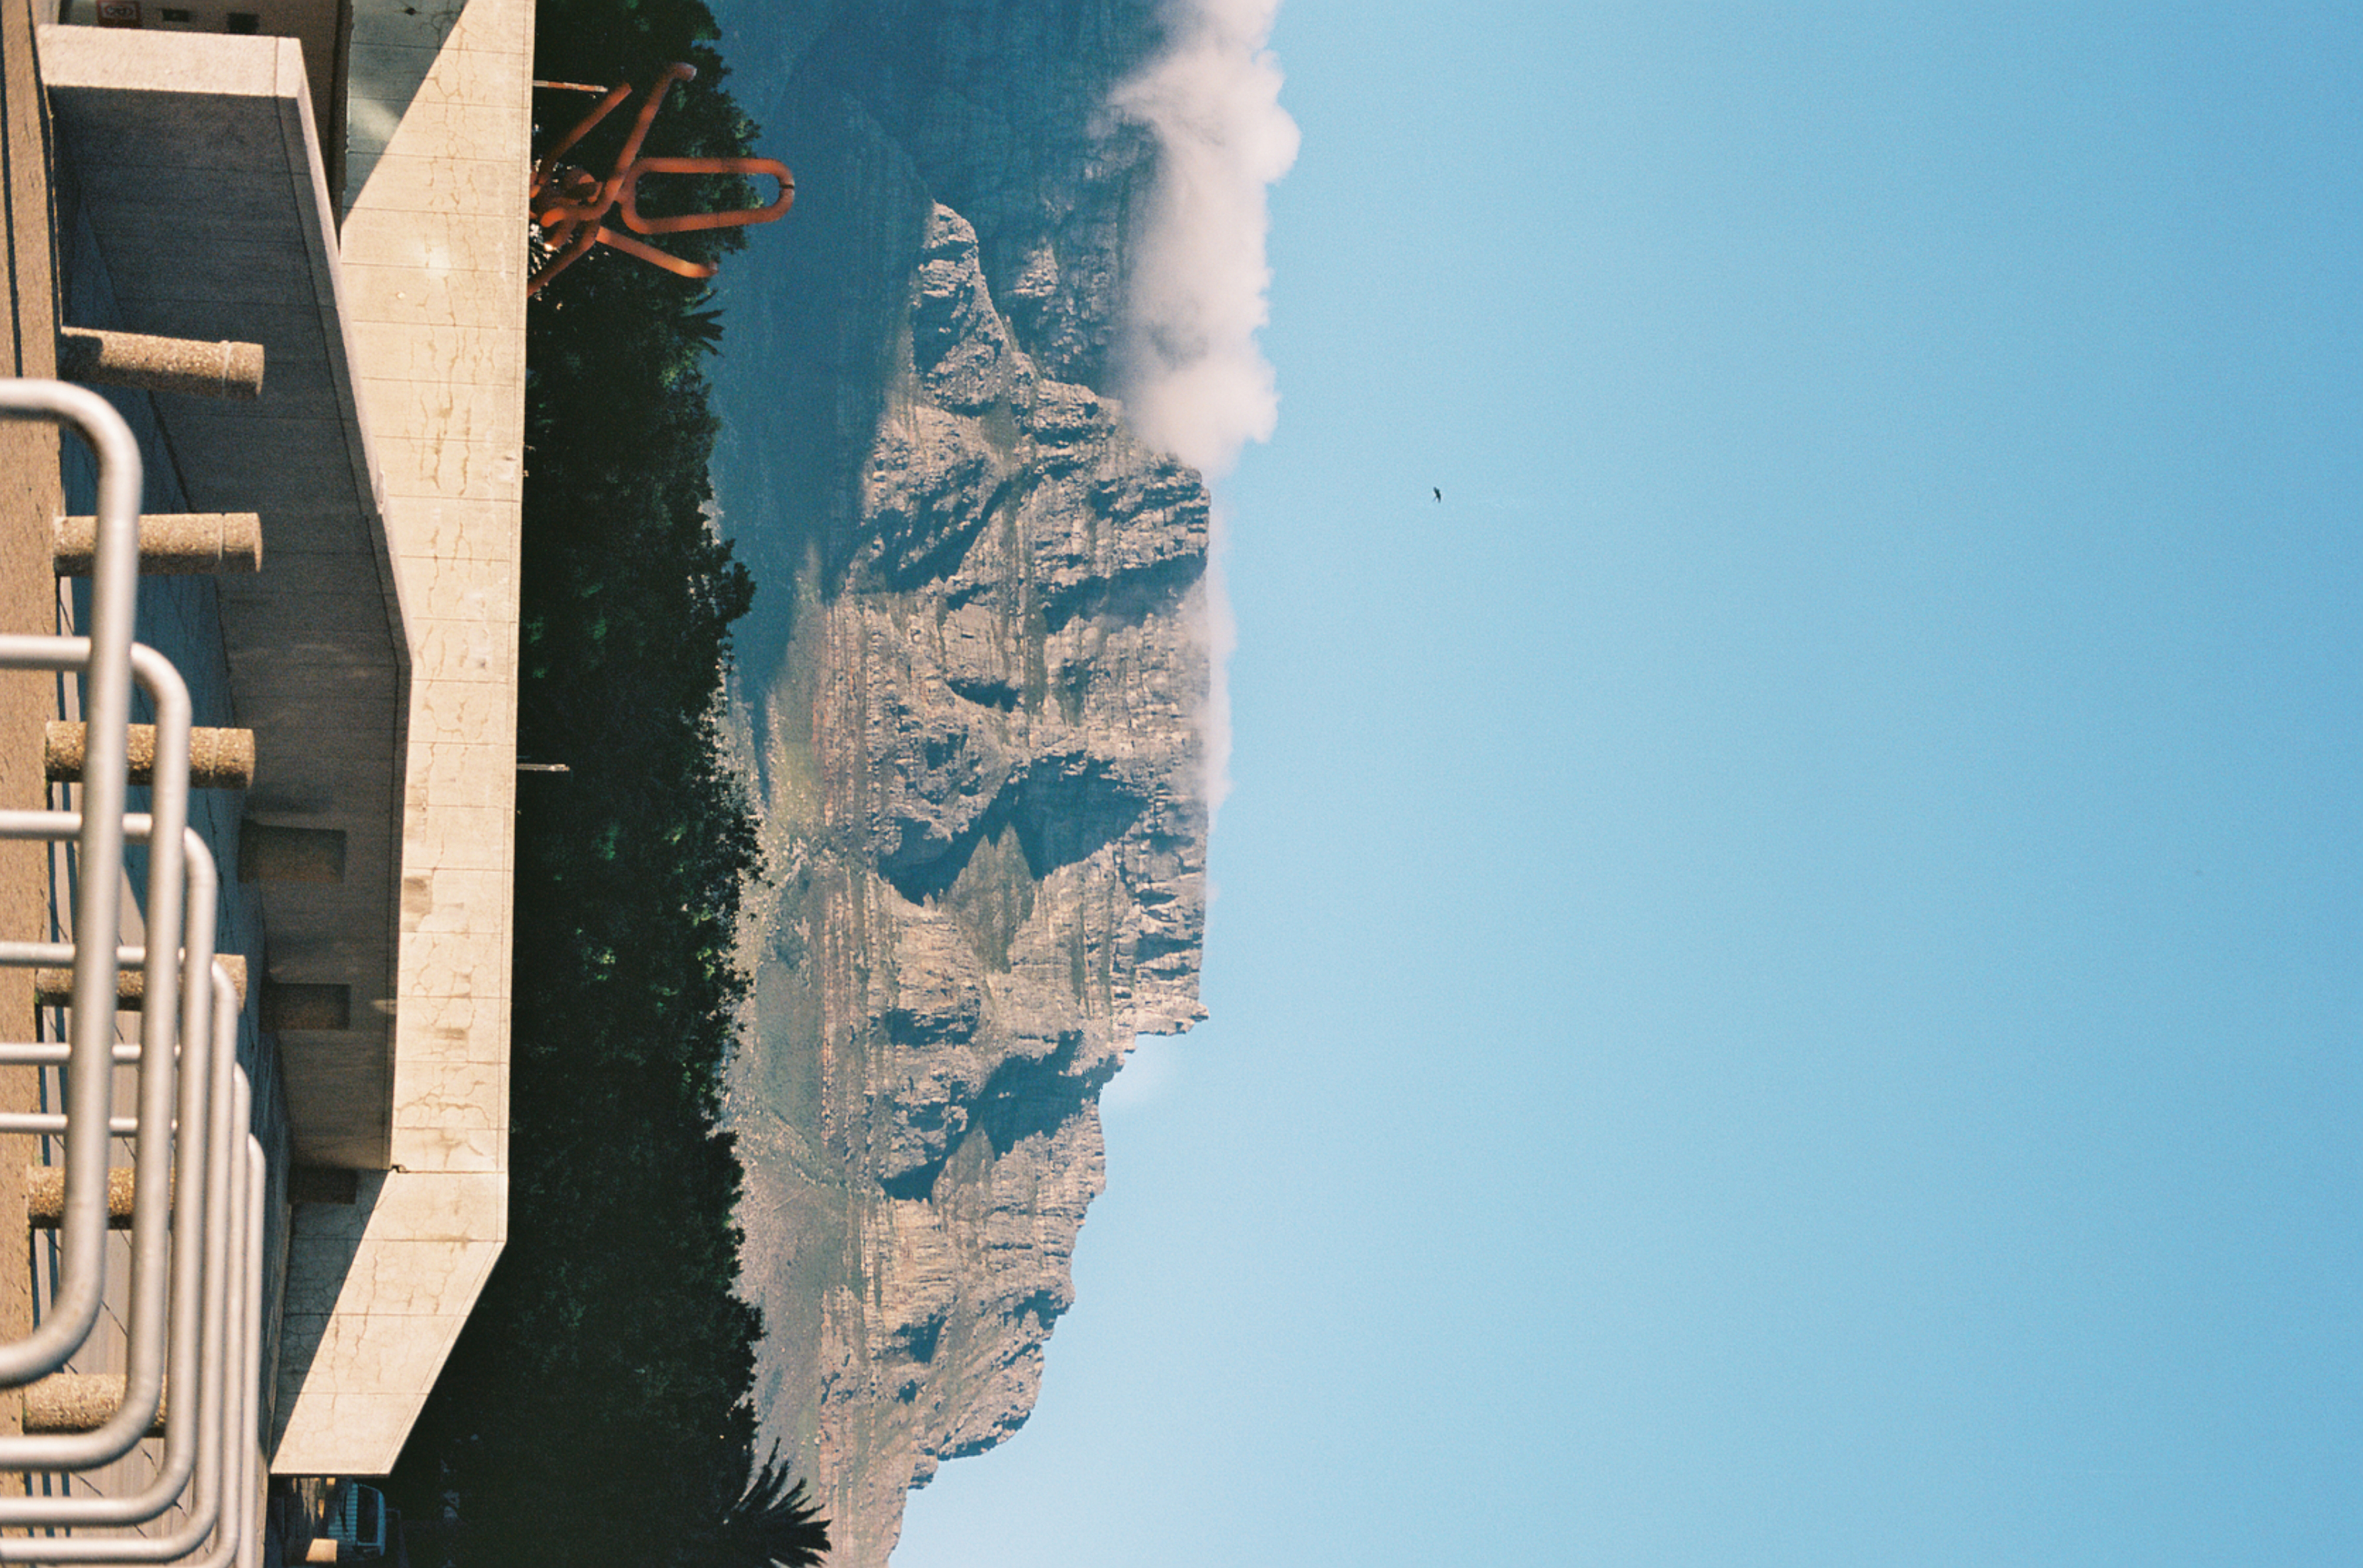
Wider lenses tend to be more dynamic and create a sense of more distance between the elements in your compositions.

There are no hard and fast rules here as to how focal lengths HAVE to be used, but if you are struggling to achieve a certain effect with your images, change up your focal length and see if it helps you to take better film photos.
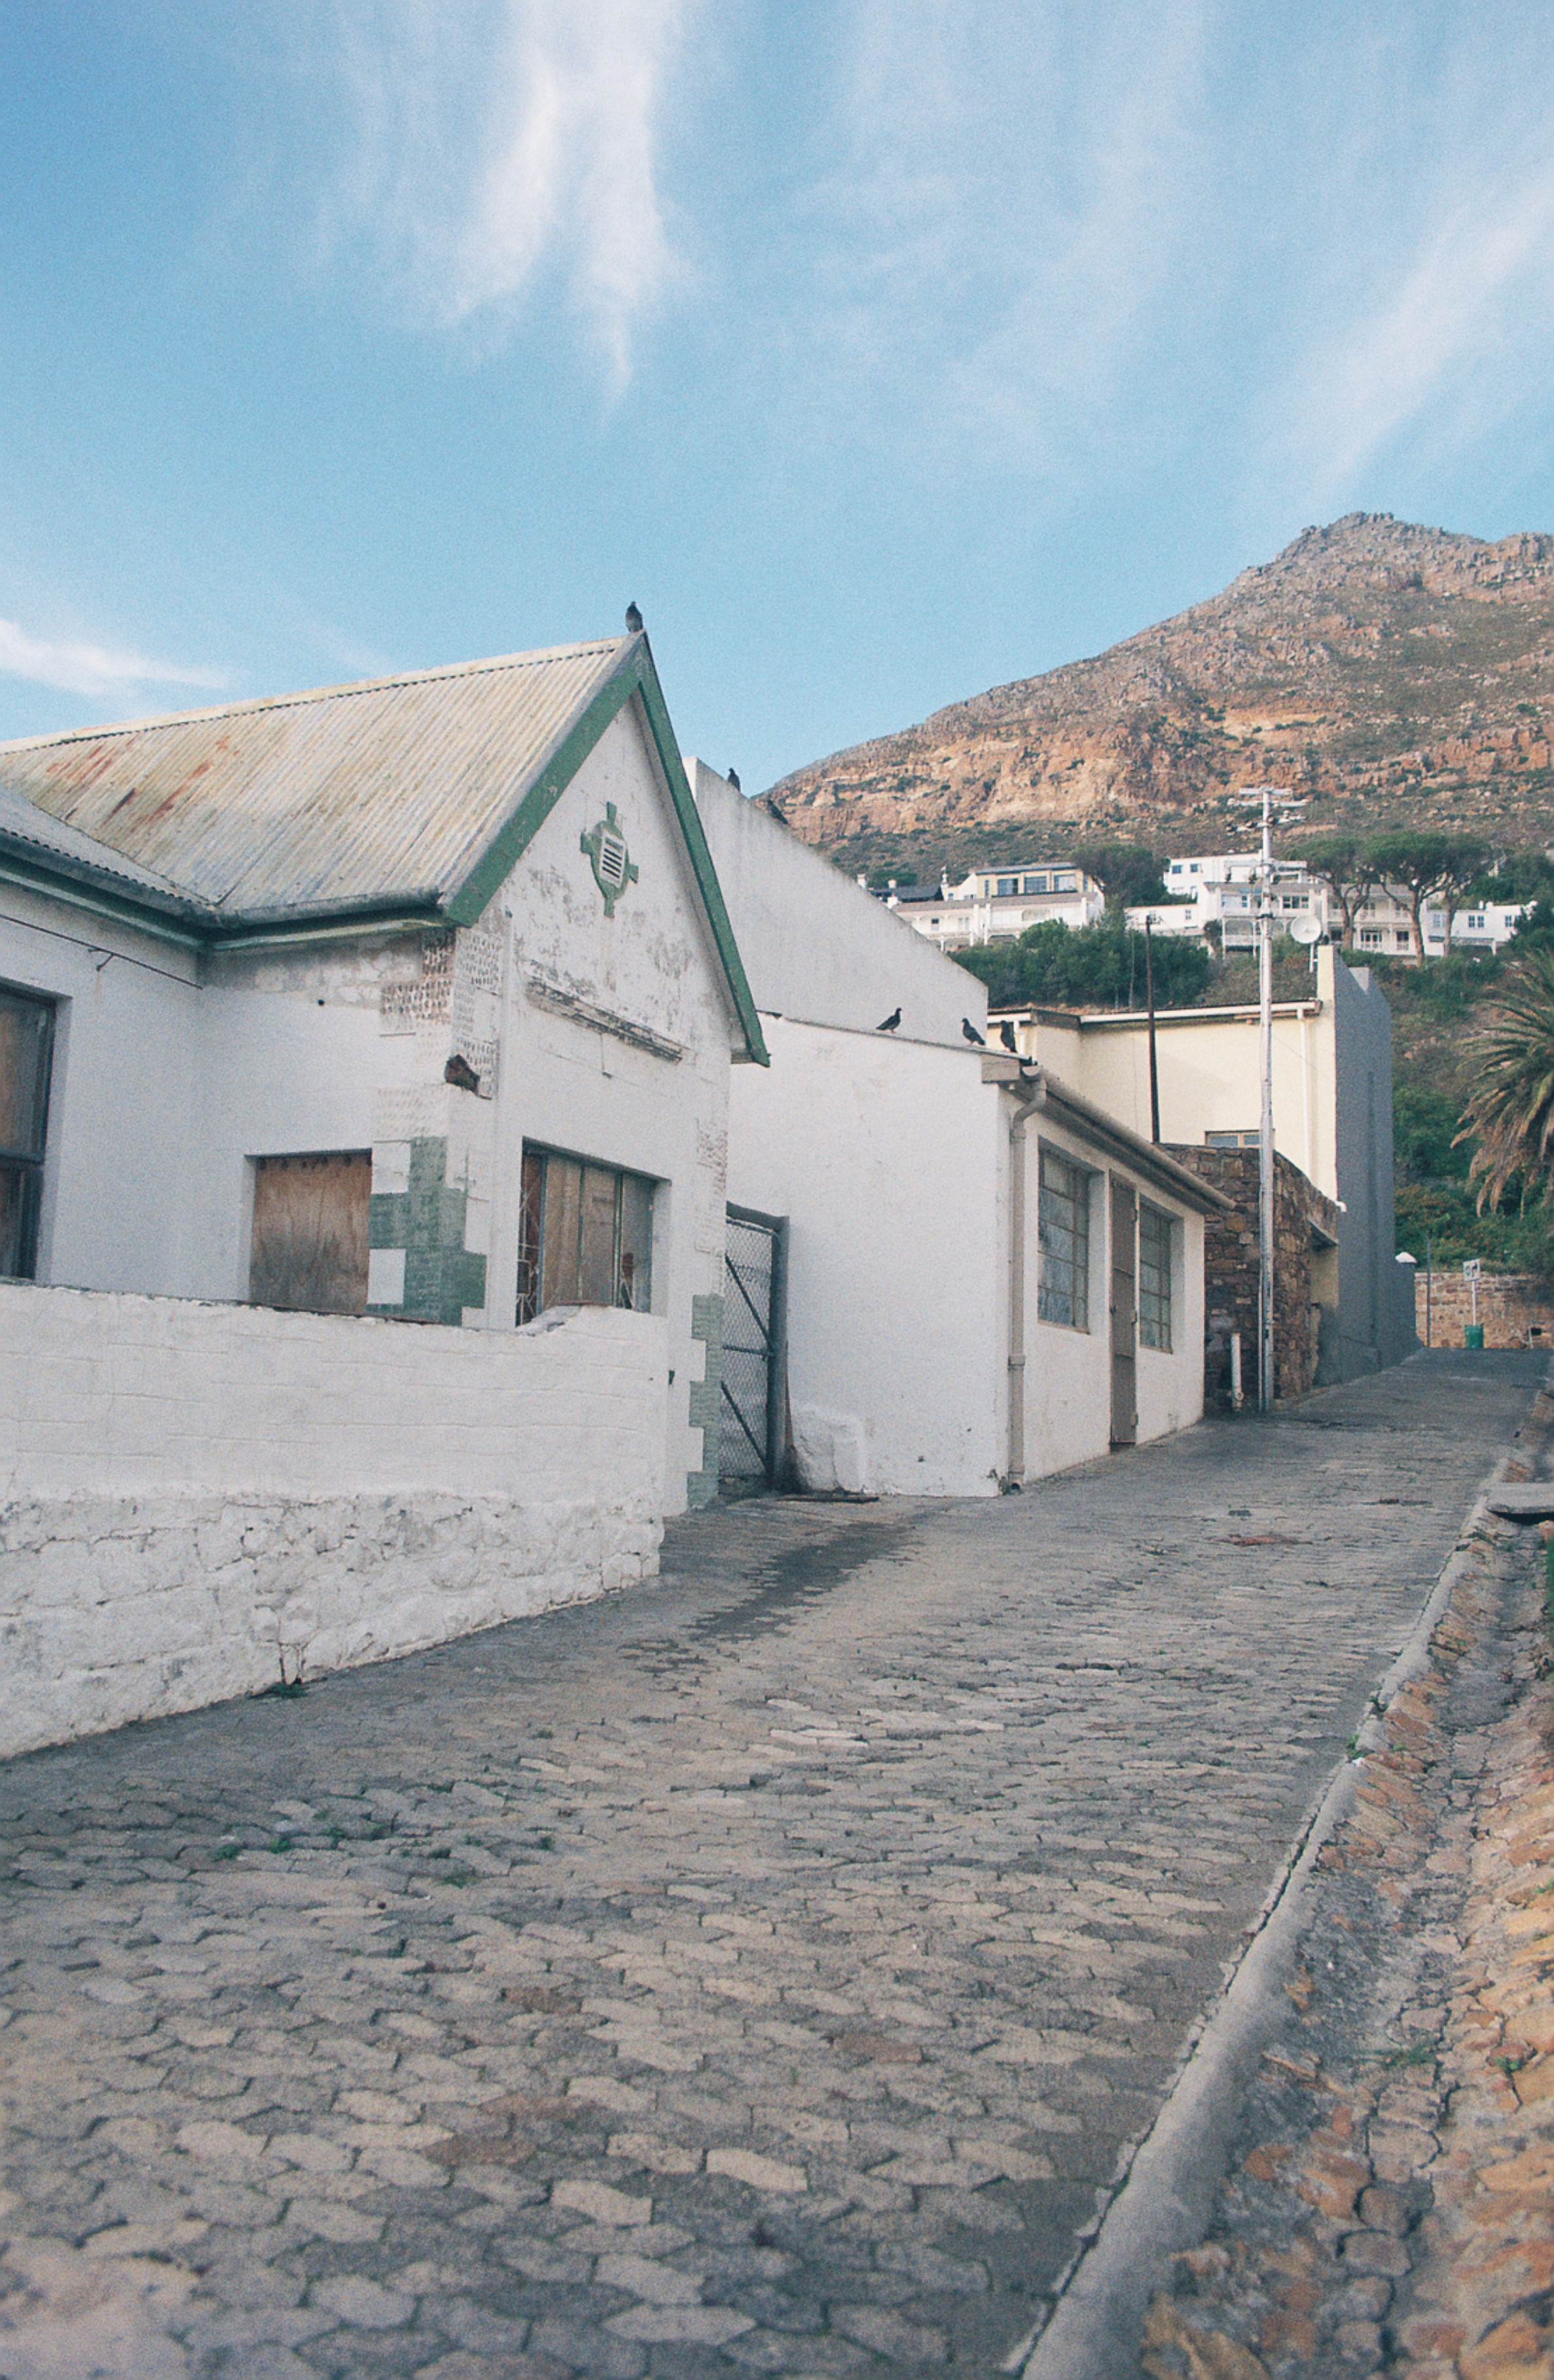
#3 ALWAYS CHECK THAT YOUR FILM, ASA DIAL AND LIGHT METER CORRESPOND.
Unless you are deliberately “pushing” or “pulling” your film (i.e. underexposing or overexposing on purpose to achieve a certain effect), the ASA setting on your camera body and on your light meter or light metering app should always be the same value as on your roll of film.
I was once shooting on a roll of Kodak Ektar 100 (which is a very expensive film, by the way) and I had forgotten to reset my ASA on my light meter to 100. It was still set to 400 from my previous roll of Ultramax 400. This meant that my first four shots on the new roll of Ektar were extremely underexposed because I was metering for a much more sensitive roll of film.
To my aforementioned point: film is expensive. Don’t be in a hurry, check all your parameters before you start shooting, and don’t make the same mistake I did.
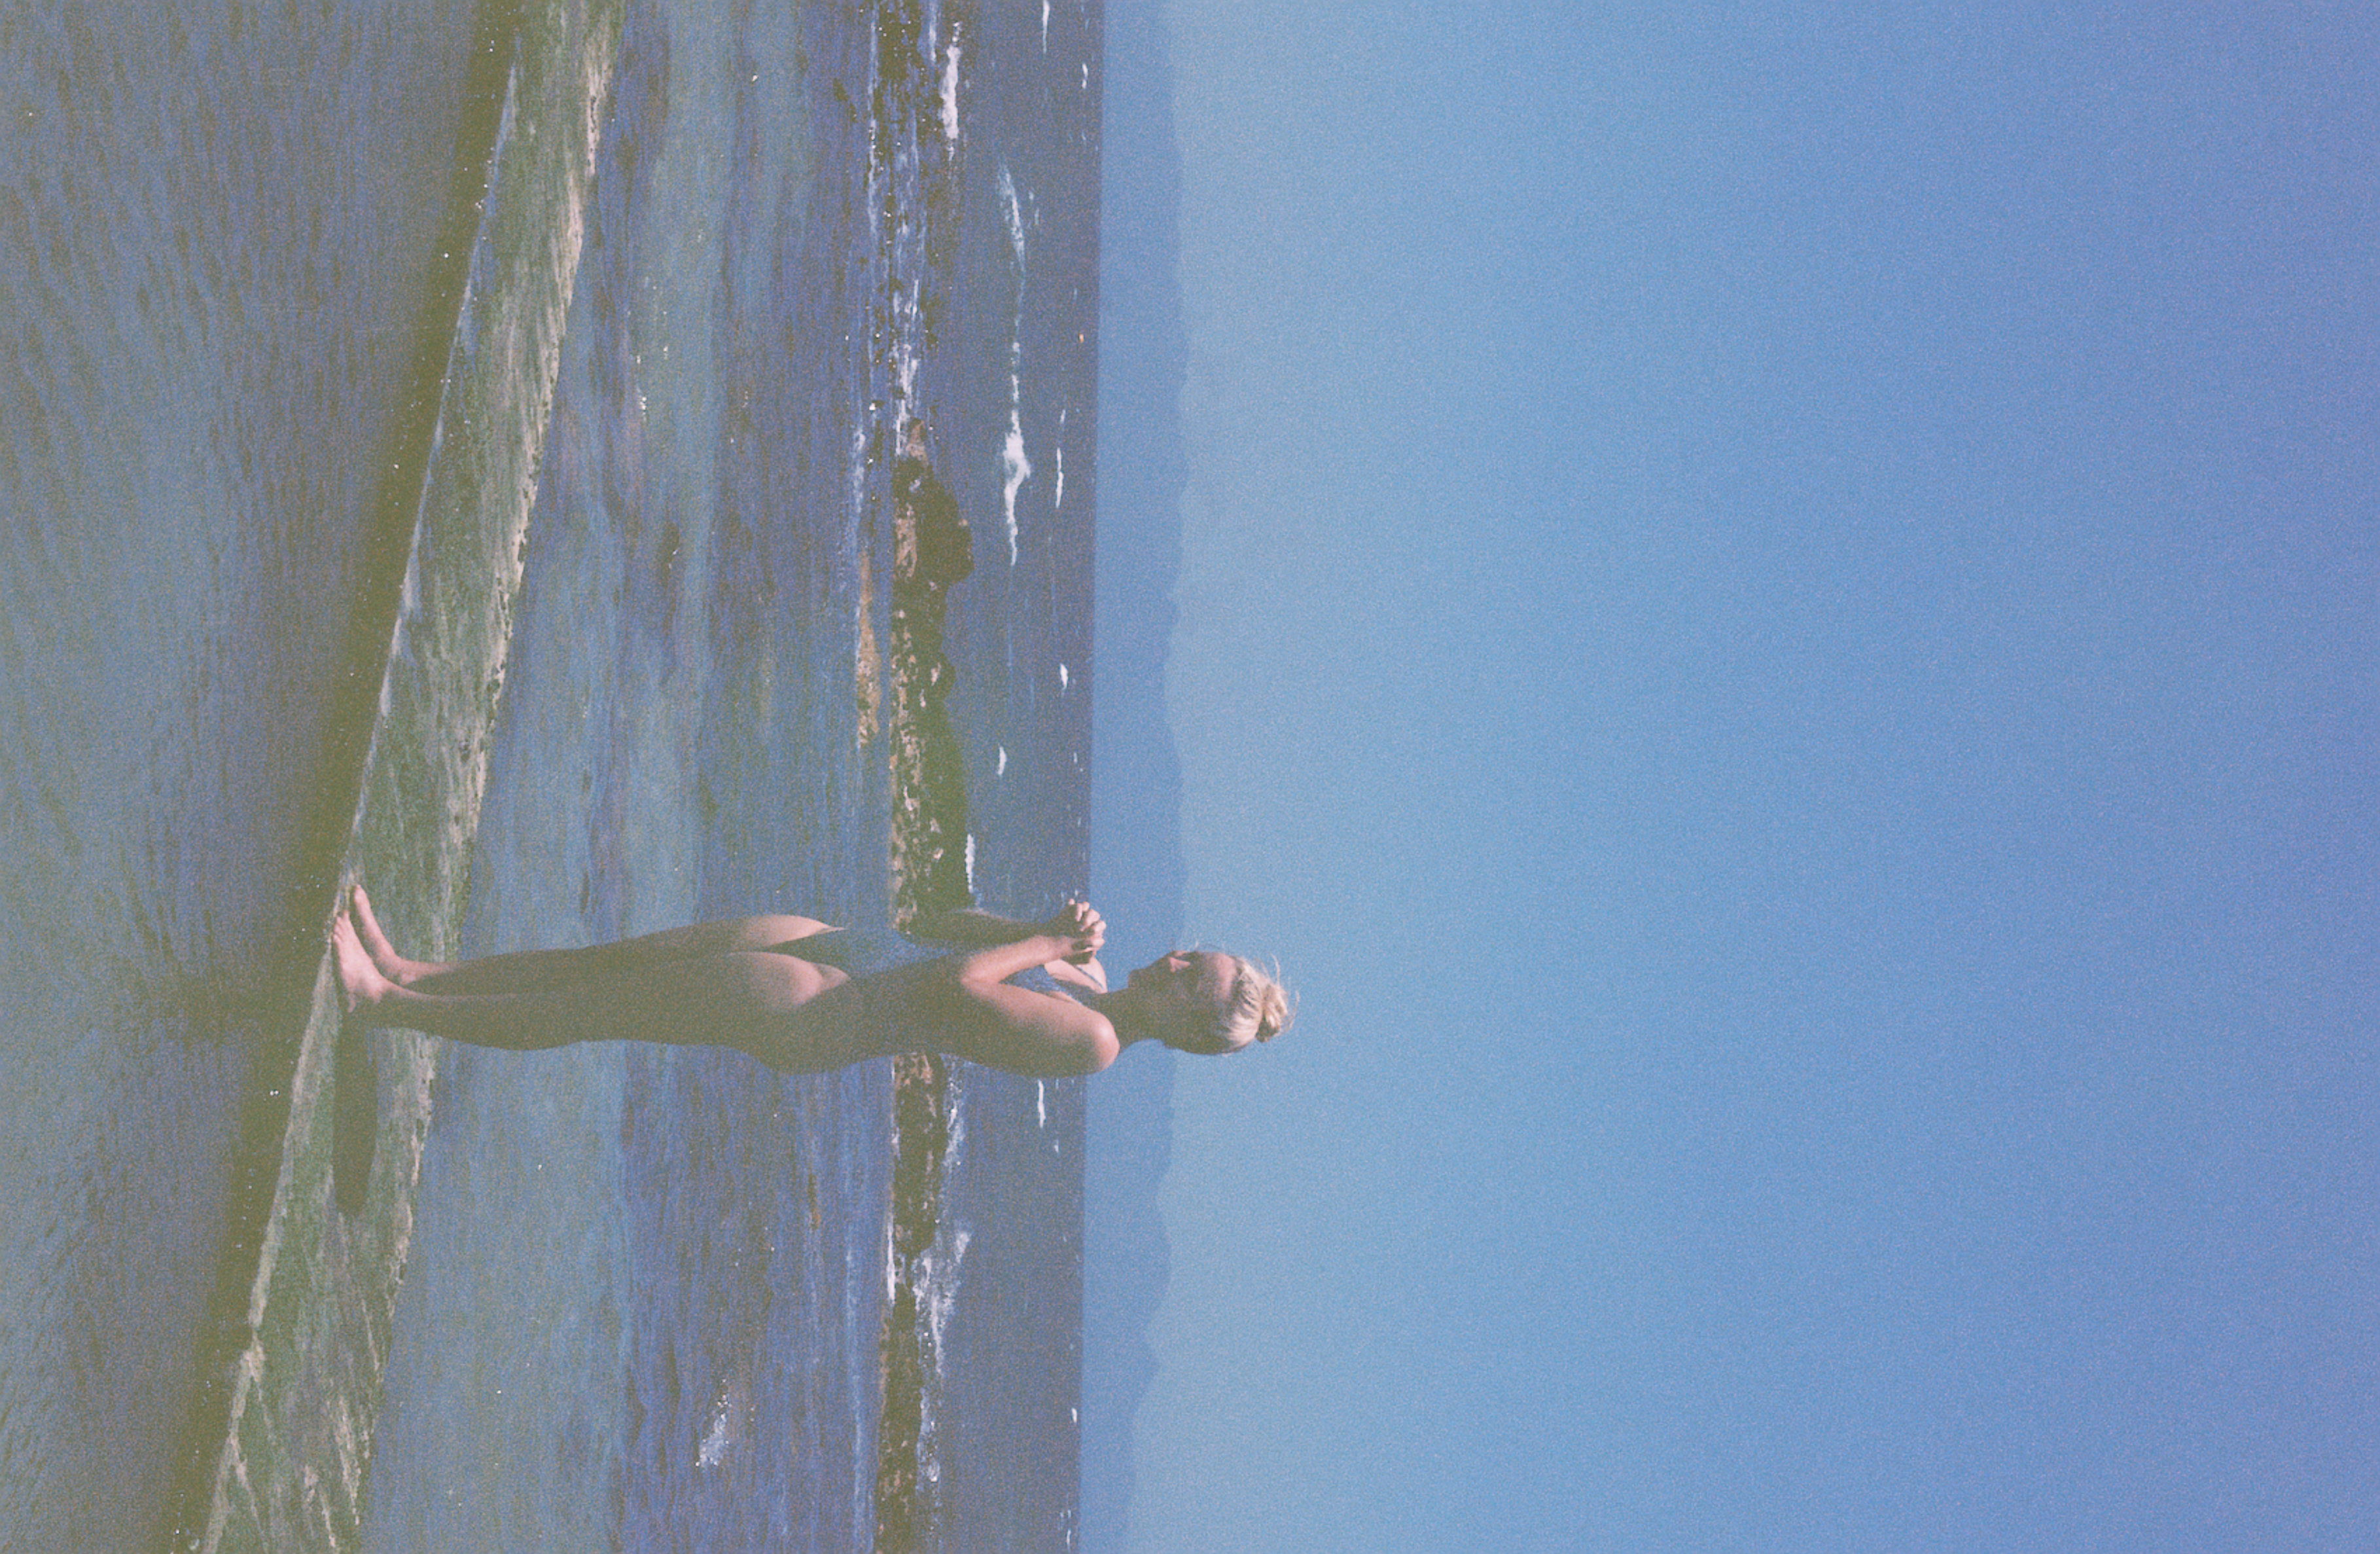


#2 SHOOT ON ONE TYPE OF FILM UNTIL YOU KNOW EXACTLY HOW IT RESPONDS.
This is so vital when if you want to take better film photos. When I first started shooting, I read an article that advised mastering one film first, and I… totally ignored it and started shooting on every different type of film I could get my hands on.
I know it is very tempting to go out and try as many different films as you can find. It’s so cool to see the different colour reproductions and levels of grain. But if you want to become a confident shooter who knows exactly how your film is going to respond in different environments, the only way to get there is to shoot on one type of film over and over and over until you develop a relationship with it.
I’ve done that with Fujicolor C200, and after four (almost) sequential rolls, I can finally say that I’m pretty sure I know what my images are going to come out like.



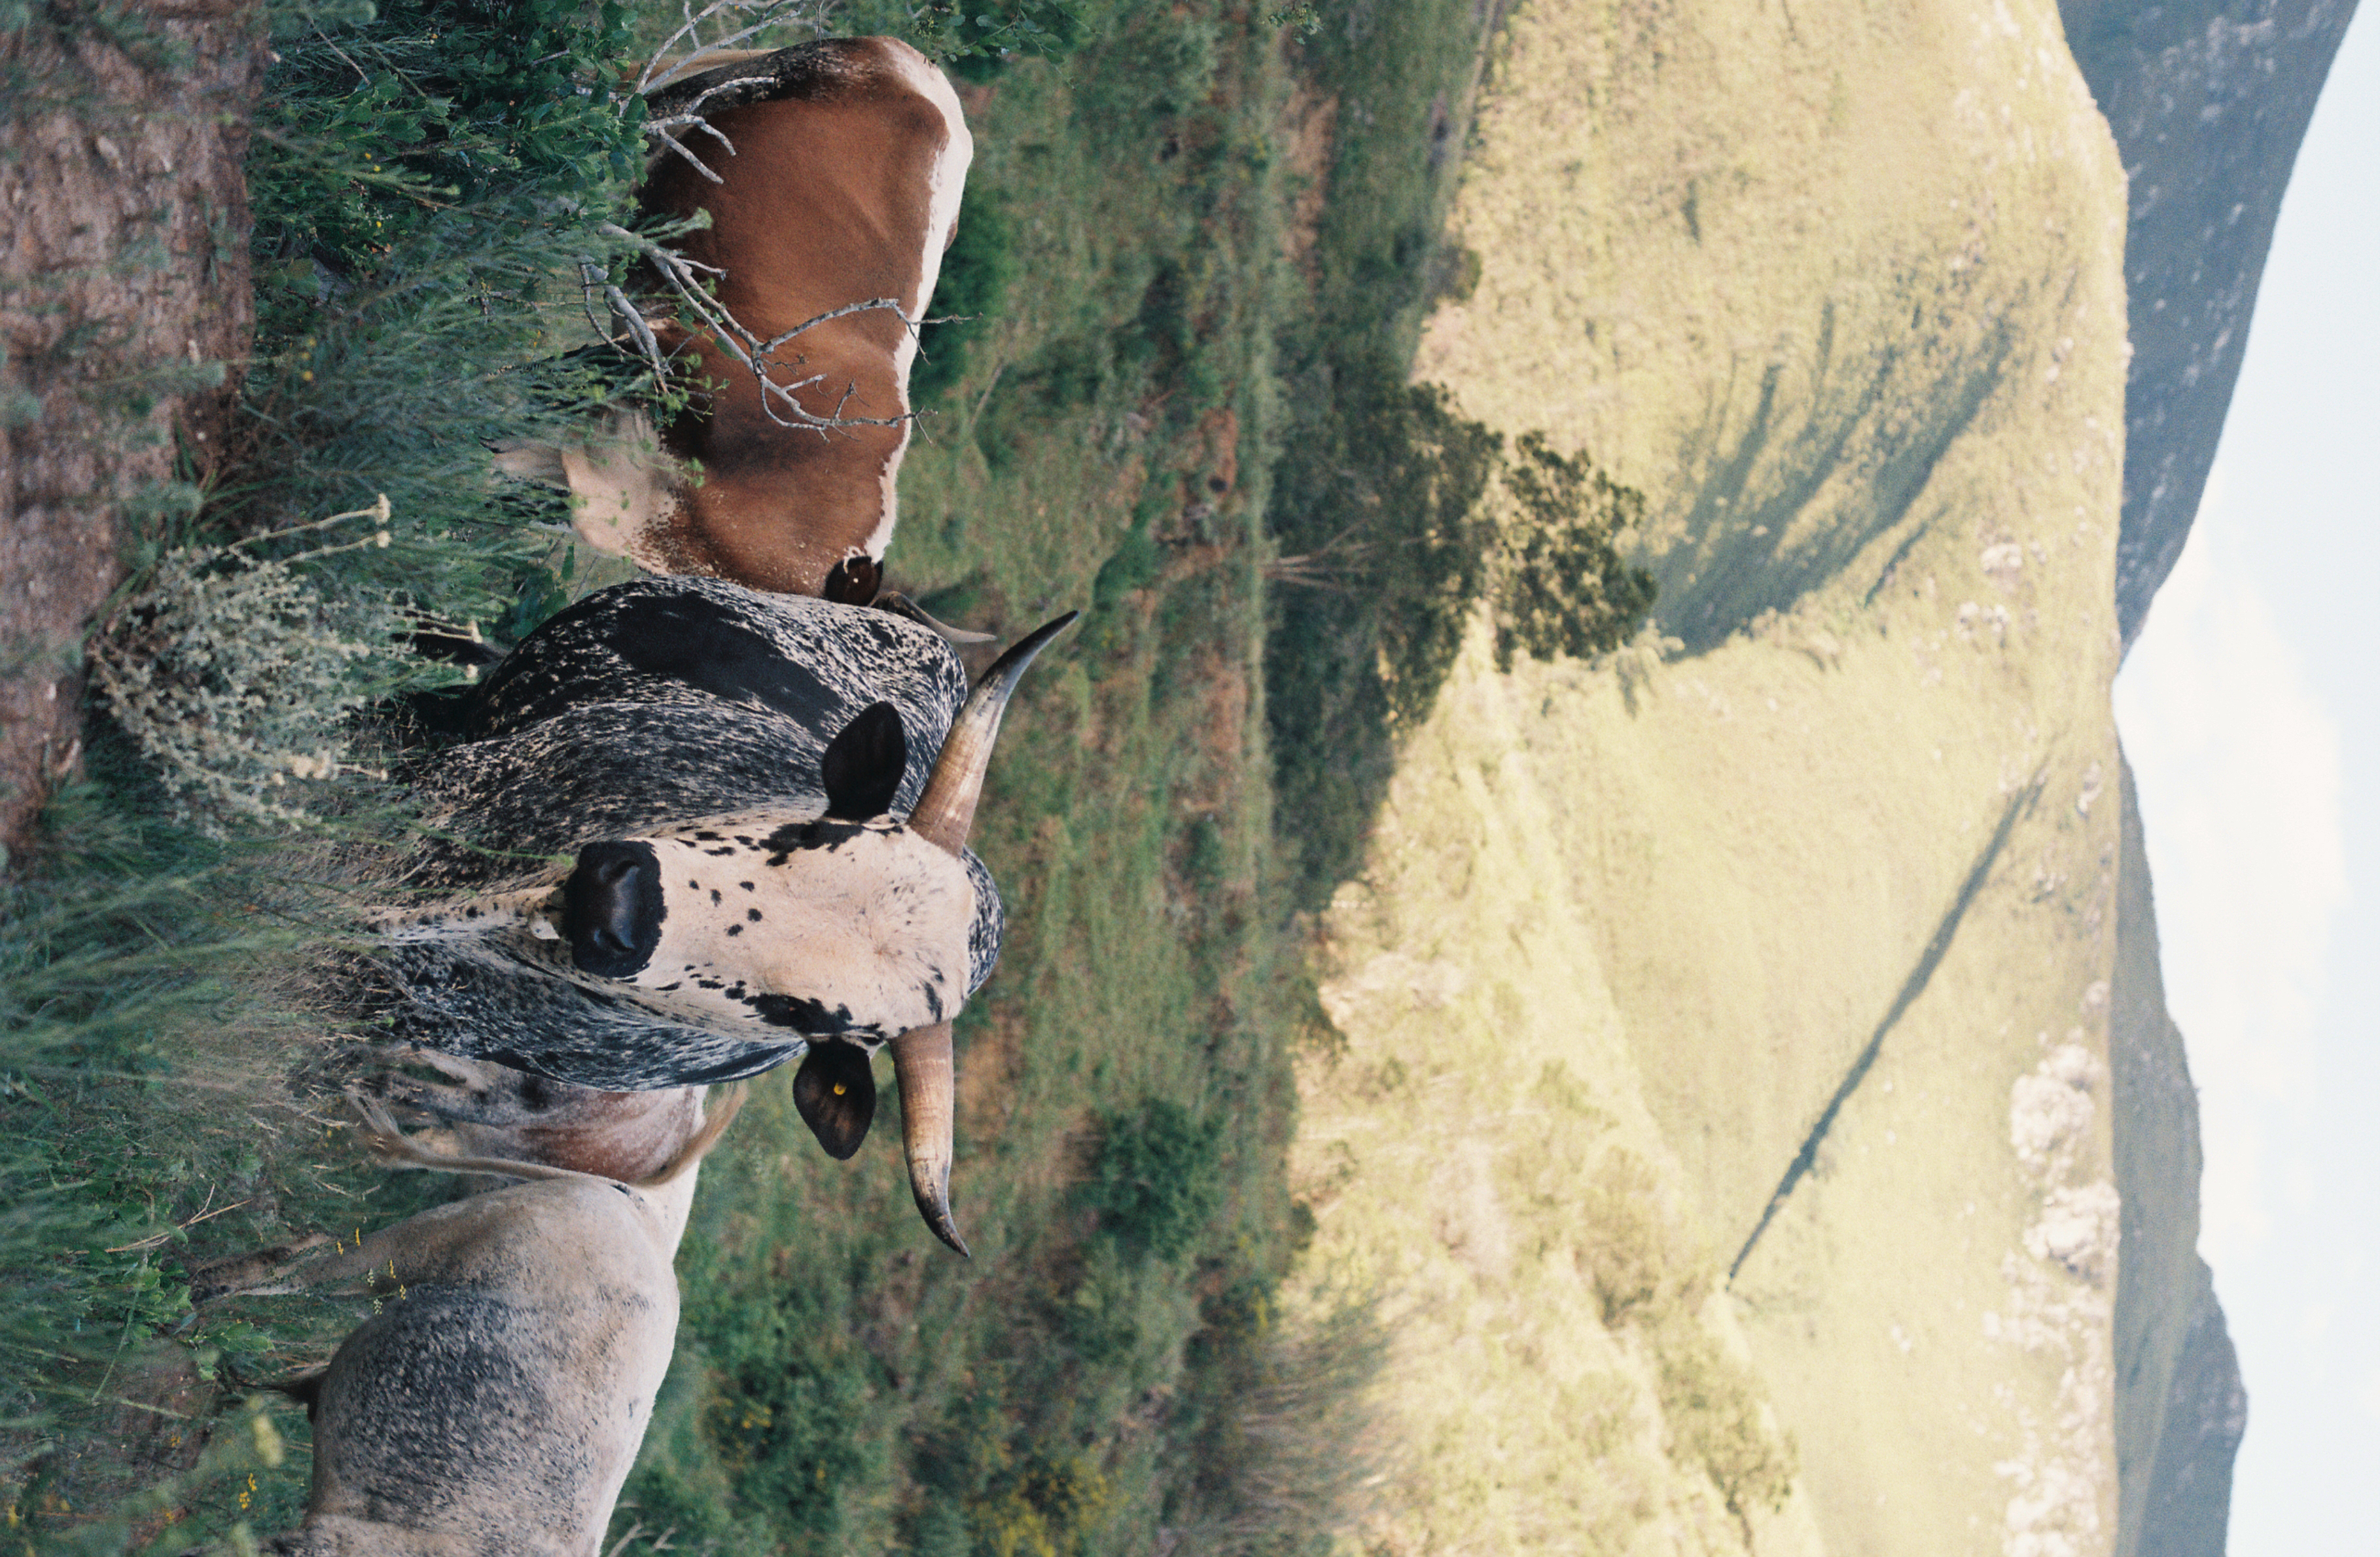
#1 DO NOT UNDEREXPOSE YOUR FILM.
Film can handle overexposure much better than underexposure. Overexposed film might look a little less saturated, but it will retain shadow detail while still preserving the vast majority of your highlights. Some analogue shooters have run tests and found that overexposed film is recoverable even up to 6 stops over correct exposure.
To read about the tests I’m referring to, check out this insanely informative post by Carmencita Film Lab.
Underexposure, however, even by as little as two stops, brings out unpleasant levels of grain, funky colour shifts and will result in murky, gunky shadows that look like they’ve been dragged through mud and then stepped on multiple times.
Been wondering why your images are dull, dark and excessively grainy? Underexposure is probably the culprit. If you’re in a pickle and have to choose between under- or overexposing, always choose overexposure. This simple choice will make it so much easier to take better film photos.
