Off-camera flash is arguably the best way to improve your photography. Read on to find out how to get started.
Off-camera flash is arguably the best way to improve your photography.The general idea is to make use of small portable strobes to light your subject, much like studio lighting, but without the limitations of power sources or locations. If you don’t own a flash yet, please read last week’s article first.
Update: This article was published in June 2011. For current information, please read our latest guide to off-camera flash accessories, published in March 2014.
Why off-camera?
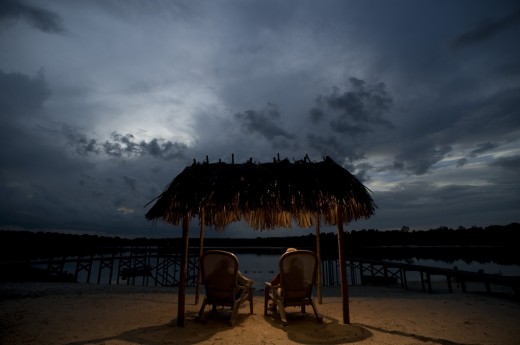
Since the dawn of the first photographic studios equipped with flashes, photographers have experimented with removing the flash from the camera. By being able to move the flash around freely, your ability to make use of light is vastly improved. Off-camera strobes can be used to make a photo look more natural, as if it has been lit with natural light instead of the telltale light from a strobe closer to the axis of the lens (on camera), or the strobes can be used to enhance the photograph otherwise – the old cliche of “your only limit is your creativity” most definitely applies here. Of course, making the best use of off-camera lighting is easier said than done – the same rules that count for studio lighting count here, no beginner photographer can walk into a studio on their first day and walk away with the best lighting possible – but practice makes perfect, and you’ll enjoy shooting with off-camera flash so much that the great results will start rolling in sooner than you think.
How do I get the flashes to fire?
Update: We have some new triggers in stock!
If you have never experimented with off-camera flash, you might be wondering how to get the flashes to work with your camera. A flash needs to sync up with the curtains of a DSLR‘s shutter. If the flash is not synced up properly, you’ll either have completely black frame, or a dark bar across the bottom of your image. Most cameras can sync at 1/250s these days, but 1/125s should work for most situations. (Alternatively, you can always turn your camera upside down…)
Luckily, there’s a lot of methods to get the flashes to sync with your DSLR. You might not even need to buy any new equipment – if you own a fairly recent Nikon camera and a CLS compatible Nikon flash, or a Canon 7D/60D and a compatible Canon flash, you’re already sorted. These cameras can use the built-in flash or infra-red transmitters to communicate with the flash and tell it when to fire. You also get to make use of through-the-lens (TTL) automatic modes, which can be useful to begin with, but will remove a bit of your control over the outcome of the photograph. Additional extra’s, like the Canon ST-E2 transmitter accomplish the same thing, but extends the compatibility to cameras without built-in flashes. Infra-red communications have one big disadvantage though – by making use of light to send the signals, they can struggle outdoors or in situations where the camera doesn’t have line of sight with the strobe. Some flashes, such as the Nikon SB-900 also have an optical sync, much like larger studio strobes. This allows you to use another flash on the camera to trigger the remote flash, the SB-900 will pick up the sudden increase in light and trigger itself in time to expose the photograph. Once again, this suffers from the same problems as infra-red, as the remote flash might not trigger in direct sunlight. (Most built-in flashes will fail to trigger a remote flash using this setup, as the TTL pre-flash will set off the remote flash before the exposure happens.)
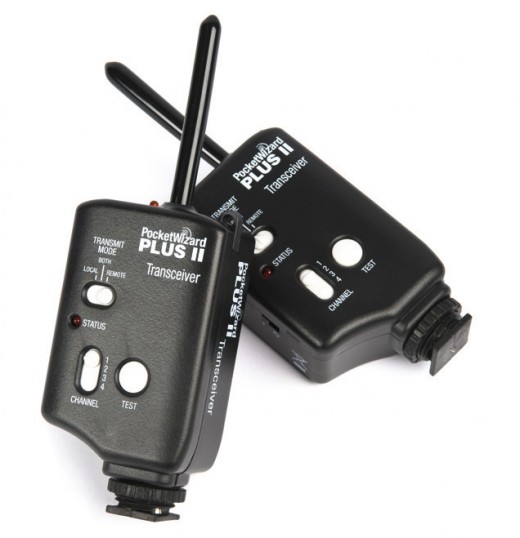
The infra-red and optical setups will work in most indoor shoot locations, and require minimal extra equipment. If you’re going to be shooting at more demanding locations, you’ll need something more reliable. Some flashes allow you to connect them to the camera using a PC-sync cord, a hard wired connection. This can work in a pinch, but requires lengthy cables running all over your location, which is not ideal. The other reliable way is wireless radio triggers, such as Pocket Wizards or RadioPoppers. Like any other device that uses radio communications, these work through walls or over long distances.
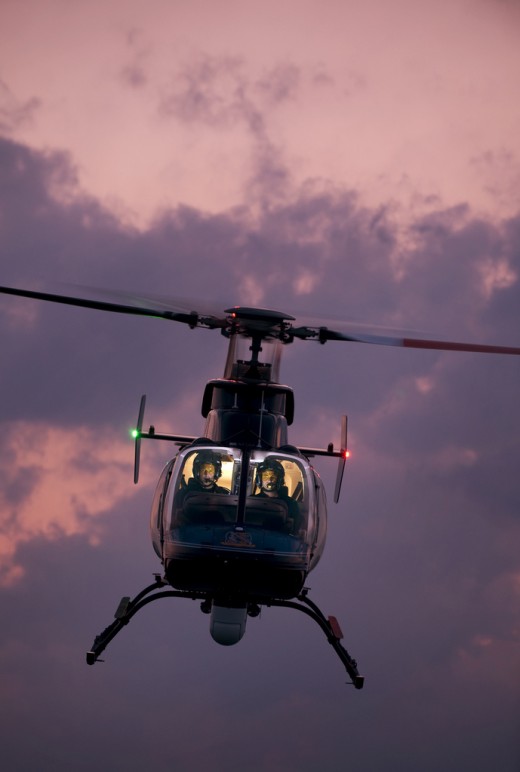
Radio triggers are definitely the way to go if you need reliable syncing and no throw-away shots where the flashes didn’t fire. They can also be rather expensive – like most other electronic devices, Chinese-made triggers can be bought online. The cheap triggers can sometimes be a great bargain, but won’t be as reliable or tough as a set of Pocket Wizards. In the shot above, David Hobby used a set of Pocket Wizards to trigger two flashes inside the helicopter cockpit.
What about positioning the lights?
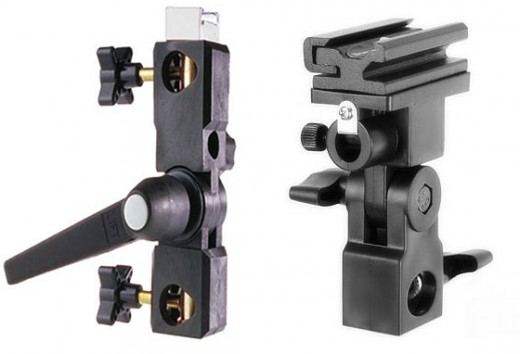
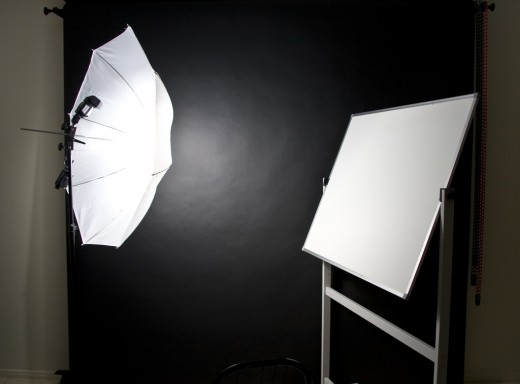
Now that you’ve got your lights set up to fire remotely (mentally, at least), how do you go about making use of them? You’ll need a set of light stands and “umbrella holders” to begin with. Umbrella holders allow you to attach a speedlight, which uses a hot shoe, to a light stand, which uses a standard spigot. The holders are specifically designed for this purpose, and offer you a range of adjustments and movement for the speedlight, as well as its namesake slot for attaching an umbrella light modification. Two stands, holders and umbrellas will get you started with a very decent off camera flash kit.
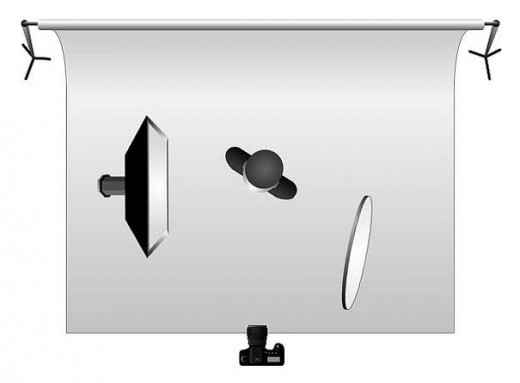
The next step is to work out light setups. The easiest is to start experimenting with classic light setups, such as rembrandt lighting. Once you’ve got the hang of working with the off-camera light, look at the work of other photographers you admire, and try to copy their lighting, or at least approximate the same style. A great place to start looking for lighting tips is the Strobist group on Flickr, as well as the Guess The Lighting blog.
Are there any drawbacks?
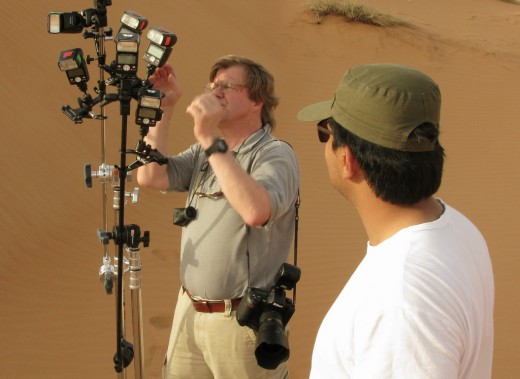
Sure. Speedlights make use of batteries, and as such you’ll need a few sets of rechargeable AAs. This also means that they don’t cycle as quickly as studio strobes – make sure to wait until each flash is charged before you take your next shot. Speedlights are also not as powerful as a full-size studio flash – about 4 times less. This means you need to double up flashes to overpower direct sunlight…
Select images © David Hobby.
Please feel free to ask any questions in the comments!






Chinese Ebay triggers used to be cheap and rather poor quality, but since the Yongnuo RF602, they have surpassed Pocket Wizards in some areas. I wish ORMS would stock some “Strobist” gear, such as on the strobist section on mpex.com. We really can’t source these things locally (yes yes I know about , but they mostly stock crappy stuff).
Hi Karl, thanks for the comment. We are definitely looking into the suggestions, and have discussed some strobist options already! Can’t promise anything though.
Thanks so much for this article. Where should I begin if I want to learn more about off camera flash photography?
Hi Jeannie, glad you liked the article. For more information, visit the Strobist 101 section on the Strobist blog – http://www.strobist.com
Camera flashes are used to provide an extra degree of strategic lighting the moment that the camera takes the photo. It is virtually impossible to find a camera these days that does not have a built-in flash feature, but these do not always satisfy the photographer’s needs.