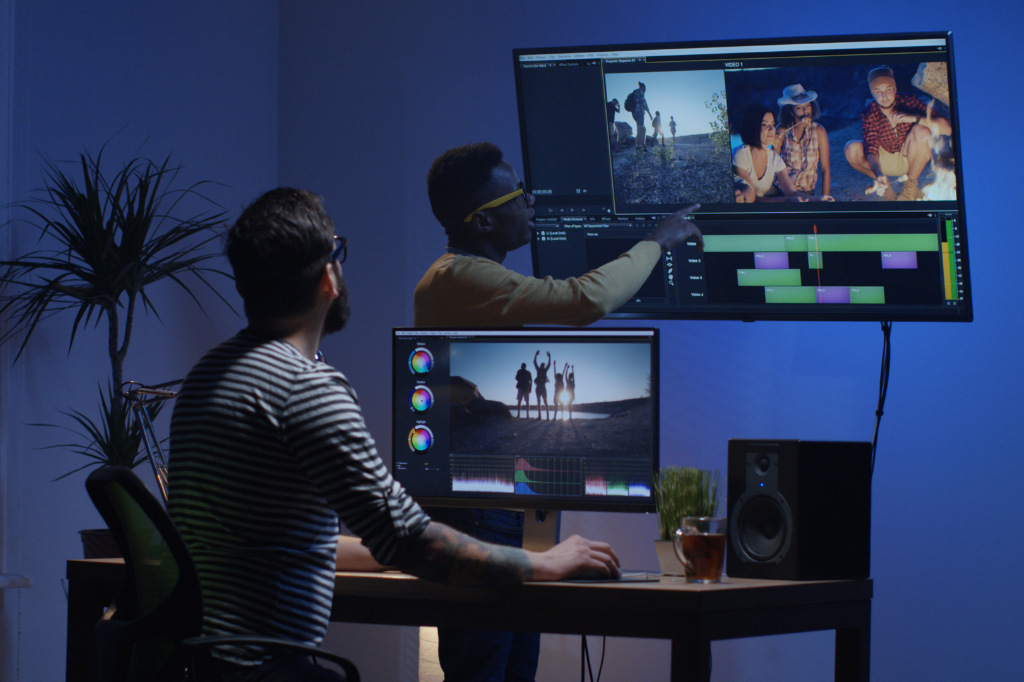
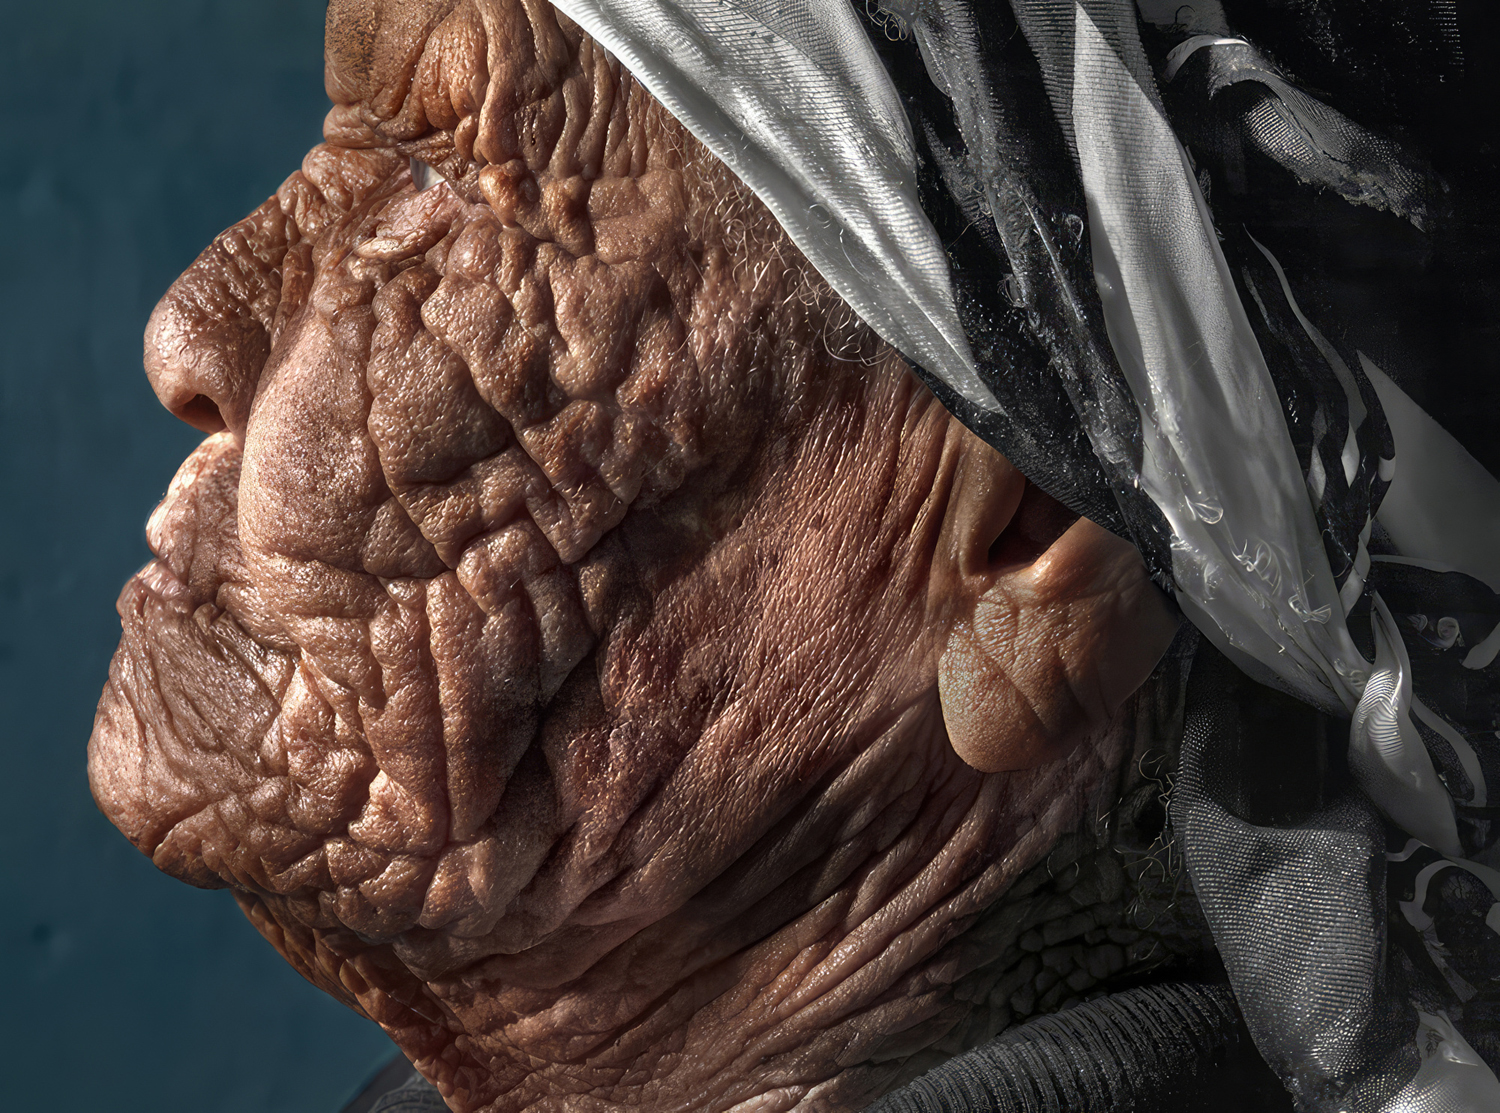
In today’s Photoshop video tutorial, Manfred Werner shares a quick and easy method to create high-key, bright portraits.
Learn essential retouching and post production skills each Wednesday, right here on Orms Connect. Tutorial Wednesdays are brought to you by Manfred Werner.
In this video tutorial, I will show you a quick adjustment layer technique to whiten your model’s skin for that bright, high-key look. First of all, we will start of with a new retouching layer and rasterise it. After that, we will created a new adjustment channel mixer layer and switch it to monochrome. We will then duplicate our adjustment layer two times and start doing some changes to these layers. Once we are done, we will create a master group and do a final opacity control.
Quick reminder: When working with the channel mixer layers, keep on changing the individual opacity controls.


These tutorials should also be published as GIMP tutorials for those of us that prefer Free and Open Source software and refuse to spend R20k on Photoshop. I am willing to do the “translations” for you if there is interest, as there are more and more amateurs and pros that are seeing the benefits of Open Source Software