Some basic advice on how to get the most from your DSLR.
Photography is an amazing and extremely rewarding activity, whether you shoot over the weekends for enjoyment or you earn your living through it. Having three years of experience and a degree in photography (and still learning every day), I’d like to share some tips for newcomers. In no particular order:
Shoot on Aperture Priority or Manual modes
Ditch the fully automatic modes – even the Program mode. Shooting with Aperture Priority mode enables you to control the depth of field of your images, while the camera still manages the exposure for you by adjusting the shutter speed. The only time you’ll need to be aware of what the camera is doing is when you’re shooting in low light scenarios – be aware of the shutter speed the camera is selecting, and make sure that it doesn’t dip below 1/[focal length times crop factor] – which would be 1/80s for a 50mm lens on an APS-C crop DSLR. You’ll notice your mode dial also has a Shutter Priority setting. While it’s tempting for newcomers to “upgrade” to this mode, its uses are limited. Shutter Priority is handy for situations where you need full control over the time the shutter is open, e.g. long exposures, capturing movement in the form of motion blur and freezing movement without the use of a flash. In most other scenarios, Av-mode would be better, as it’s much more important to be in control of the DoF.
On a side note, if you are using a flash or multiple flashes, shoot on Manual mode. Set the shutter speed to your maximum sync speed (should be in your manual) or slightly slower if you’re using radio triggers, and control the exposure using the flash settings or your aperture.
Use single focus points
Multiple focus points has obvious advantages for tracking focus in sports and other fast movement activities. However, if you’re shooting static objects or someone’s portrait, I would recommend using a single focus point, or select a small focus area if your camera is capable of grouping focus points. This will enable you to precisely select the area of the image you want in focus, instead of having the camera decide for you. One way to accomplish this is by selecting the focus point corresponding with the area you want in focus, such as center bottom point for a landscape where you want the ground in focus. The better alternative is to select the central focus point which is often a cross-type sensor and thus the most sensitive and accurate. With the central focus point, you use the “focus and recompose” method. You pick your focus with the middle of the frame, and then readjust the frame for the best composition.
Customise your focus button
Most, if not all, cameras allow you to focus using a half-press of the shutter release button. This is handy, allowing you to focus and shoot with only one finger, but can also be a pain. Let me paint a scenario: You’re shooting your favourite band playing live in a dimly lit bar. You’re not using a flash (with built in focus assist) as you don’t have one/forgot it at home/like the effect of the ambient light. The autofocus is giving you hassles, refusing to work in the dark. Finally you achieve the focus you want and take the shot, releasing your finger off the shutter button to check your award-winner on the display. Hmm, composition is a bit off, so you decide to take another – only to find yourself struggling with the focus again for the next minute, as every time you push the shutter release, the lens hunts for focus. One solution would be to use manual focus, but this can be a bit difficult on a DSLR without the split-screen of the old days. The other solution is to remap the focus button. Many new cameras come with an “AF ON” button on the back, conveniently underneath the right thumb. The ones that don’t still have other buttons there, such as exposure lock, or AF modes. In the first case, the button is already mapped to controlling autofocus, and you’ll just need to disable focusing with the shutter release half-press. In the second case, most recent cameras will allow you to remap the function of those buttons to autofocus – consult your manual on how to achieve either of these settings.
Hope these tips help. They might not suit everyone’s style, but I have personally found them invaluable. Next week I’ll share some tips on digital workflow.
If you have any tips of your own, please share them in the comments below.





I focus/recompose in conjunction with back button focus (remapped AE-L/AF-L button for Nikon) and while it does take a while to get used to – it works really well! The only negative is that it does complicate matters when someone else wants to take a shot with your camera 🙂
It is more accurate (but involves a bit more arithmetic) to take the crop factor into account when calculating the minimum shutter speed when handholding: 1/(1.5 x FocalLength). Image stabilisation allows a further reduction of 2-3 stops from the calculated value. So for instance at 100mm, the minimum shutter speed would be around 1/150 and with VR/IS/OS you should be able to get away with around 1/30. This obviously is only applicable if the subject does not move and depends on how still you can hold the camera.
Hi AM, you’re completely right, I forgot about the crop factor when it comes to APS-C cameras and calculating minimum hand-holding shutter speed. Will update the post.
Thanks for the comment!
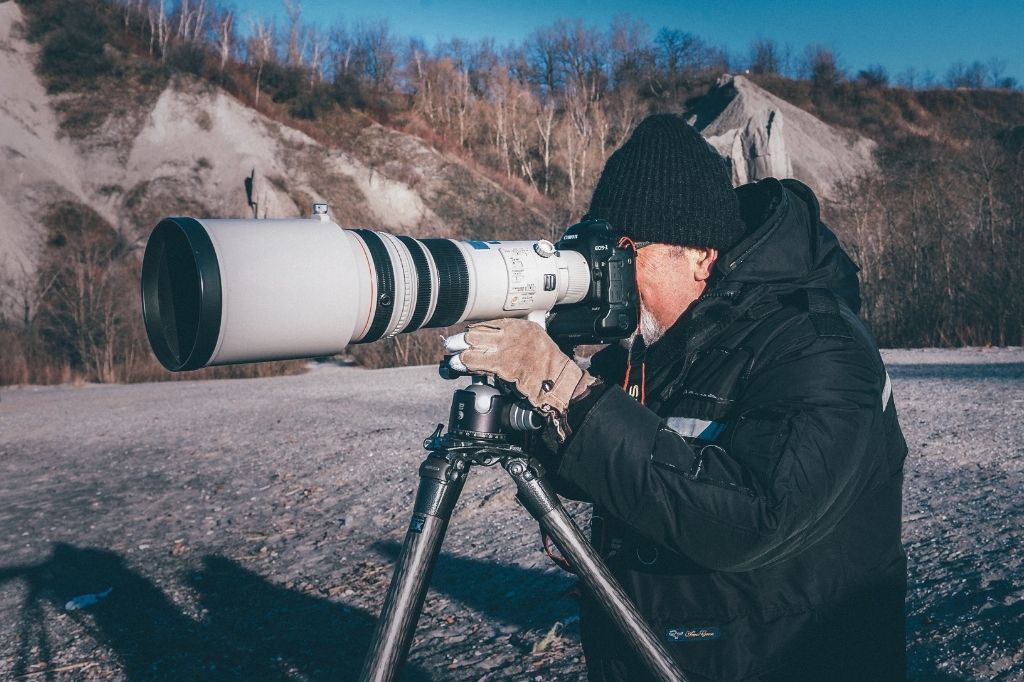
Moolman’s chimping being used as stock photo? 😛
Haha, yeah. He wasn’t too happy.
Using your scenario above as an example, here is a quick and easy ‘workaround’ which doesn’t involve any remapping of the camera’s function buttons.
Once autofocus has been achieved by pressing the shutter button halfway down, flick the auto/manual focus button (AF/MF) on the lens over to manual (MF).
As long as you don’t re-adjust the focusing ring, your original point of focus will remain locked in and you can happily shoot, review, recompose and shoot again.