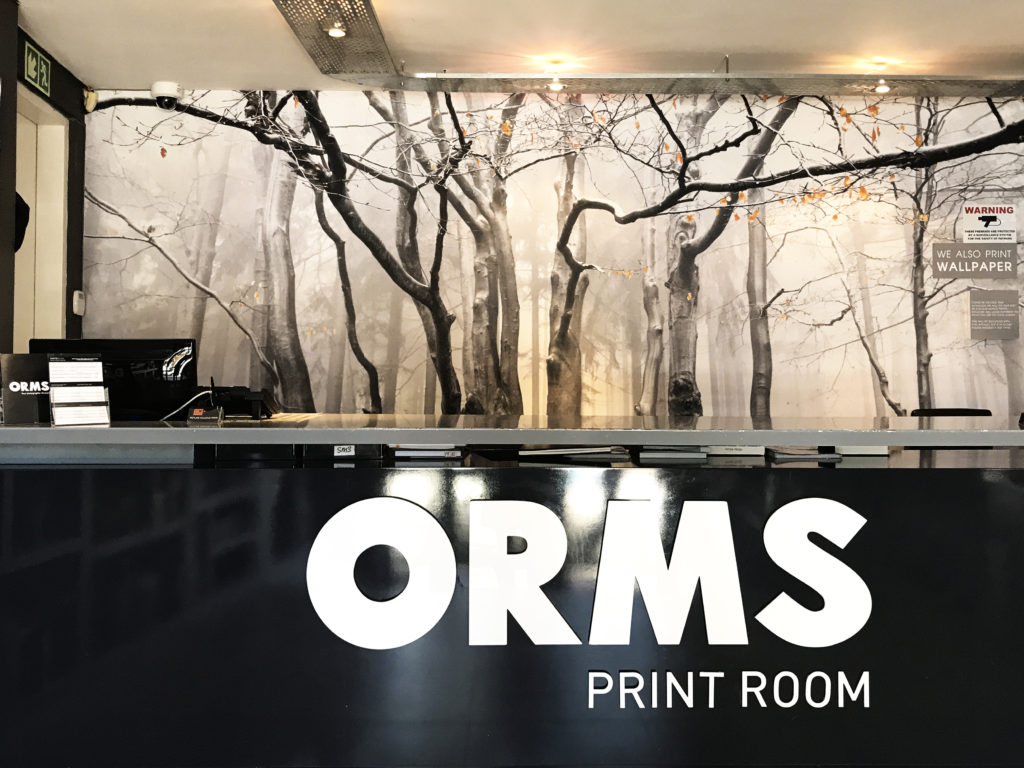
We recently refreshed the wallpaper in the Orms Print Room & Framing and decided while we’re at it, we’ll tell you about the process.
Wallpaper can instantly transform any interior space, whether it forms a subtle backdrop, a gentle accent or a striking focal point. It was time for us to replace our existing Print Room wallpaper and replace it with a fresh, new one just in time for spring. At Orms Print Room & Framing you can customise your own wallpaper! We know it can be a bit daunting to start the venture of wallpapering a feature wall, so we’ve put together a step-by-step list of do’s and don’t’s.
The first thing is to ensure that your wall is clean and if you’ve had wallpaper previously that it’s taken down correctly. Taking down the old wallpaper is really quick and easy and is just a case of pulling the paper off the wall. The pieces pull off easily and there shouldn’t be any residue left on the wall. This is essential to the application as the wall needs to be smooth and neat so that there is no chance of the wallpaper lifting or bubbling. If the wall is rough it’s best to have the wall skimmed and then have a coat of primer or paint applied.
Orms offers professional installation services, as well as a site inspection, where we will come out to measure and assess your walls. We then set up your image according to the measurements. We print wallpaper in panels approximately 1.2m wide, with a 30mm overlap on each panel. This allows for easy alignment of the panels. We also add an extra 50mm bleed allowance around the entire print, which gives the installer a bit extra to work with in case the wall is not completely straight.
Before:


During:
Step 1: Your wallpaper comes rolled up. Lay a large drop sheet on the floor, sufficient to cover the floor area that you will be using.
Step 2: Roll the wallpaper out with the image facing down. The image is printed from left to right so as labelled at the bottom i.e in a 4-panel image (panel 4 at the bottom and panel 1 at the top).
Step 3: Mix a water-based wallpaper adhesive according to package directions.
Step 4: Apply the adhesive to the back of the first panel, but not to the edge. Stop about 4cm from each edge, top bottom and side.
Step 5: Measure up the width of the wallpaper, apply a heavy duty pre-mixed non-water-based adhesive to the top, bottom and sides of the wall, covering the width of the space which is not covered with the wallpaper adhesive. Applying water-based adhesive will cause the paper to curl.
Step 6: Apply the first panel on the left using a level to ensure that the panel is level (will affect subsequent panels). There is a few cm bleed on the top and bottom of each panel so leave a few cm above and below as the ceiling doesn’t really run straight so you need the buffer. Smooth out all the bubbles.
Step 7: Repeat steps 4 and 5
Step 8: Apply the second panel overlapping about 1cm, match the pattern to panel 1, smooth out all the bubbles.
Step 9: Repeat all the steps for subsequent panels.
Step 10: Using a steel ruler, trim the overlapping panels, ensuring to cut through both panels. A 9mm blade is narrow enough to minimise joins. Remove the under and overlapping strips and with a slightly damp cloth smooth the two panels together.
Step 11: Trim tops and bottoms of all panels.


After:


At Orms Print Room & Framing we stock 3 different types and textures of wallpaper.
1) PVC-free, which is mould resistant (perfect for bathrooms and moist conditions) @ R399.00p/m2
2) Linen, paper-backed, which has a nice canvas-like texture (gives the print an artistic feel like it’s on canvas) @ R345.00p/m2
3) Textured suede, which has a smooth suede-like texture (this is what we printed our entrance wallpaper with) – best for rich black colours @ R345.00p/m2
Find out more about the Custom Wallpaper Printing at Orms.


