A guide to an alternative technique of colour photography pioneered by Russian photographer Sergey Prokudin-Gorsky.
Last year, while doing research for a project, I came across an article on Sergey Prokudin-Gorsky, a Russian chemist and photographer and an early pioneer in the field of colour photography. Sergey’s technique didn’t involve revolutionary new chemical processes or colour film and papers – his colour photographs were in fact colour projections of black & white photographs.
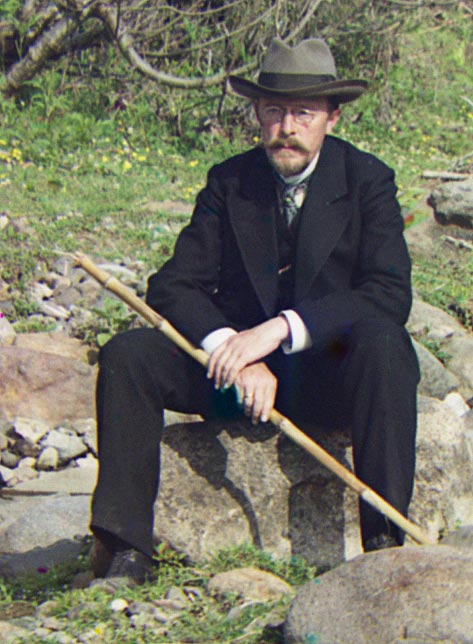 Sergey Prokudin-Gorsky self portrait, 1912.
Sergey would take three B&W photographs of the same subject, using a different coloured filter for each exposure, and then project the three B&W negatives through the same filters to recombine the original colours, much like the early colour movie projectors which came decades later.
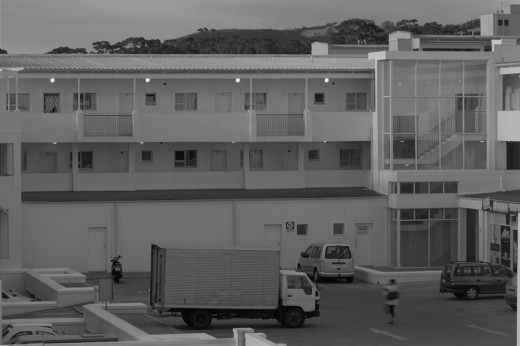
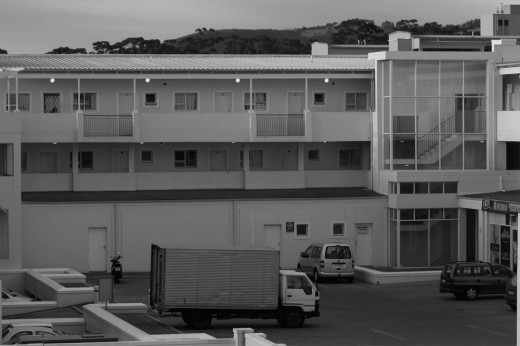
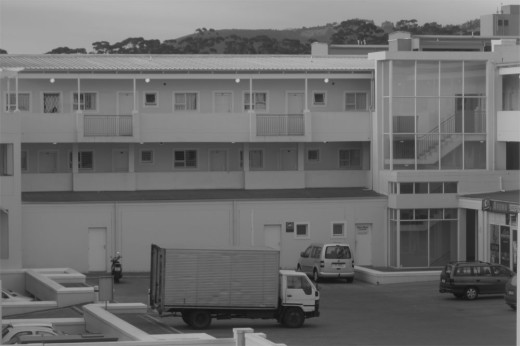
 Red, Green and Blue filtered photographs, and the composite.
Realising that I could replicate this technique without having to purchase any extra equipment or chemistry, I gave it a try. Why, you ask? Because I wanted to see how it would work in today’s age of digital cameras and Photoshop – and it has a certain novelty to it. Please note: this technique can’t create a colour photograph from an old B&W negative – the method only works if the original negatives were photographed through coloured filters.
Here’s an easy guide for those that want to experiment with this technique:
You’ll need:
• A film camera and some B&W film, or any digital camera.
• Red, green and blue filters. Doesn’t need to be screw-in filters – coloured gels will also work (perhaps multiple layers of cellophane will also work?)
• A tripod or somewhere sturdy to place the camera.
• Adobe Photoshop
I decided to use my DSLR, but any digital or film camera will work. Set the camera to B&W mode and compose your subject. Get your filters ready, and then take three photographs – one for each filter. In order to remember which photograph matches with which filter, shoot in the order of red, green and then blue, i.e. RGB.
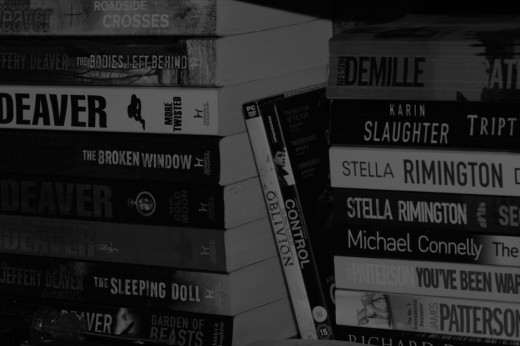
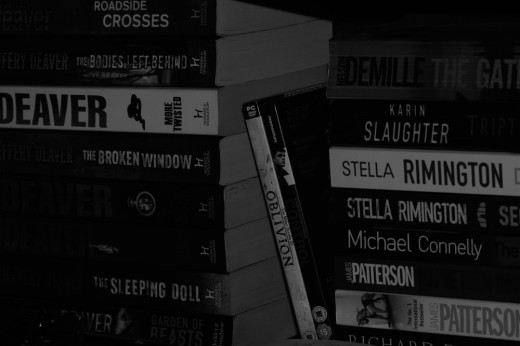
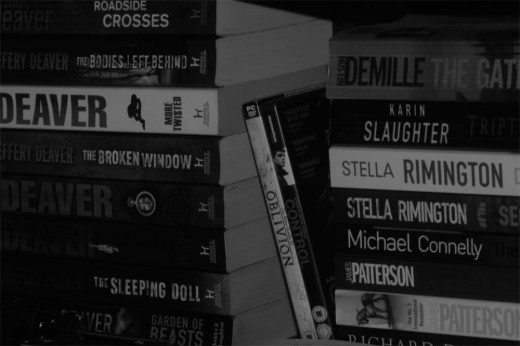
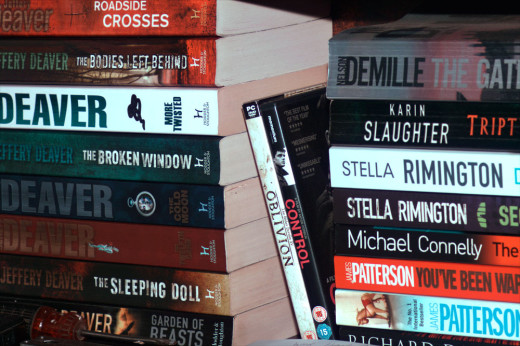
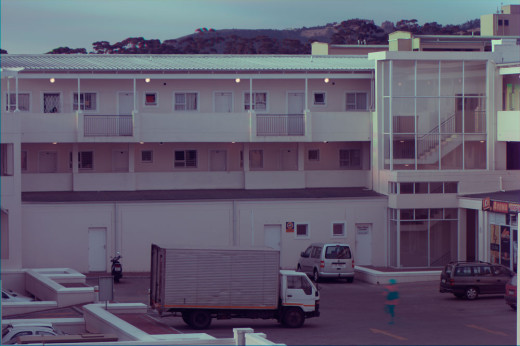
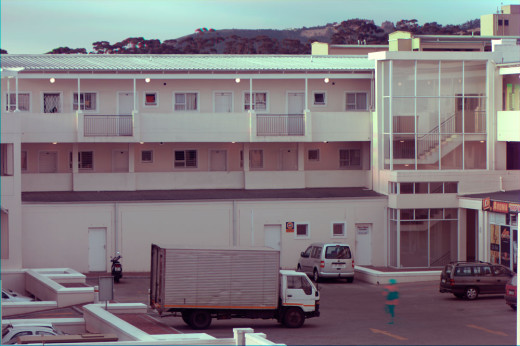
Transfer the three captures to your computer. Export JPG files if you shot RAW, and name them Red.jpg, Green.jpg and Blue.jpg. Open all three images in Adobe Photoshop, and copy them into a new document as layers, once again naming them accordingly. As the photographs were taken at different times, they might need to be lined up as well. Double click on a layer to bring up the Blending Options. On the first pane, under the Advanced Blending field in the middle, untick the channel selections that don’t apply – leaving only the “R” channel ticked for the red image/layer. Once you’ve done this for all three layers, you’ll have a colour image! First thing you’ll notice is that the white balance and exposure might be off, so add a Curves adjustment layer to fix any issues. That’s it! You’ve just made a colour photograph using only black & white source images. Extra props if you do this using scans from B&W film. Below are some examples:
Example 1
Example 2
Adjusted image





Cool!
has this been done using old b&w images with any success? if so could you tell us how? I tried but so far nothing. I even took a color photo and turned it b&w gray-scale in Photoshop and then back to RGB. added the color filters, merged and took away the color agan, back to RGB. did what you said and ended up with a magenta image. and no amount of corrections seemed to fix it. have you tried this? the reason I started with color was because I wanted to see how close I could get to the original.
Hi Barry,
Nope, this can’t be done using old black and white photos or colour photos edited to be grayscale. For the technique to work, the photos need to be shot through red, green and blue coloured filters, so unless your original photos were shot this way, they can’t be reassembled into one colour photo.