
Want to get off auto and start taking control of your camera’s full manual functionality? By the end of this blog post, you’ll know exactly how to do just that. We’re going to cover how your camera actually works, what all the different modes and settings mean, and how you can start getting creative with those settings. We’ll even throw in a few camera recommendations at the end to help you pick something that’s right for your chosen field of photography.
AN INTRODUCTION TO DIGITAL PHOTOGRAPHY
DEFINING DIGITAL PHOTOGRAPHY
Let’s kick it off by giving you a brief introduction to digital photography as it is used and understood in our modern era. To do this, however, we need to first define photography in its purest sense. If we break it down into its simplest technical functionality as is relevant nowadays, photography can be described as focusing a source of light onto a light-sensitive material. This definition may sound cold, clinical and soulless, but it is a solid starting point for us to explain how digital photography works.
The focusing of this light source onto a light-sensitive compound is generally done via the use of a photographic lens. The lens on the front of a camera directs the light into the camera’s body. With digital cameras, this light then falls onto the camera’s digital sensor. This sensor captures the light, records it, and it is then processed into the information that makes up a digital image as we know it.
ROCKIN’ IT OLD-SCHOOL WITH ANALOGUE PHOTOGRAPHY
If we hop in a time machine and go back a few decades, we would find rolls of film in place of a digital sensor. Film is sensitive to light due to the chemicals that it is coated in, and when it encounters the light that travels through a lens, it, like a sensor, records that light in the form of an analogue image. This process — light entering a camera via a lens, encountering a light-sensitive material, and a photograph being recorded on that light-sensitive material — is referred to as “exposing an image.”
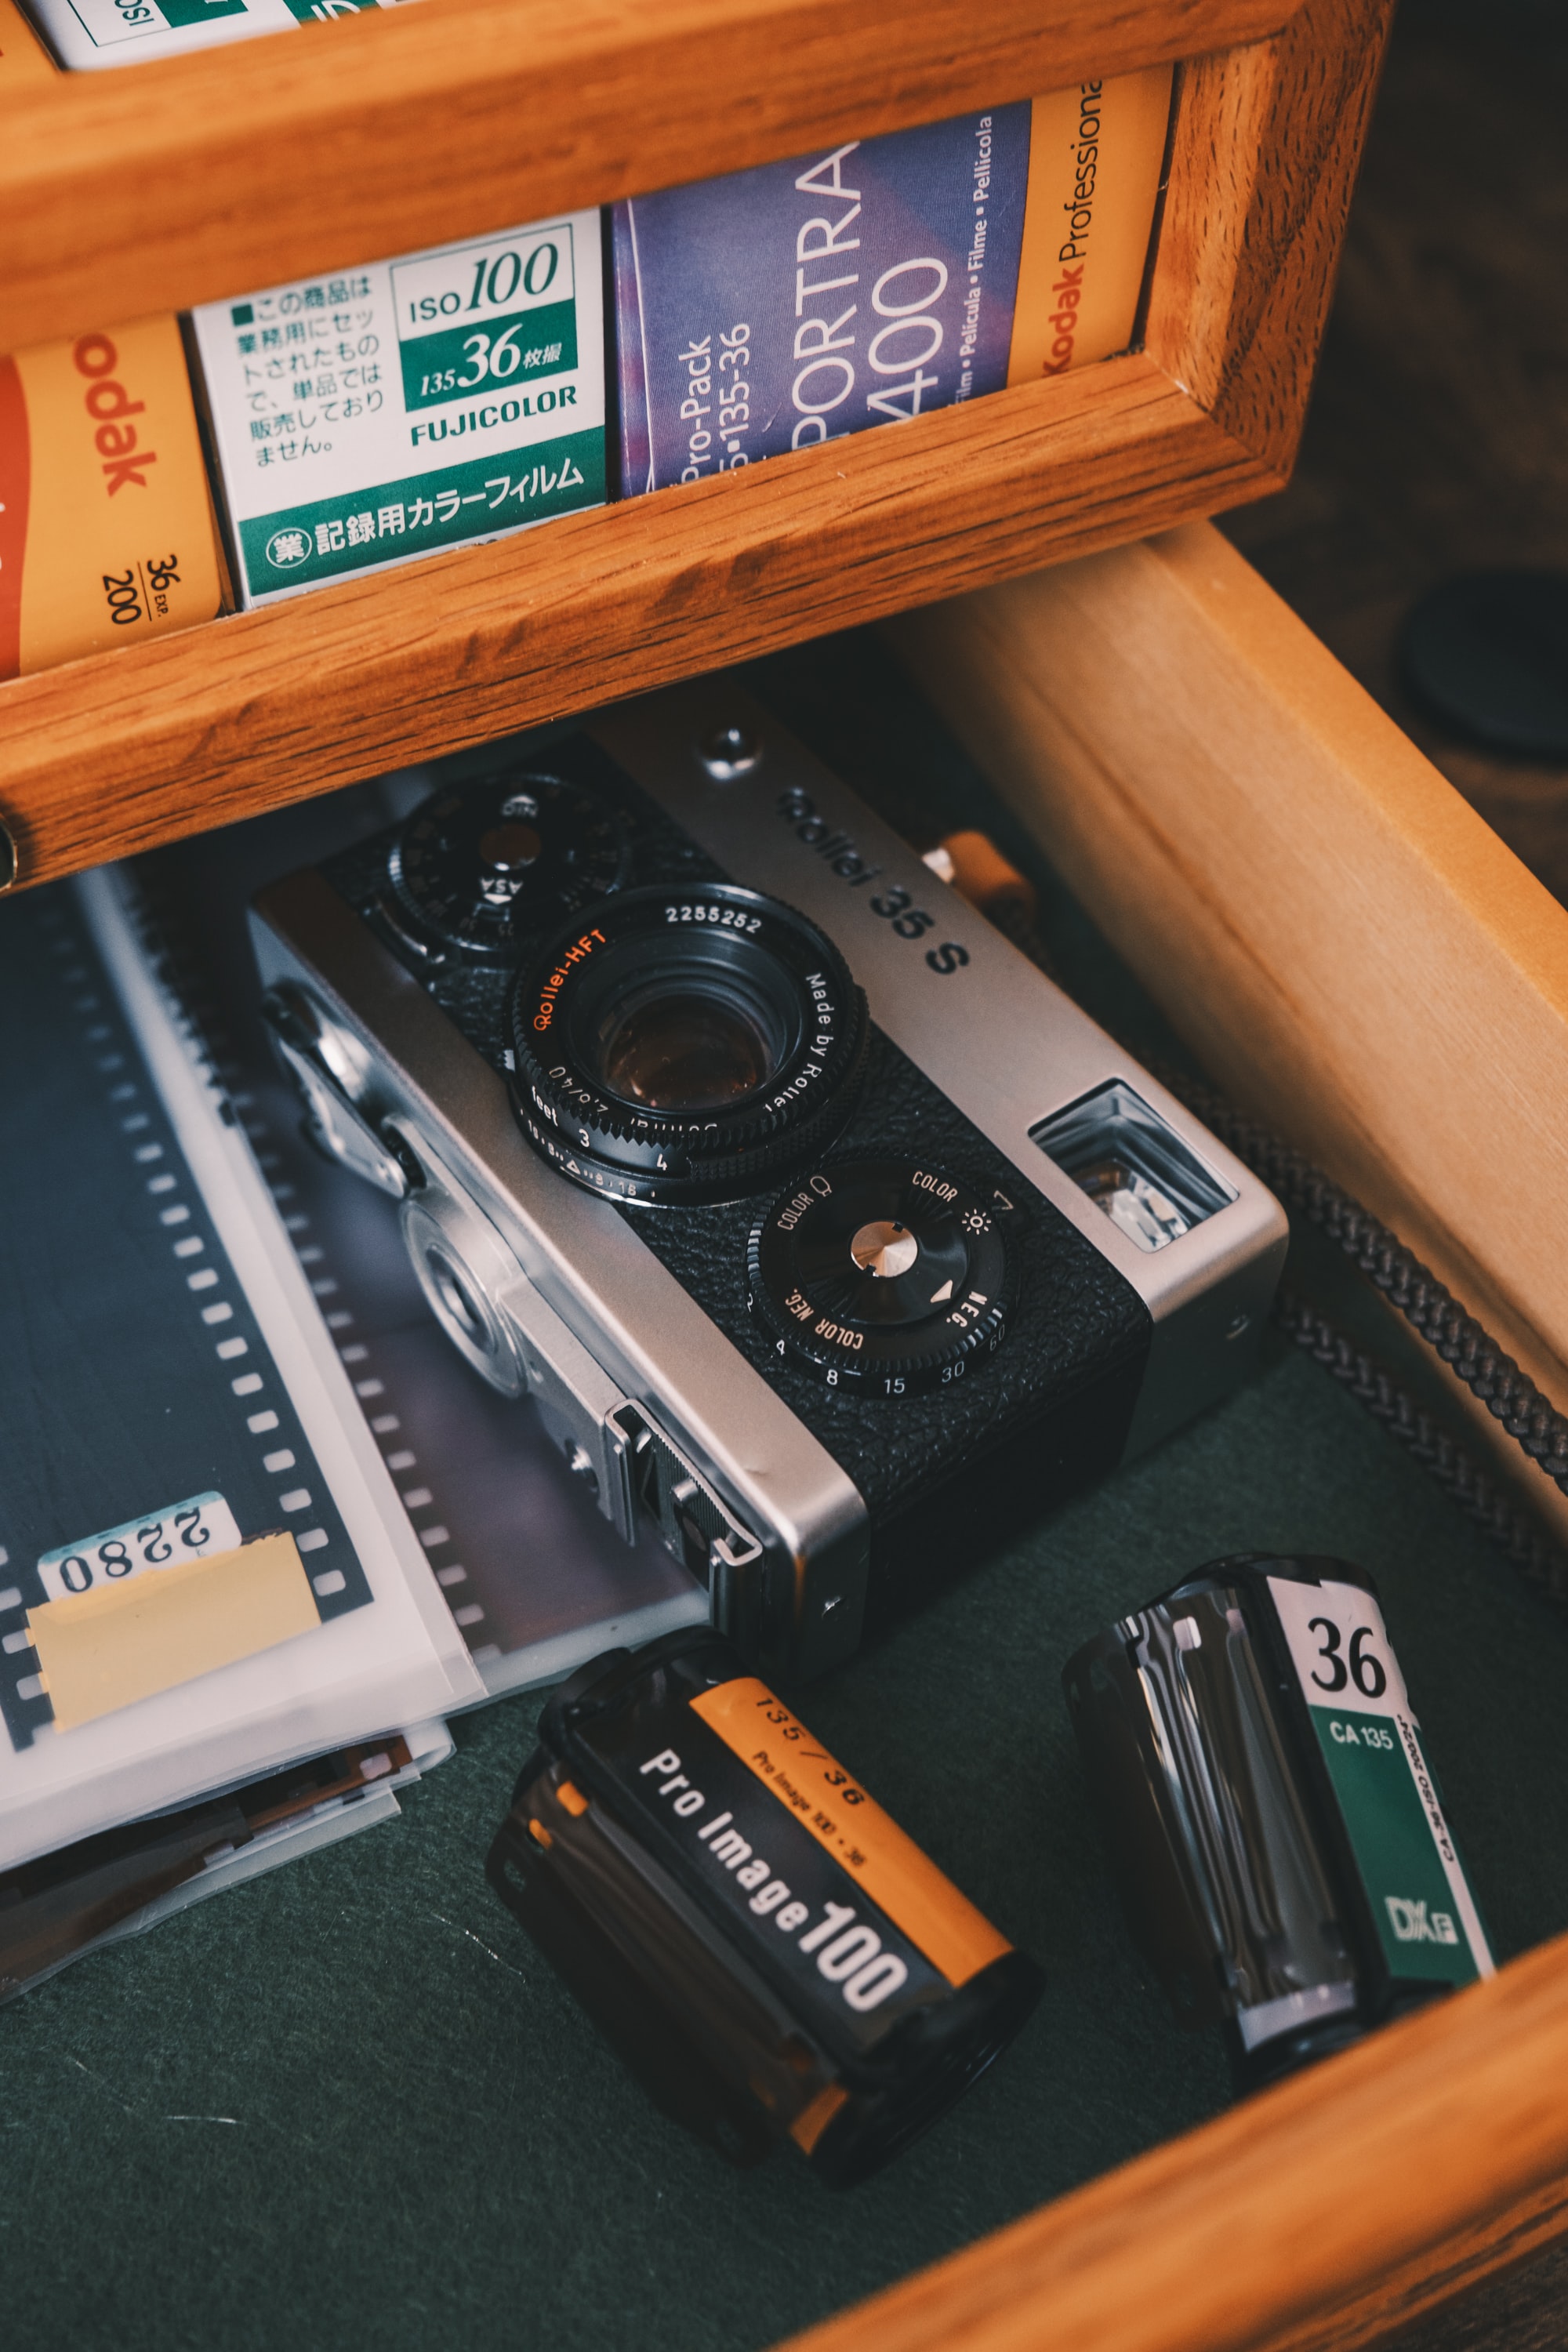
One might imagine that with all the benefits of shooting digitally (some of which we will discuss in this piece), the slower, more manual process of shooting on film would have died out with the popularisation and proliferation of digital photography. However, as anyone in the photographic industry will tell you, film is actually in the midst of a strong resurgence at the moment, with many individuals of varying identities and ages choosing to return to an analogue photographic process.
Find out why so many people are switching back to film photography in this video on OrmsTV, or learn how you can easily start shooting analogue today, even if you are an absolute beginner!
BUT MY PHONE HAS A CAMERA TOO. CAN’T I JUST USE THAT?
We’ve introduced the idea of both digital and analogue cameras being options for creating photographs in today’s world. But what type of camera do you specifically need to engage in photography? This can be an overwhelming question these days when there are so many different manufacturers, body styles and lens options vying for our attention.
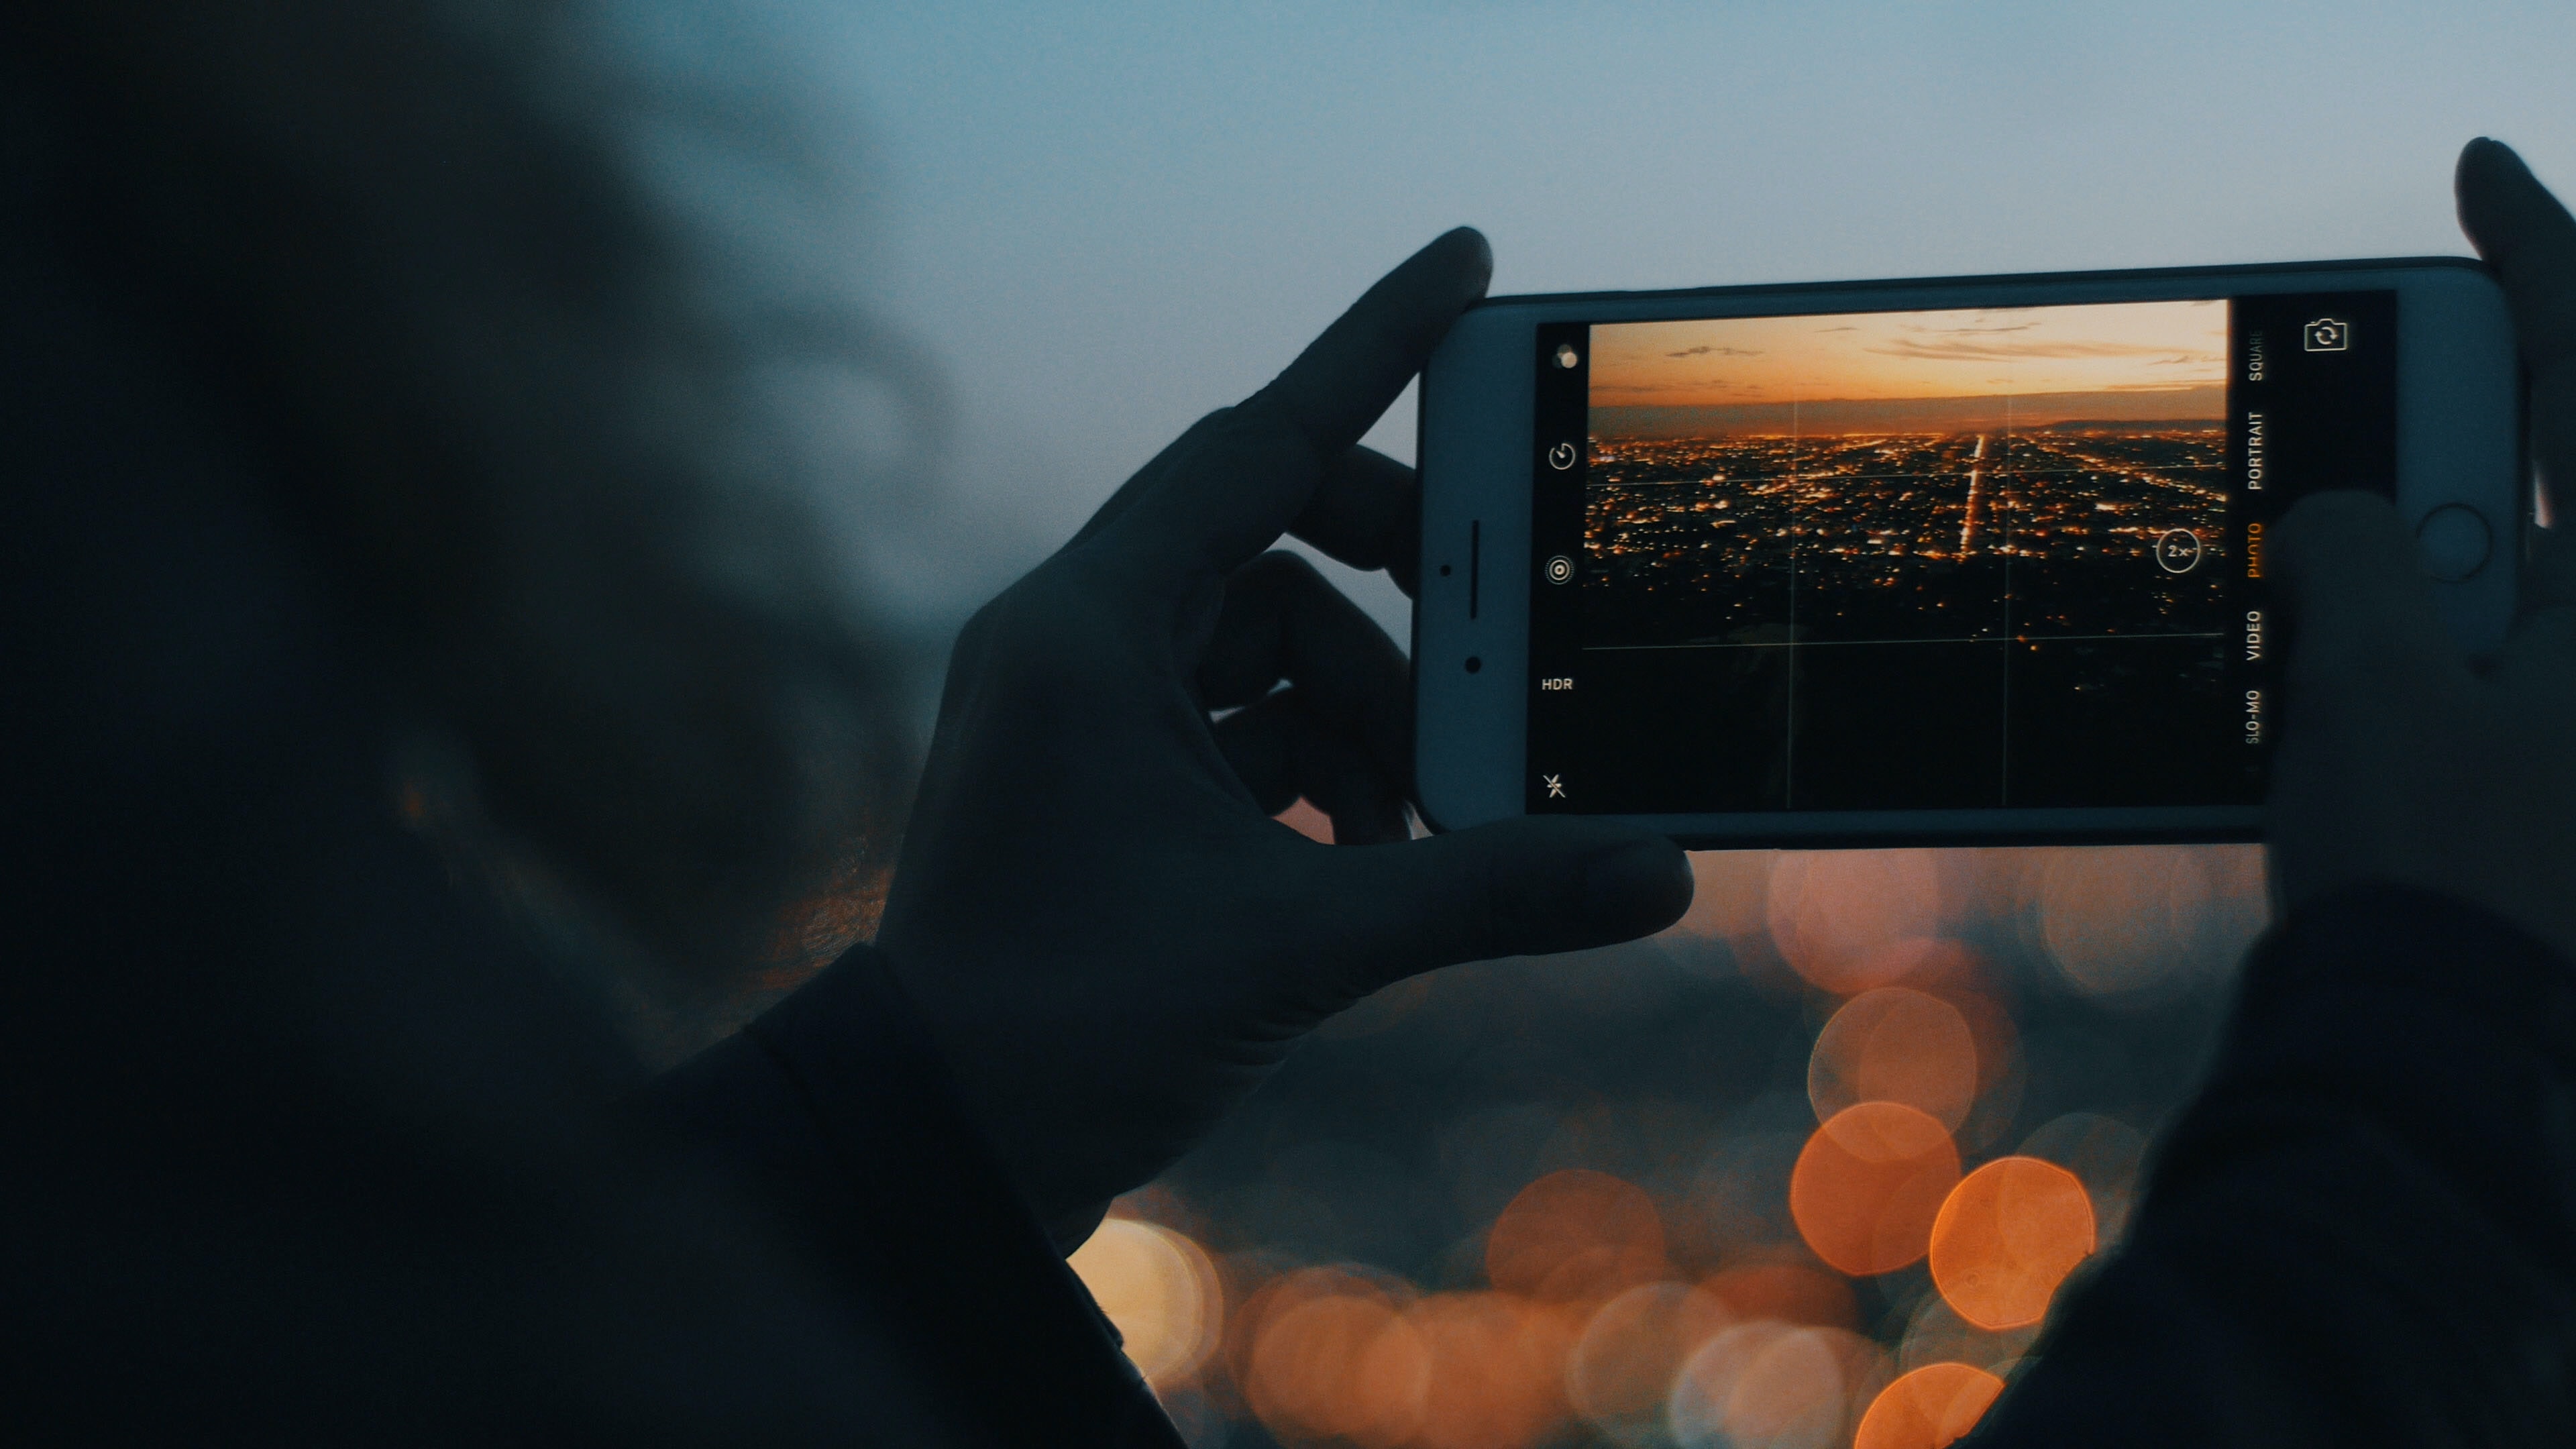
However, in its most accessible and commonplace form, most people’s first introduction to shooting photographs comes in the shape of a smartphone. This is no surprise considering the technological advancements we have witnessed in cellular devices over the last decade and the fact that smartphones are always on-hand and remarkably user-friendly.
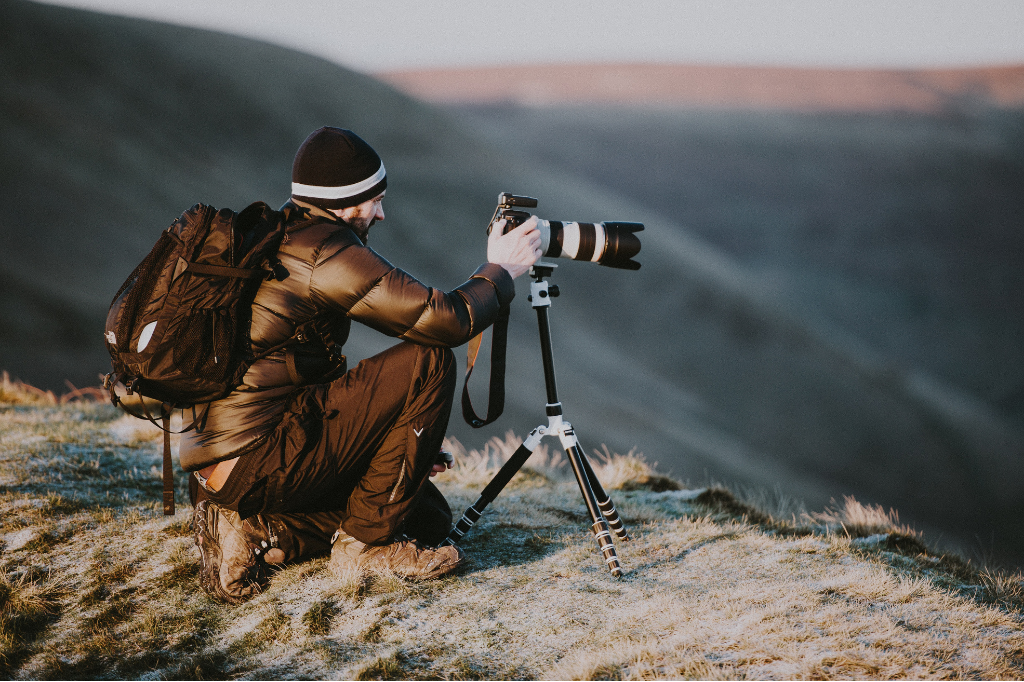
There are many individuals, most notably influencers and content creators, who are still shooting exclusively on their smartphones and making a living doing so. However, if you are someone who really wants to develop a hobby in photography and gain a well-rounded understanding of the technicalities and potential the art form has to offer, it is advisable to take the plunge and purchase a dedicated DSLR, mirrorless camera or range-finder unit that is purpose-built for whatever photographic field you find yourself most attracted.
Want to discover the true potential that smartphone photography has? In this episode of Orms Air: The Orms Podcast we interview powerhouse image-maker and smartphone photography specialist Lauren Theunissen about these creative tools in our pockets.
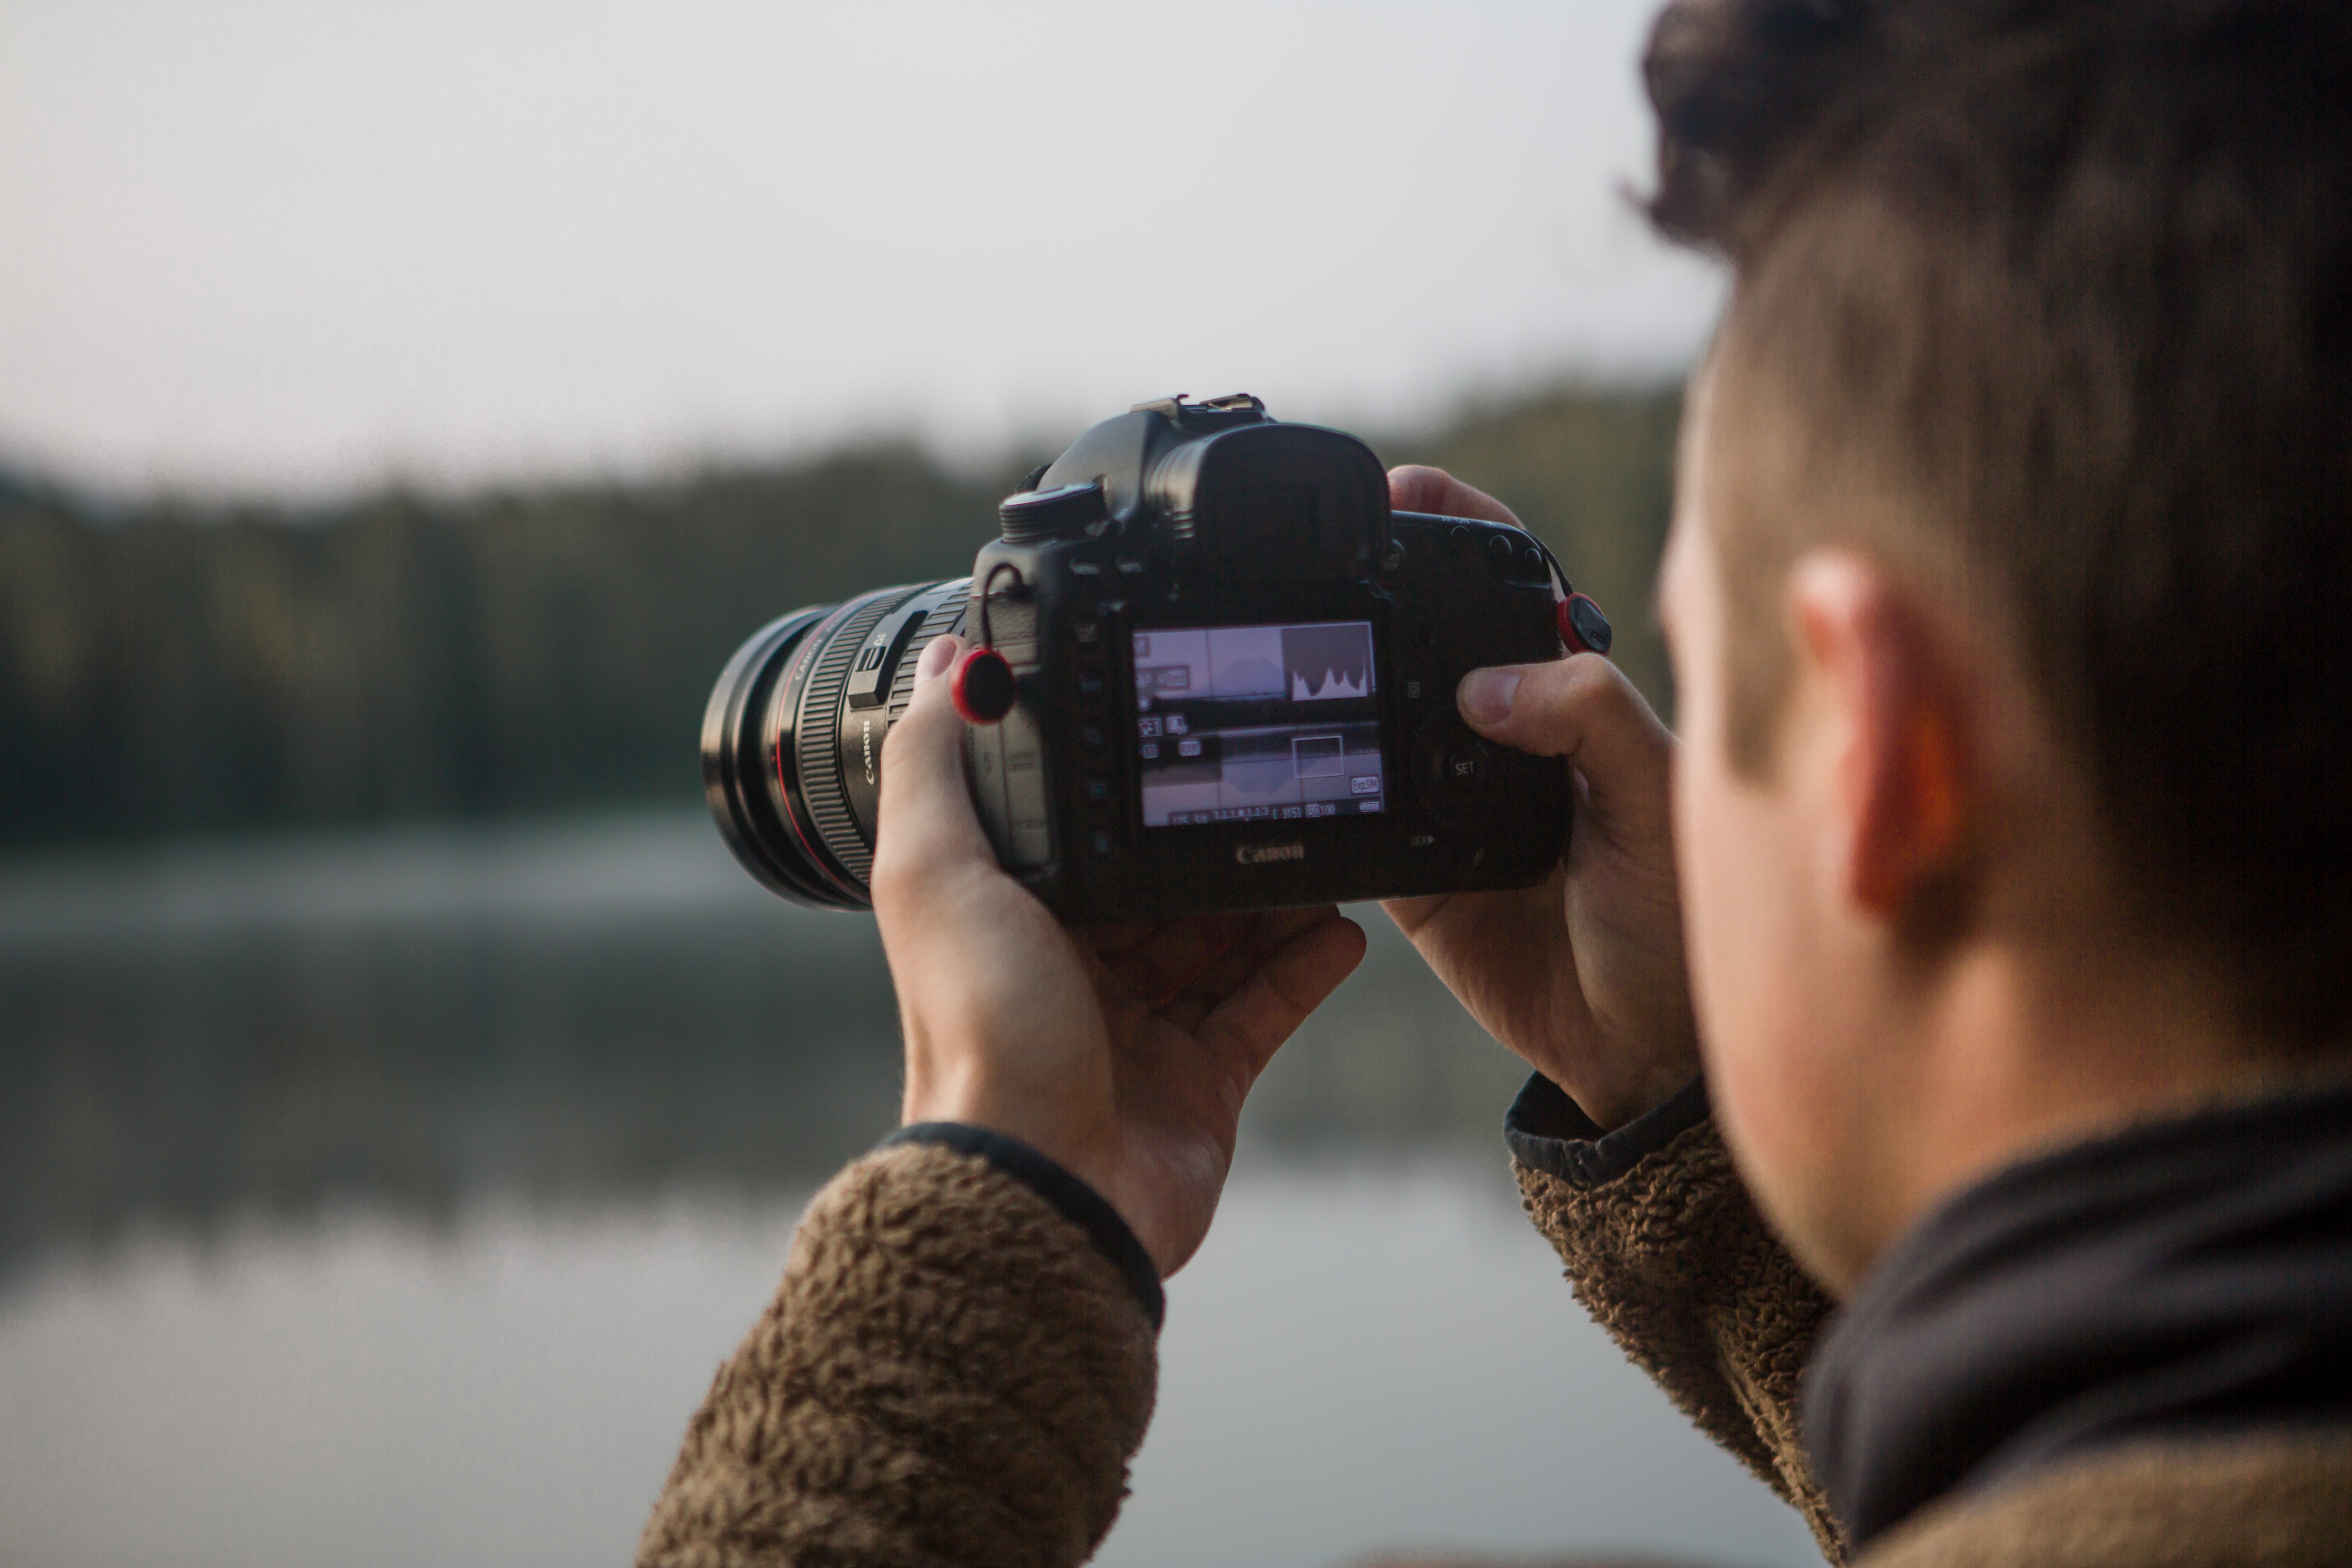
More advanced digital cameras hold a distinct advantage over the built-in smartphone cameras and even compact “point-and-shoot” digital cameras in many areas. Most of these have to do with size. Firstly, they will generally have larger lenses. They also possess larger sensors. Finally, they are physically bigger, which does sometimes mean they are less portable, but it also means that the experience of using them is more tactile and purposeful.
As we dive into manual camera settings and some of the purpose-built units on offer, the benefits of a more advanced digital system will quickly become apparent.
HOW DO DIGITAL CAMERAS ACTUALLY WORK?
On that topic, let’s move on to how digital cameras actually work. In a previous paragraph, we mention two notable types of cameras: DSLRs and mirrorless cameras. As we breakdown the operation of digital cameras, we need to draw a distinction between these two main body types, even though they share some fundamental operational similarities.
If you would prefer a video breakdown of the key differences between DSLRs and mirrorless cameras, watch this popular informative video on the OrmsTV YouTube channel to learn everything you need to know about this fascinating and relevant topic.
DSLRS: THE “OG” TYPE OF DIGITAL CAMERA
Since it is the older and more established of the two, let’s begin with DSLRs. DSLR stands for Digital Single-Lens Reflex and the term comes from the analogue world, where film cameras are described as being “Single-Lens Reflex” in nature.
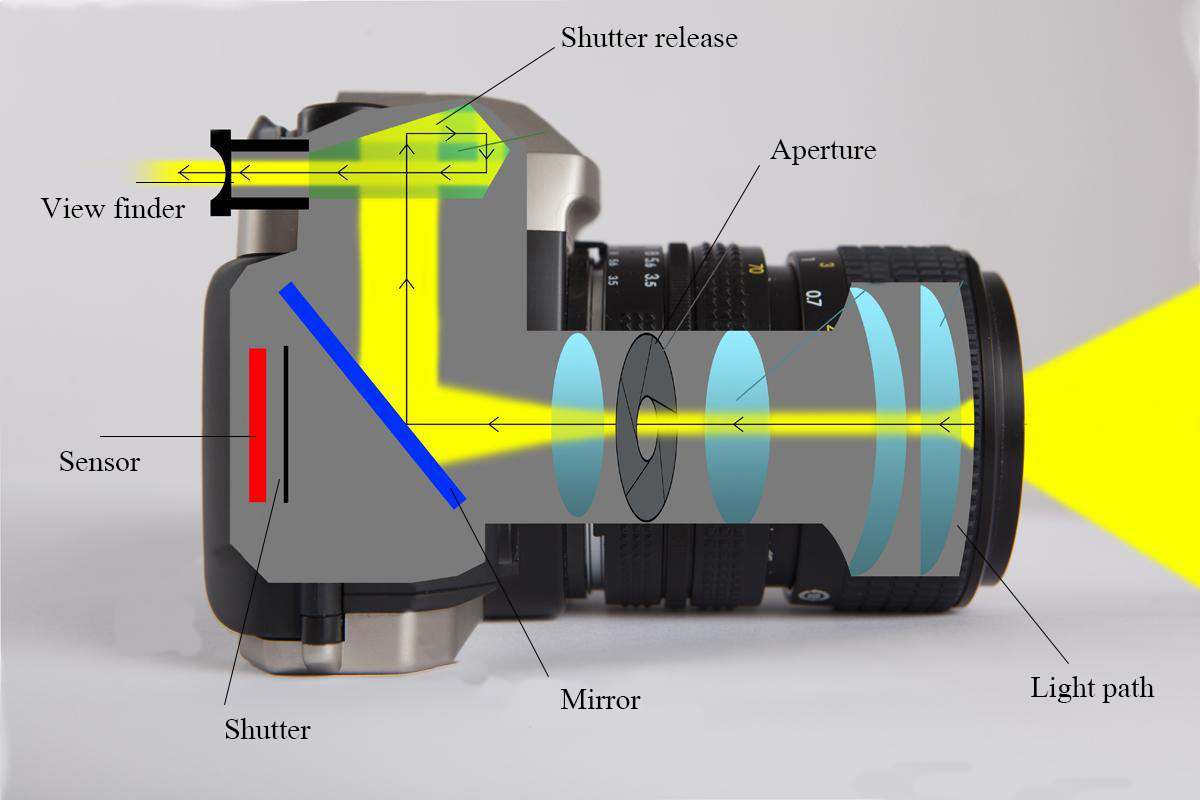
Refer to the graphic below as we walk you through the process of capturing an image on a DSLR camera. Light enters through the front of the lens. Every lens contains multiple internal elements. These elements focus the light and manipulate it. As the light passes through the lens, it goes through an “aperture” (more on that later).
After passing through the aperture, the light will reach a mirror towards the back of the camera. This mirror reflects the light up into a pentaprism, which flips the light from being upside-down to right way around, and then the light is viewable through the appropriately named “viewfinder.” The image that you see in the viewfinder is as the camera is seeing it: raw, natural and totally free of any digital manipulation.
When it is time to capture the image, the photographer presses a button to release the “shutter”, a mechanism that flips the mirror out of the way of the camera’s sensor, allowing the light to hit the camera’s sensor, exposing an image according to the settings you have inputted into the camera. The sensor in conjunction with the camera’s processor then manipulates the exposure into a digital image that is saved onto the internal storage device (such as a memory card) inserted into the camera.
MIRRORLESS CAMERAS: THE NEW KID ON THE BLOCK
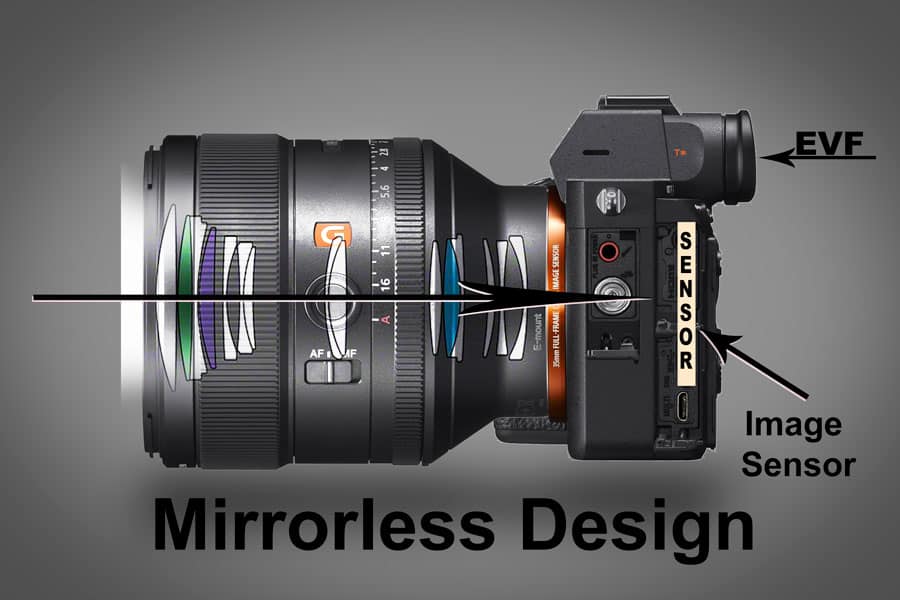
If you examine the diagram of a mirrorless camera below, you will see that it shares most of the features present in a DSLR, with the exception of a mirror (hence the name “mirrorless”).
Instead of the light being reflected by a mirror into a pentaprism and then into the viewfinder, with mirrorless cameras, the light falls directly onto the camera’s sensor. The camera’s processor interprets the light on the sensor, and the photographer can view the resulting image via the EVF (Electronic Viewfinder) before it is even actually taken and recorded onto the memory card. This image will look exactly the same in the viewfinder as it will when it is captured, saved and then viewed in the camera’s media playback.
This is one of the main reasons why mirrorless cameras have gained immense popularity among both professionals and beginners over recent years. For the former, it offers a faster, more efficient shooting experience, while for the latter, it provides an easier learning opportunity as one gets to grips with how the various exposure settings affect what an image looks like. The result of the rise in the popularity of the mirrorless system has caused the bulk of technological development in the industry to be focused on mirrorless cameras, and this, combined with the inherent advantages of its inner workings, has caused mirrorless cameras to possess superior features like improved autofocus and advanced machine-learning algorithms.
MANUAL SETTINGS
Diving into the manual settings on your DSLR or mirrorless camera can be really intimidating if you’re going in blind. Don’t panic! We’re going to go slowly and demystify this vital component of digital photography, starting by explaining the various shooting “modes” your camera likely offers.
CAMERA MODES EXPLAINED
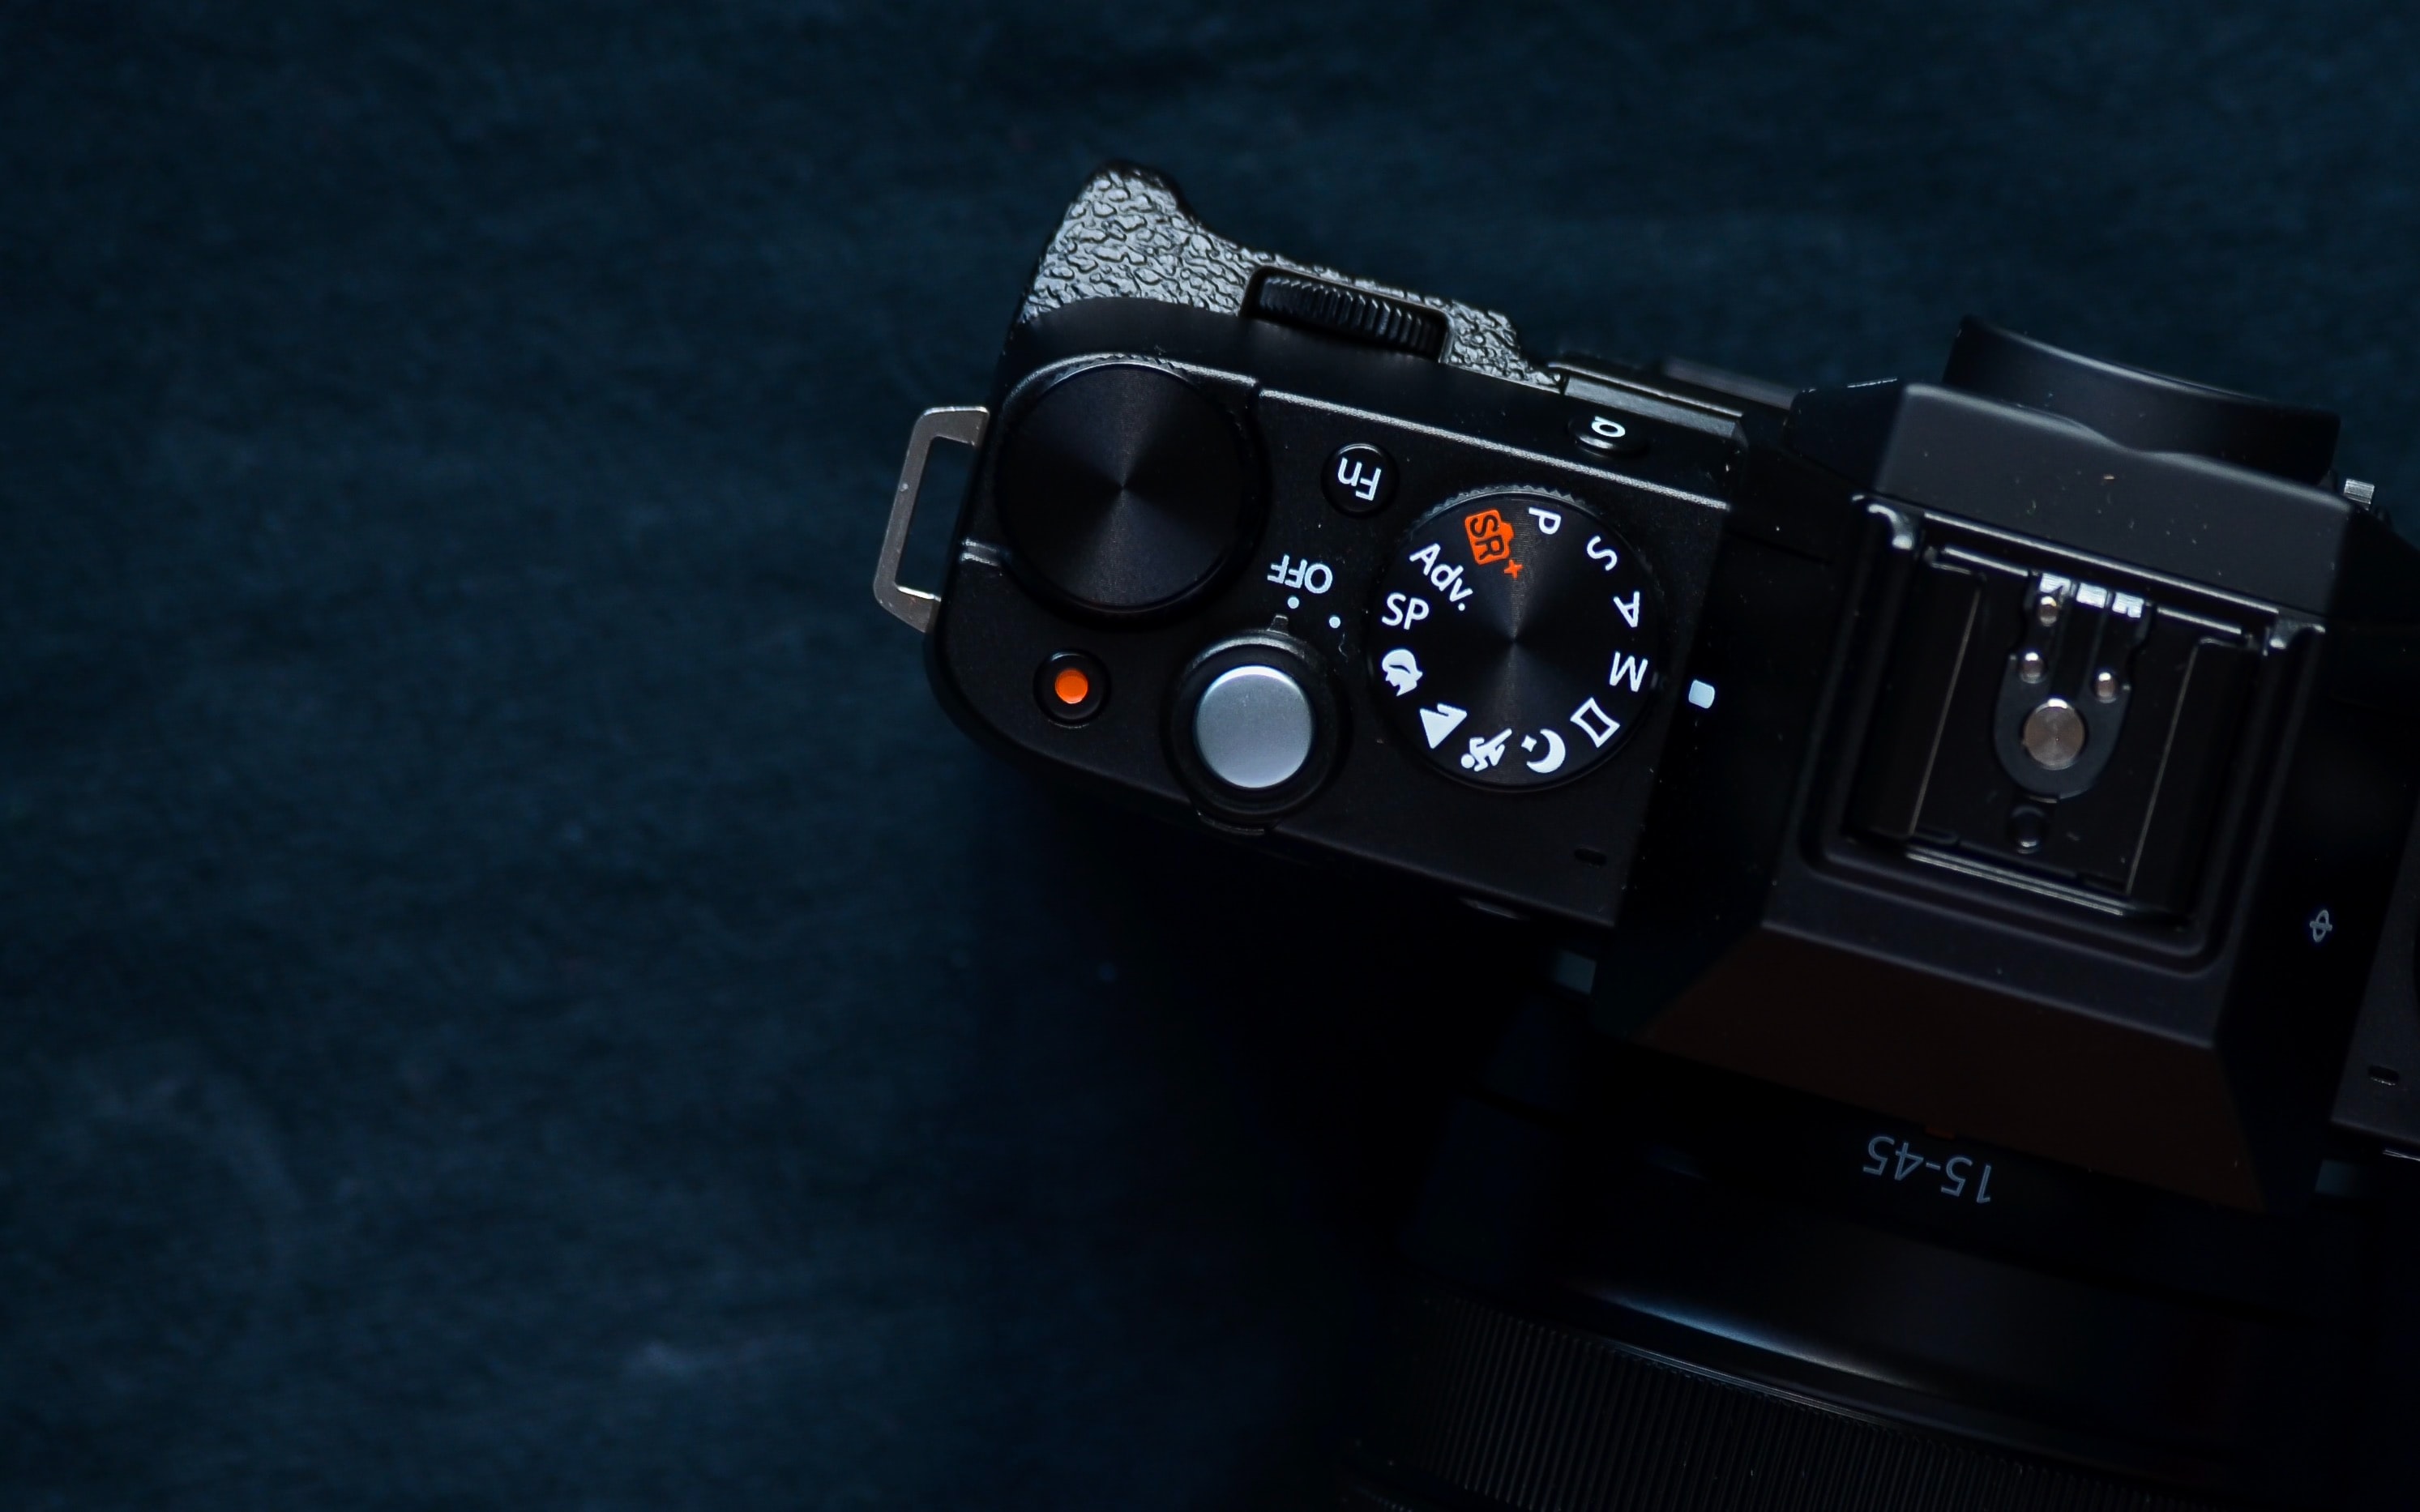
Upon examining most digital cameras, you should notice a “mode dial” located on the top panel. This usually has single letters and symbols on it. These indicate the various “modes” the camera possesses. Each of these modes will focus the camera’s various functionalities towards a different type of shooting.
While there will be slight differences between manufacturers and models, most cameras will have at least some of the same modes. Let’s break down the most common ones, their functionality and appropriate use below.
- AUTO: Commonly used by beginners. The camera decides all the settings itself in an attempt to give you a correctly exposed image based on what it prioritises.
- GENRE-SPECIFIC MODES: This includes macro, landscape and portraiture, action and night-time photography. These are also essentially automatic modes where the camera takes control of most, if not all, of exposure parameters.
- PROGRAMME MODE: Signified by a “P” usually. This is essentially an advanced automatic mode where the camera allows you to overwrite some of the settings and then adjusts its automatic exposure functionalities accordingly.
- APERTURE PRIORITY: Signified by an “A” or “AV” icon. This mode allows the photographer to control the aperture of the attached lens while the camera takes care of the other exposure parameters. (More on aperture coming shortly, we promise!)
- SHUTTER PRIORITY: Signified by an “S” or “TV” icon. Instead of allowing the photographer control of the aperture, it lets them adjust the shutter speed (explanation incoming) of the camera while the other settings are automatically manipulated.
- MANUAL: Designated by an “M”. The photographer has full control of all the exposure parameters with no assistance from the camera.
The fully automatic and assisted modes on any camera are useful for introducing beginners to taking pictures, but if you really want to develop your skills and exercise your creativity, getting a grasp of the manual exposure settings is a must. To do this, you need to understand what is known as the “exposure triangle.”
THE EXPOSURE TRIANGLE MADE EASY
The exposure triangle is made up of the three settings that control how an image is exposed, i.e. how bright or dark the photograph is. These are the primary settings that the photographer has access to for creating an image that looks a particular way. Let’s dive into what these settings are and what effects they create.
- Aperture — We’ve mentioned aperture before in the context of it being an element in a lens. It is a controllable opening in the lens made up of multiple blades. The way it functions is comparable to the human eye. In darker conditions, our pupils dilate (i.e. open up) to let in more light into our eyes so we can see better. In brighter environments, our pupils shrink (i.e. get smaller) to let less light in. Aperture works exactly the same way. Aperture is expressed in f-stops, with smaller numbers like f/1.8 and f/3.5 designating wider openings and larger numbers like f/8 and f/11 designating smaller openings.
- Shutter Speed — We went over the function of the shutter earlier on when we discussed how your camera takes a photograph. Shutter speed refers to how long the shutter stays open, exposing your sensor to the incoming light. It is measured in fractions of a second. 1/1000th of a second is a faster shutter speed, while 1/15th of a second is a slower shutter speed. As with aperture, it controls the exposure of your image. Longer shutter speeds allow the light to hit the sensor for longer, resulting in a brighter image, while shorter shutter speeds mean the light hits the sensor for a shorter time, producing a darker image.
- ISO — This is the final parameter in the exposure triangle. In the days when purely analogue photography existed, every different type of film had what was called an ASA rating, which determined how sensitive that type of film was to light. Films with a higher ASA number like 400 or 800 were more sensitive to light, meaning they could produce brighter images in more dimly lit conditions. ISO is the same. The number determines the sensors sensitivity to light due to increased or decreased electrical current running through the sensor at a given time, causing more or less light sensitivity. Lower numbers like 100, 200, etc. designate a decreased sensitivity (i.e. more light required due to a lower electrical current), while higher numbers such as 3200, 6400 and even up into the tens of thousands require less light as the sensor is more sensitive to light.
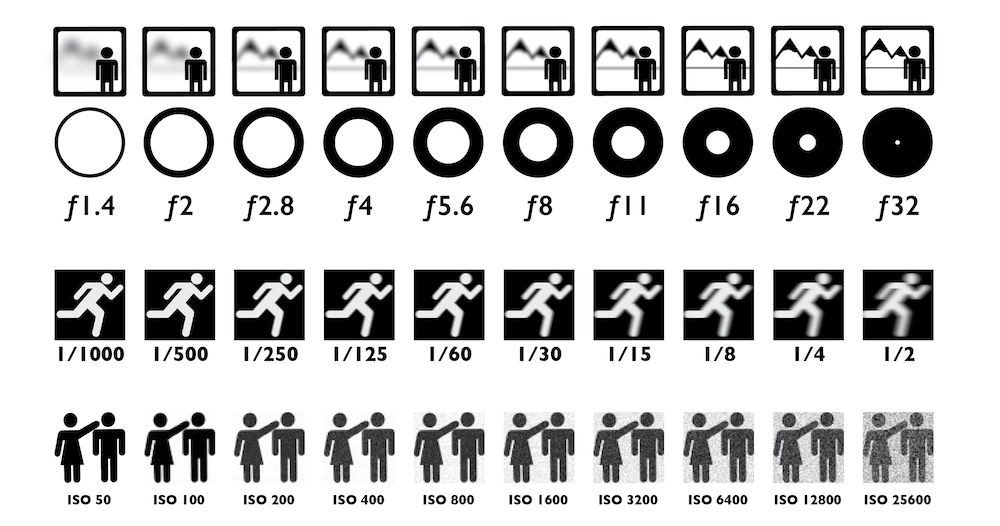
BONUS INFO! Having trouble getting your brain around aperture numbers and the fact that smaller numbers designate wider apertures? It might help to remember that f-numbers are actually fractions. An aperture of f/16 is a fraction of 1/16th of the lens’ maximum opening, while f/2 is a fraction of 1/2th.
In addition to controlling exposure, each of these parameters has what is known as an artefact, or a byproduct that will make the image look a certain way.
- Aperture — The artefact of aperture is depth of field, the amount of your image that is in focus. At wider apertures (big opening, small f-number), the depth of field is “shallower”, meaning there is a softer, blurrier background because the focal plane has narrowed and less of the image is in sharp focus. At smaller apertures (“closed down” opening, larger f-number), the depth of field is “deeper”, so more of the image is in focus.
- Shutter Speed — This exposure parameter’s artefact is motion blur. Faster shutter speeds will result in less motion blur, meaning moving objects in the frame will be frozen in time, appearing crisp, provided they are in focus. Slower shutter speeds increase the motion blur, giving moving objects a wispy, blurred appearance. If you want a subject in motion — like wildlife, sportspeople and birds — to be captured sharply, you’ll need to use a faster shutter speed.
- ISO — The artefact of ISO again comes from analogue photography, where films with a higher ASA rating produced more “grainy” images. In digital cameras, higher ISO numbers will produce more “noise” (the digital equivalent of grain). If you would like to create a cleaner, less “noisy” image, you will need to keep your ISO relatively low (depending on which camera you use) and rely on your aperture and shutter speed to let more light into the camera and onto the sensor to increase your image’s brightness.
BONUS INFO! The f-stop number listed in the name of a lens (i.e. “this is Canon EF 24-70mm f/2.8 lens”) refers to the maximum (widest) aperture available on that lens.
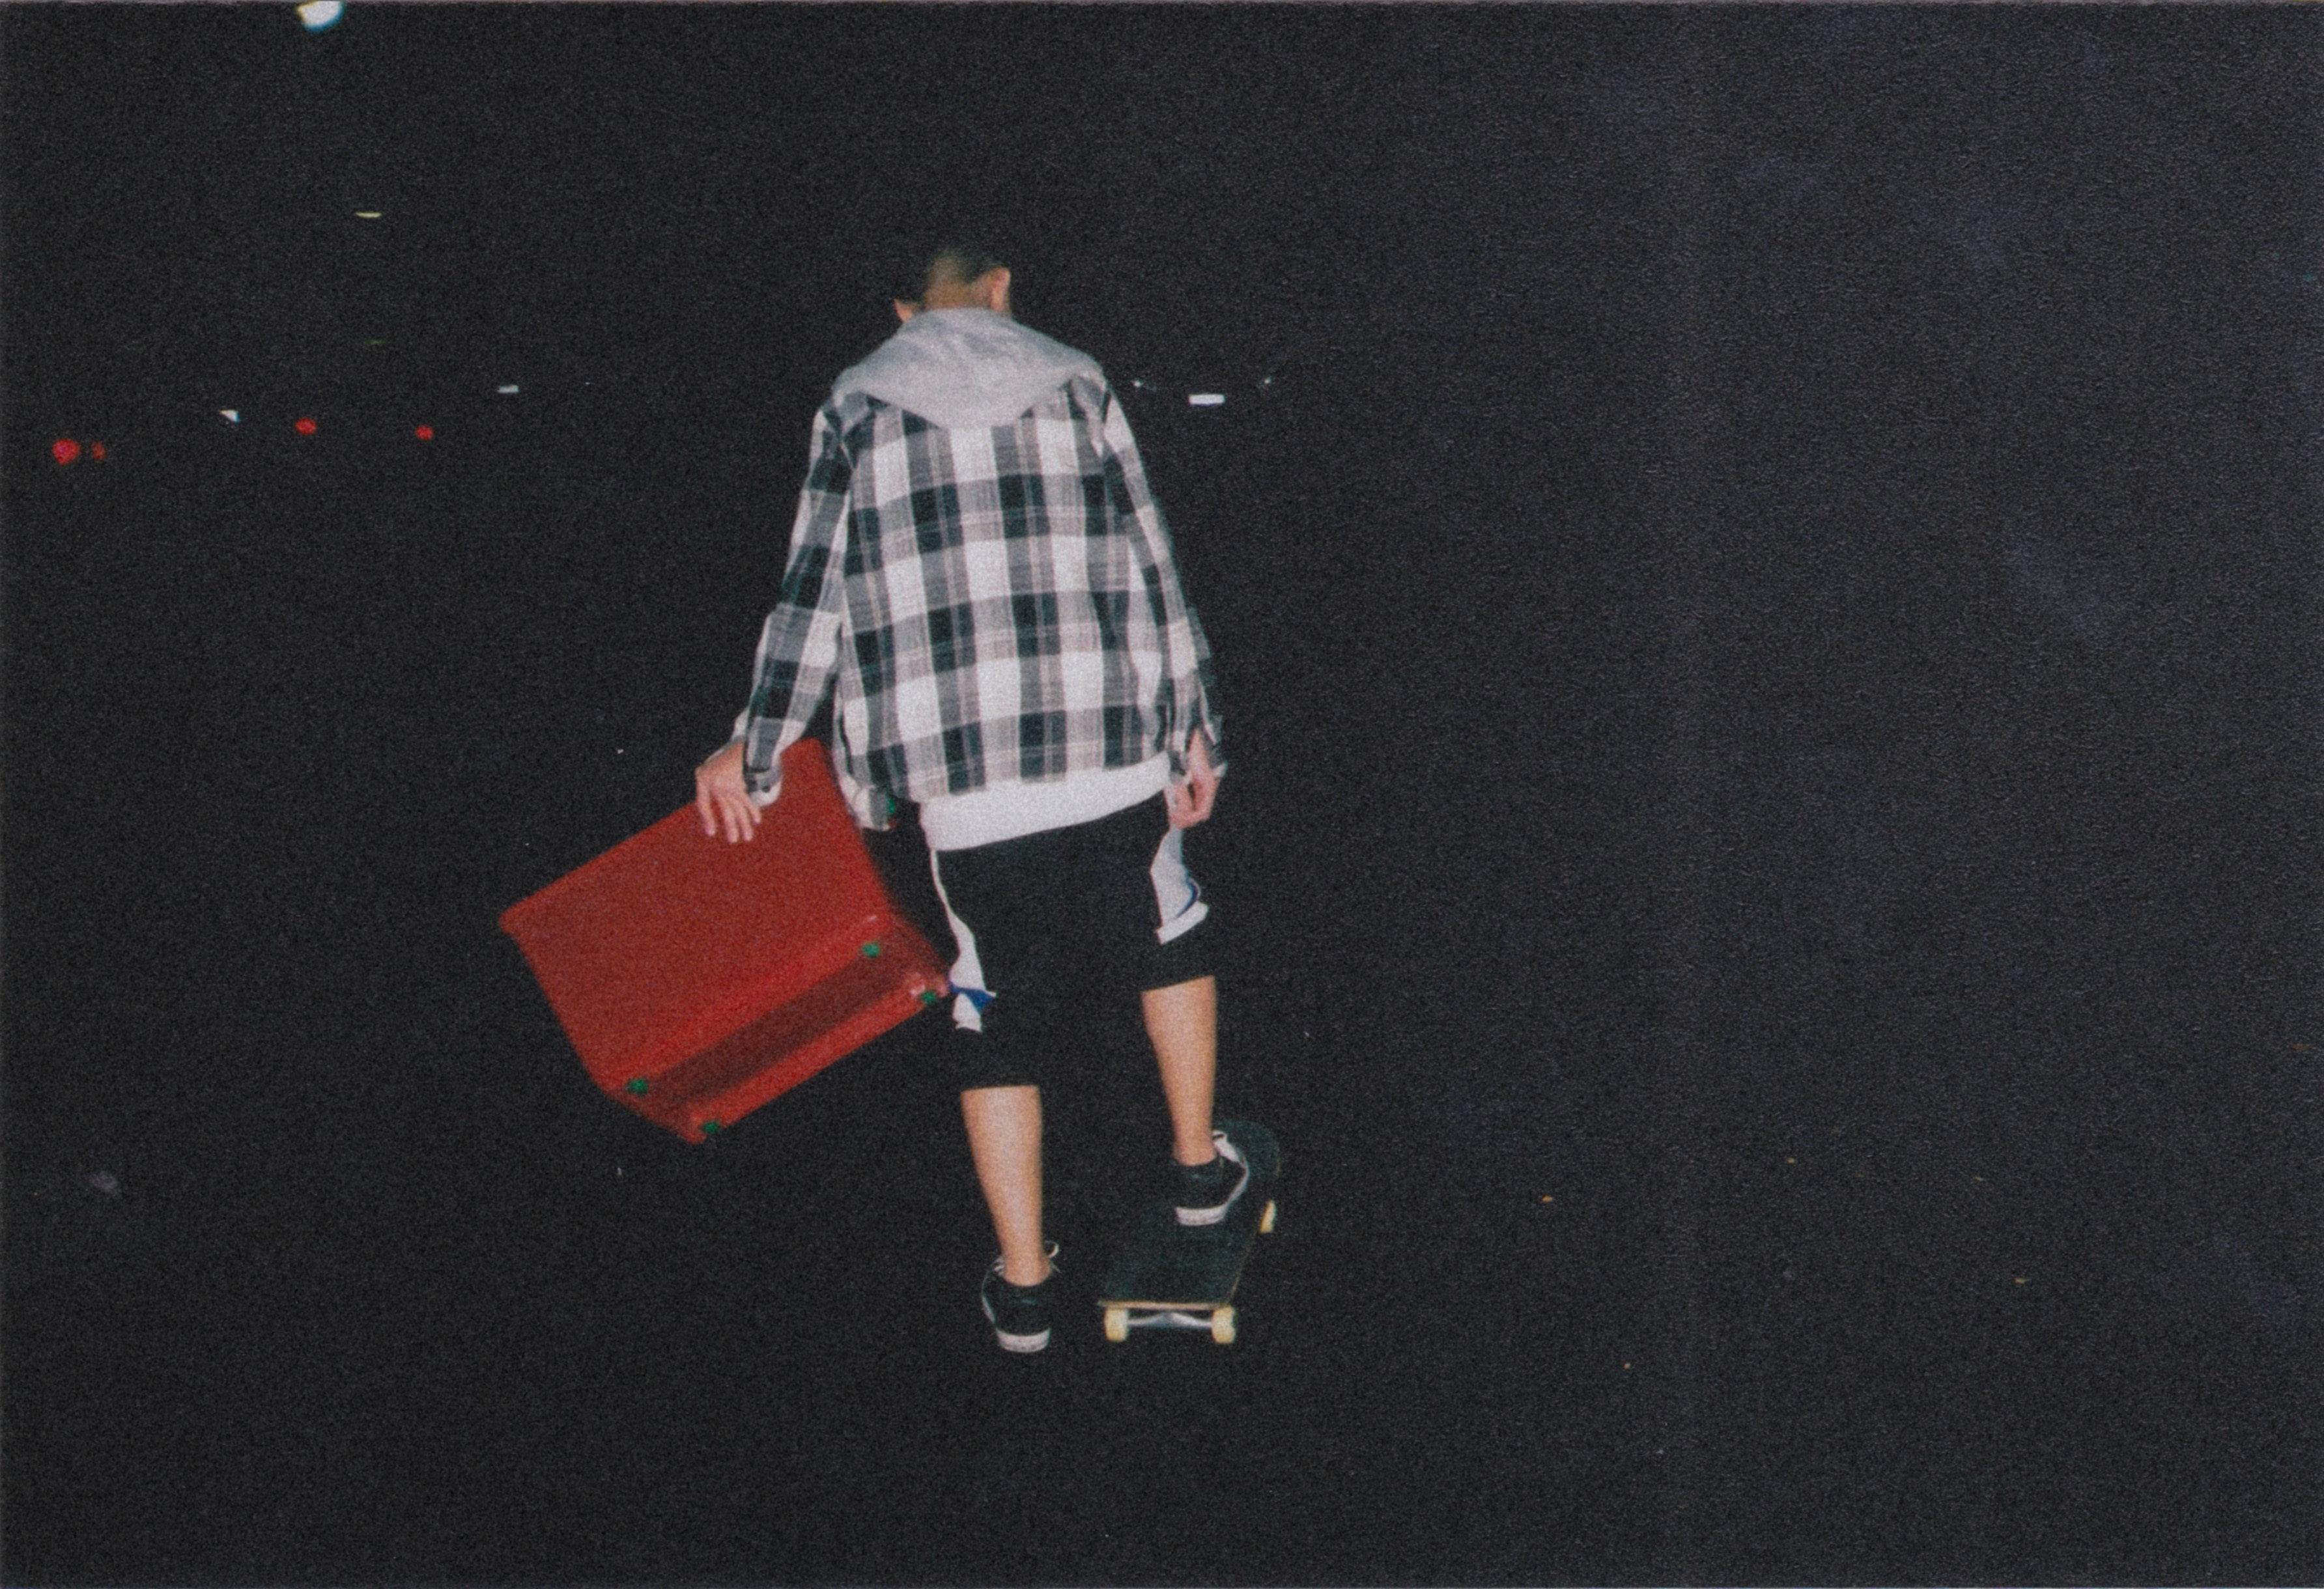
Don’t be afraid to experiment with these technical parameters in a creative capacity rather than just trying to get a “correct” exposure. Below are some ideas for how you can use your exposure settings creatively, with sample images.

This photographer has used a shallow depth of field (wide aperture opening, low f-stop number) to separate their subject from the background.
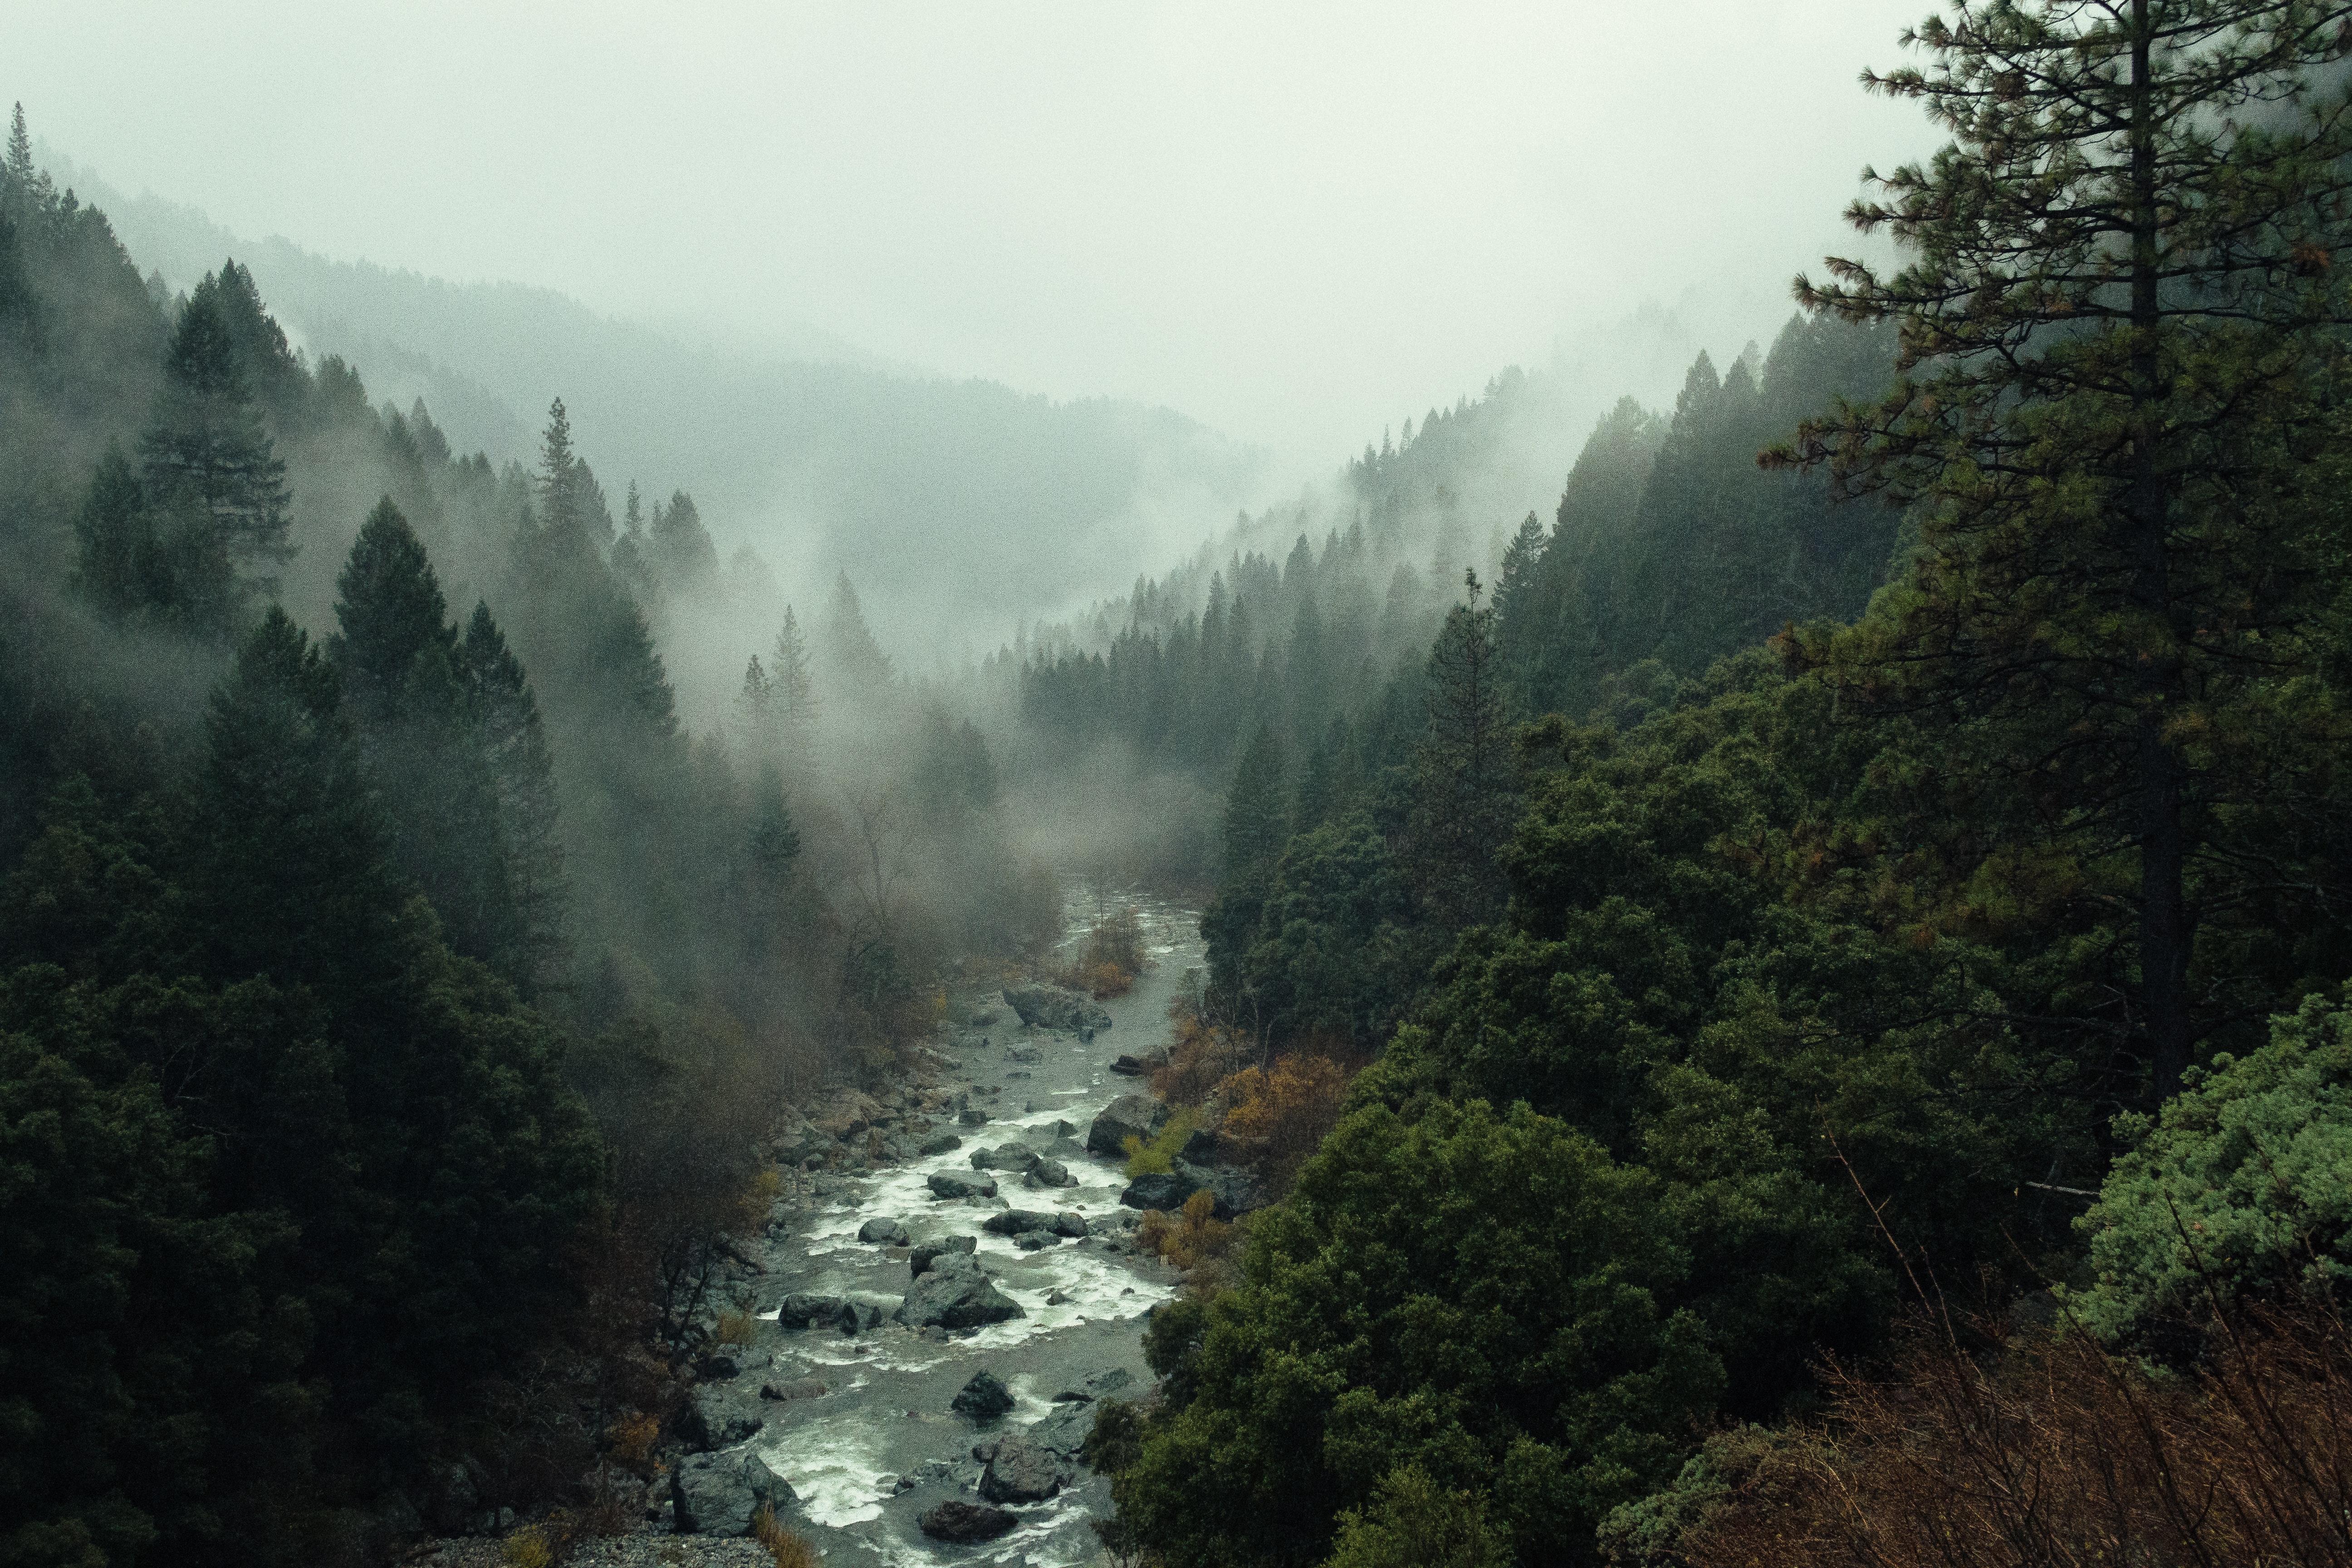
In this image, the deep depth of field (small aperture opening, high f-stop number) stretch the plane of focus across the whole image so the viewer can enjoy the landscape in detail.
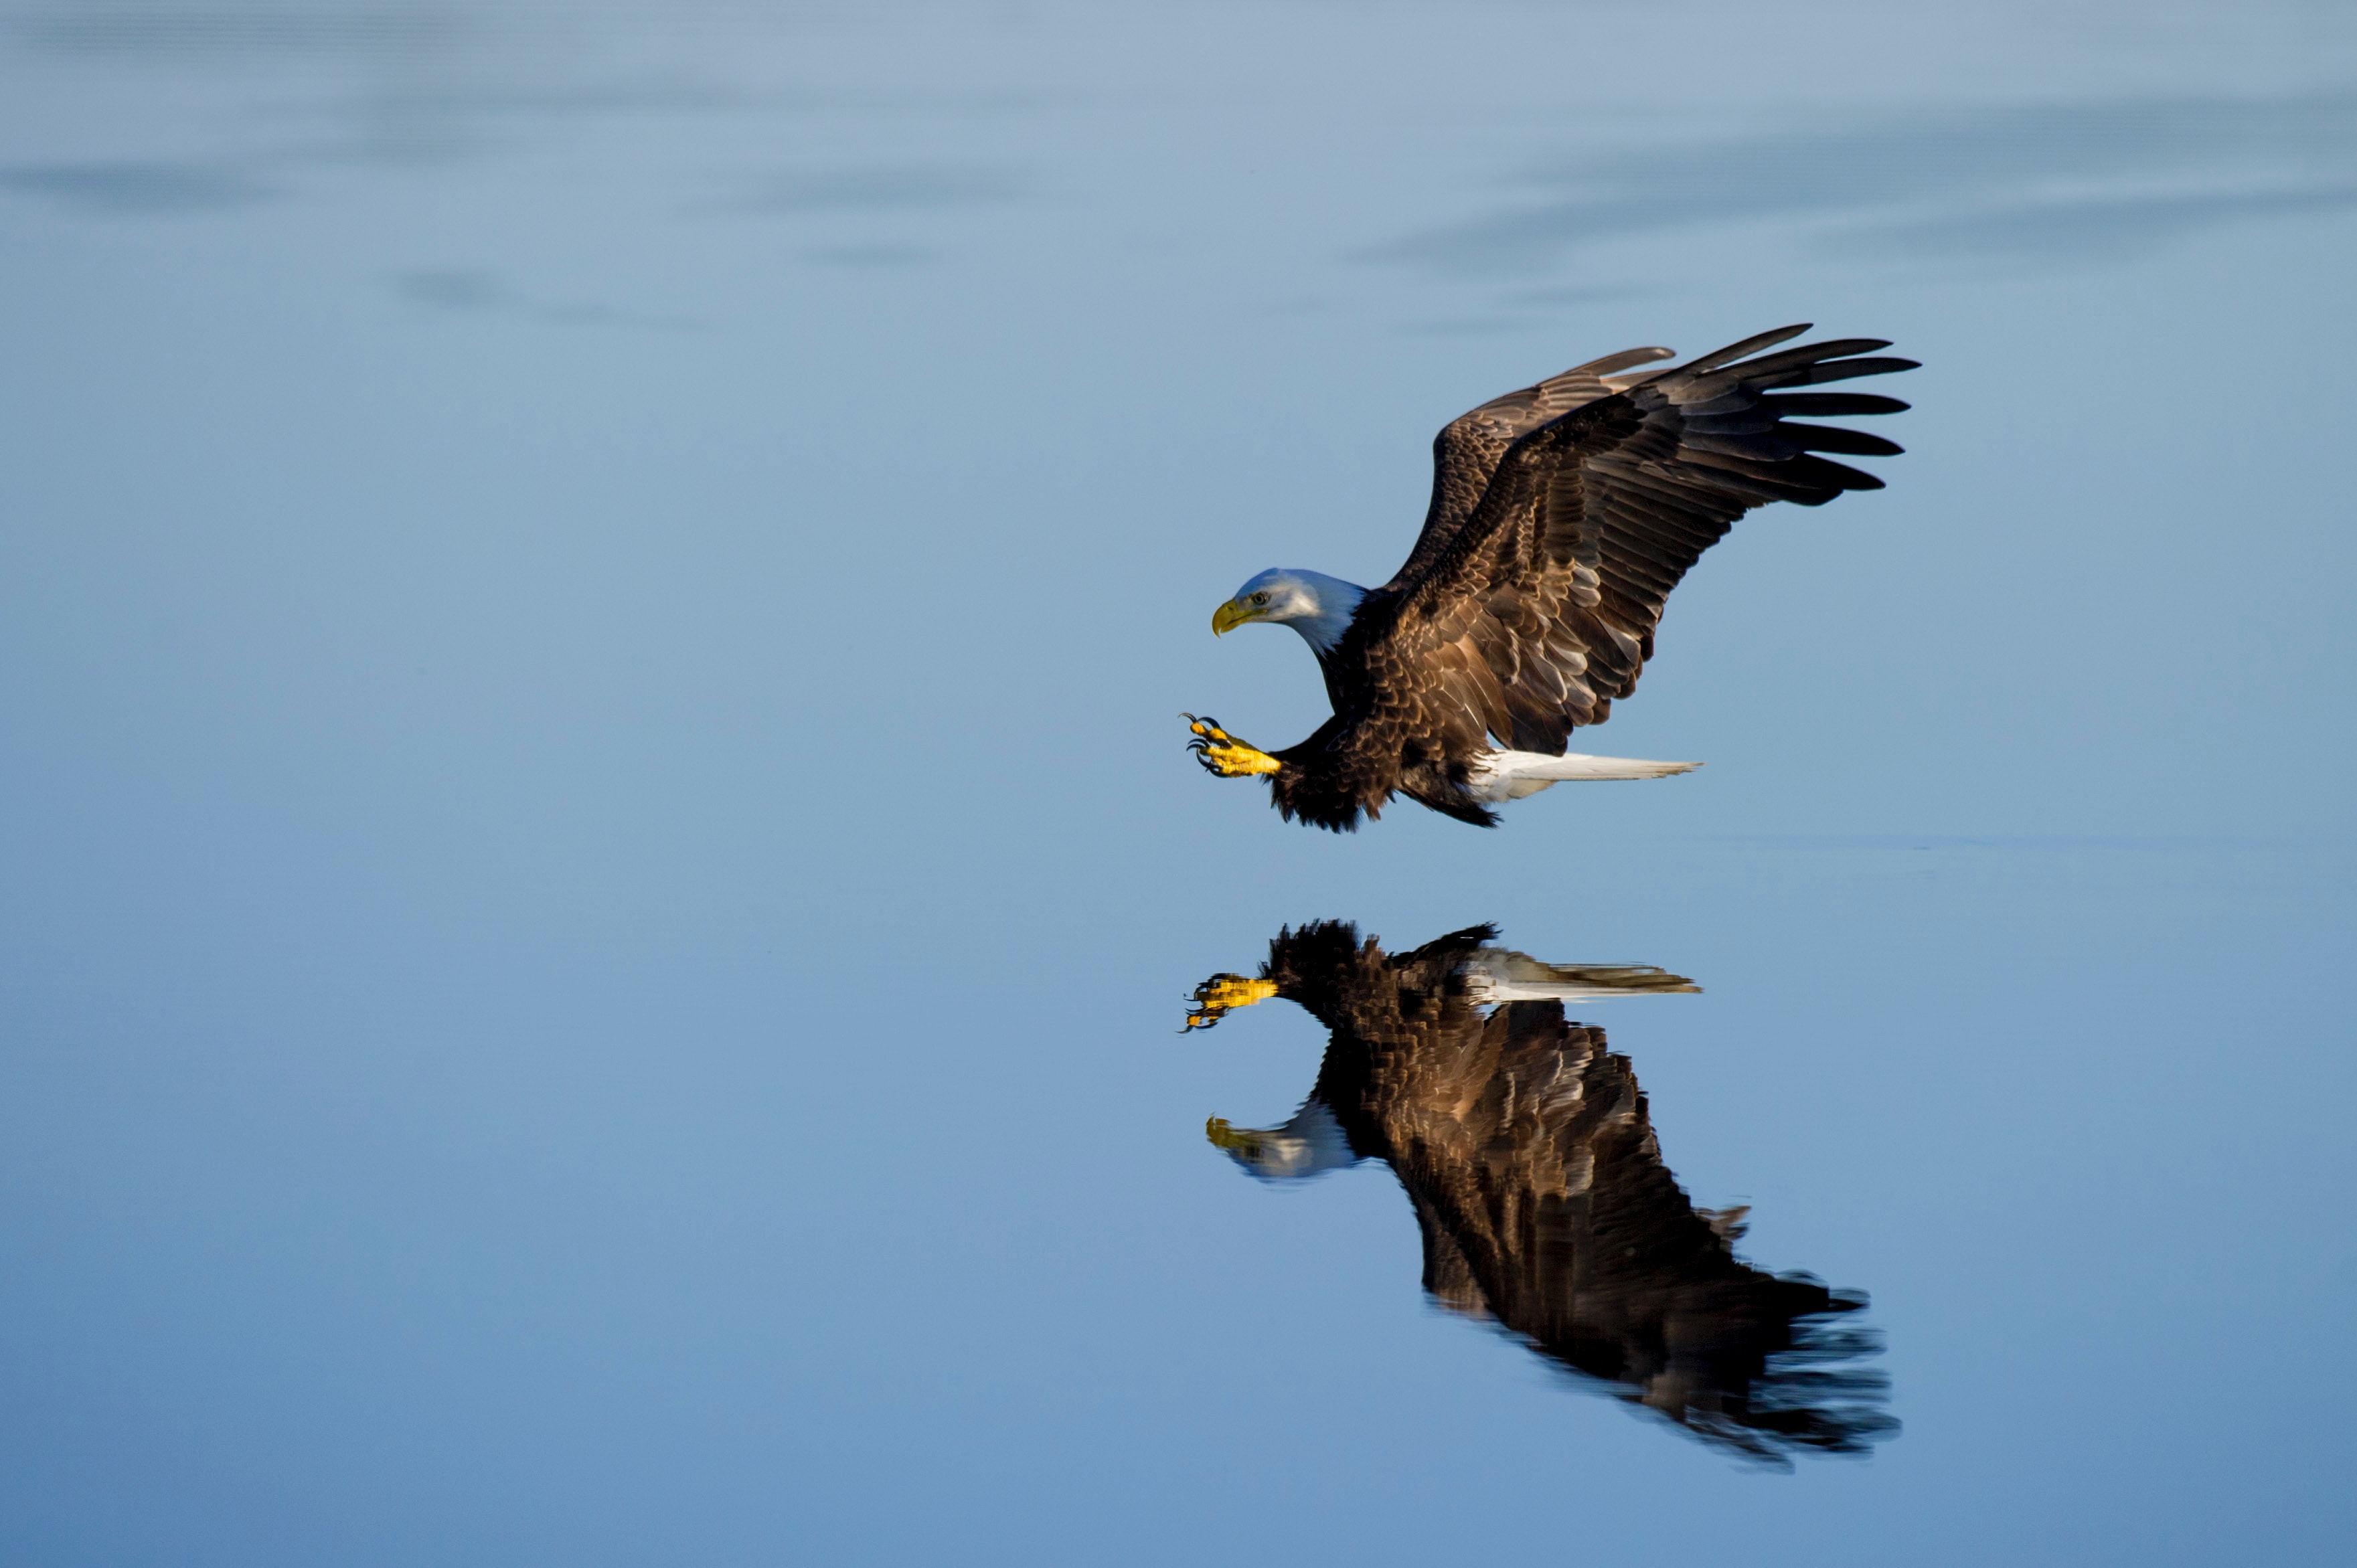
As is generally the case when photographing wildlife, this photographer has used a very fast shutter speed to freeze this eagle as it swoops down to grab a fish from the water.

By putting their camera on a tripod and keeping the shutter open for a longer period of time (a slow shutter speed), this photographer has given this moving water a wispy, milky appearance as it cascades over the rocks.
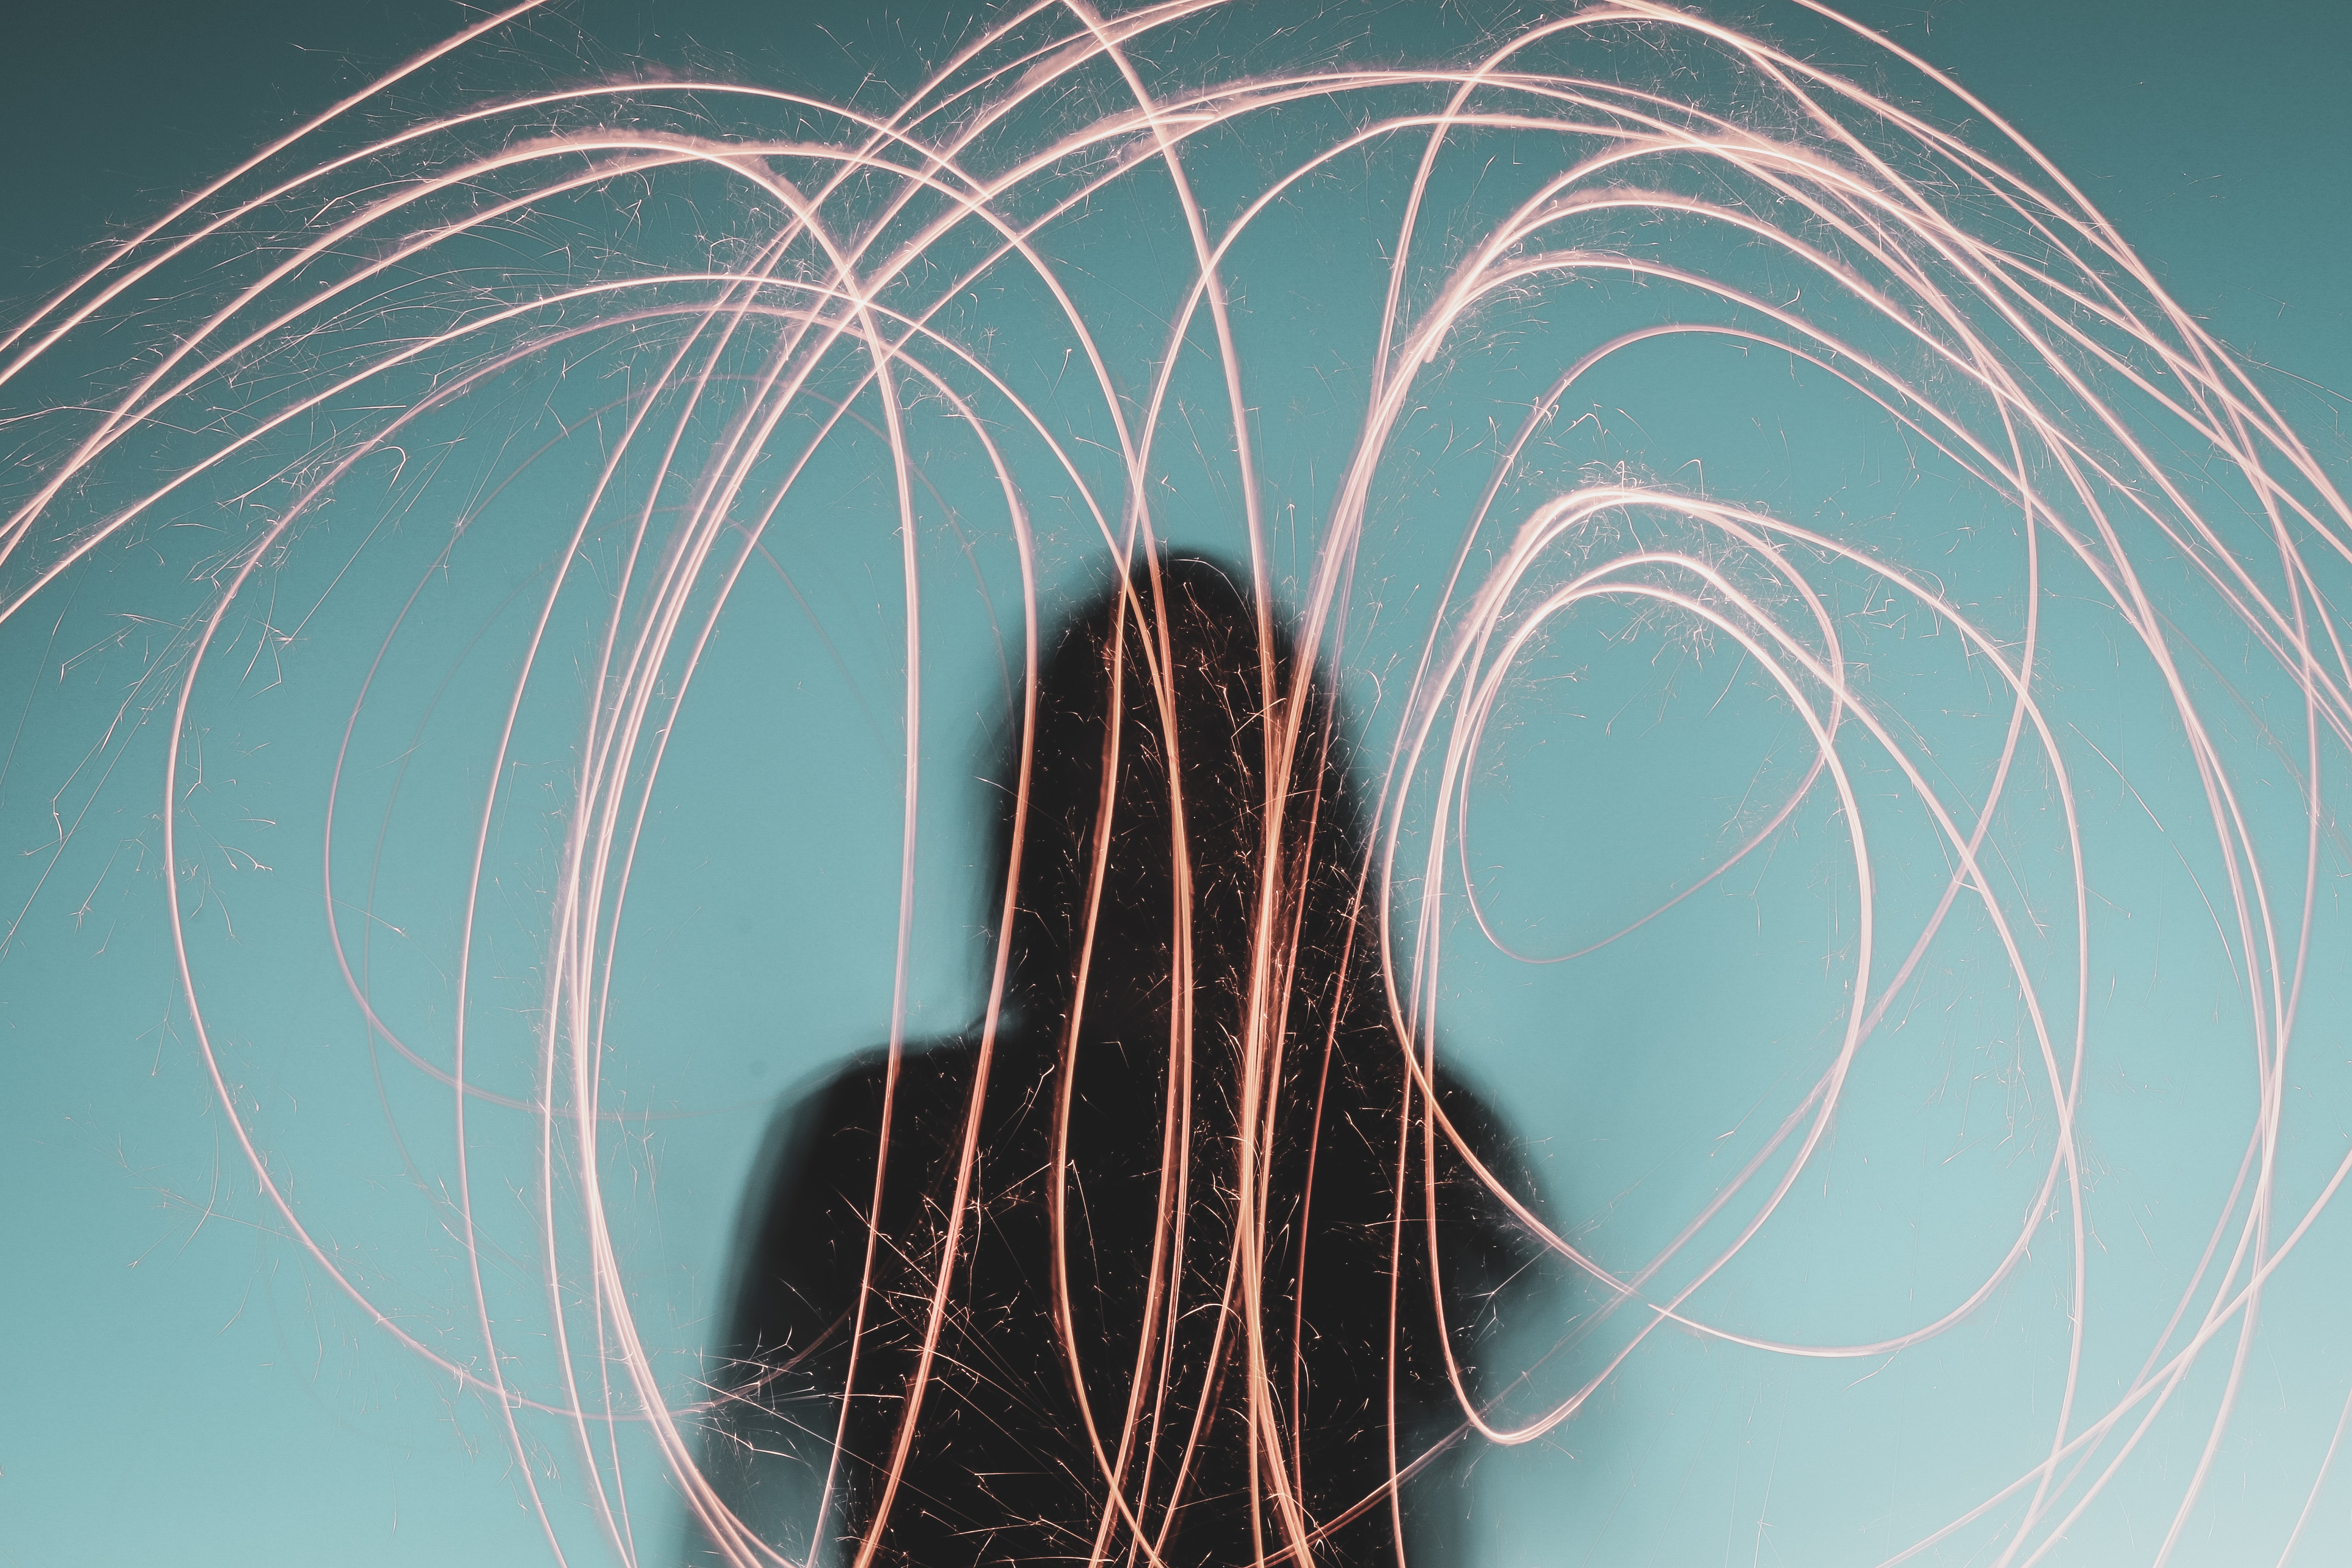
Slow shutter speeds (shutter open for a longer period of time) can also be used to “paint with light”, a practice where a subject stands completely still while another person moves around with a lit object like a sparkler to create patterns of light trails.

In this image, the photographer has used a low ISO to produce a clean photograph that has no noise.
Finally, this photographer has shot at a high ISO to not only illuminate his subject in a very dark environment, but also to add digital noise to his image for a grainy, retro effect.
For a thorough demonstration for how the three settings of the exposure triangle can be used together to expose your image correctly and achieve your desired creative effect, watch our video on how aperture, shutter speed and ISO work in conjunction.
PICKING THE RIGHT GEAR FOR THE JOB
Now that you have a better understanding of how cameras actually work and the technical and creative tools at your disposal, we are pretty sure that you get why a smartphone or compact camera often will struggle to deliver the results you are looking for. If you would like to take your photography seriously, it is really important to pick not only the right camera but the right set of lenses for your chosen field of photography. As we start wrapping up, let’s go through some of our recommendations for the best cameras and lenses for a couple of popular photographic genres.
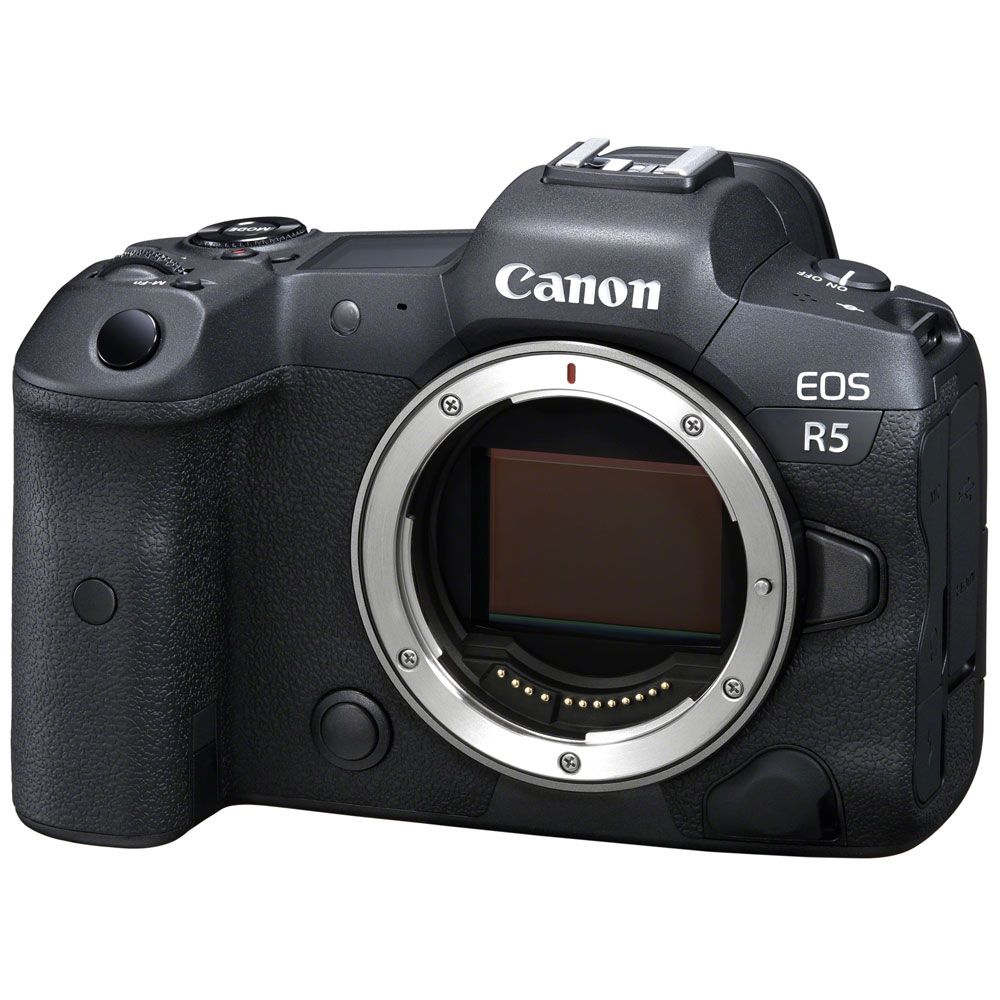
The Canon R5 is a high powered machine that is perfect for shooting birds, wildlife or action-packed events.
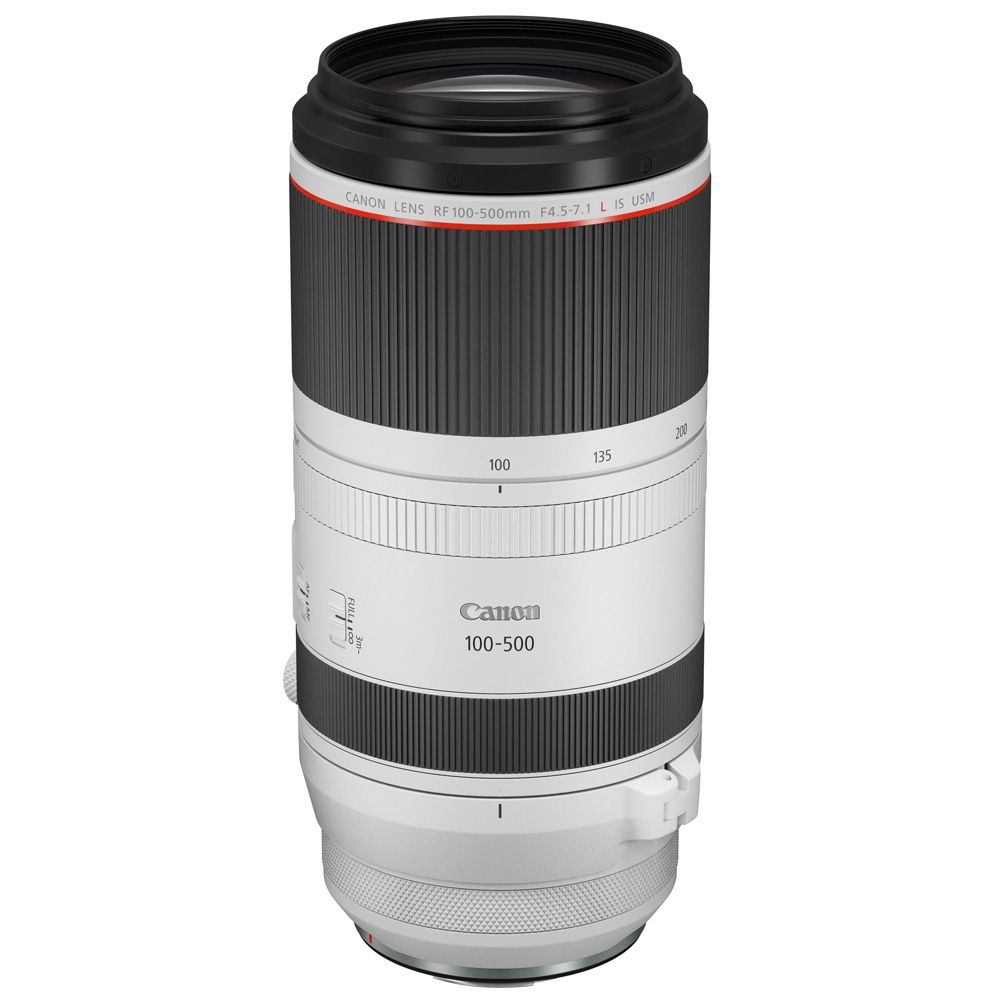
The R5 pairs perfectly with Canon’s RF 100-500mm f/4.5-7.1 L IS USM lens.
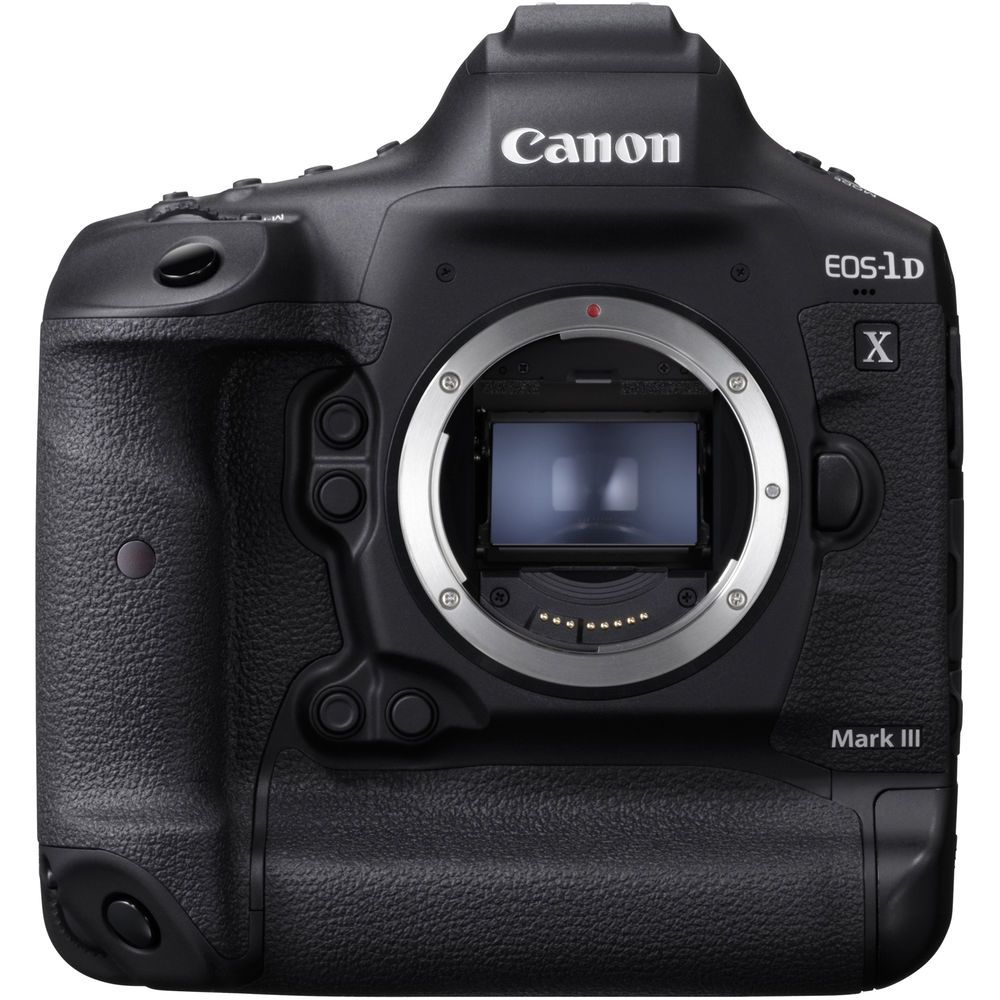
For those who prefer a more DSLR shooting experience for wildlife or sports, the Canon 1D X Mark III is the industry leader in that field.
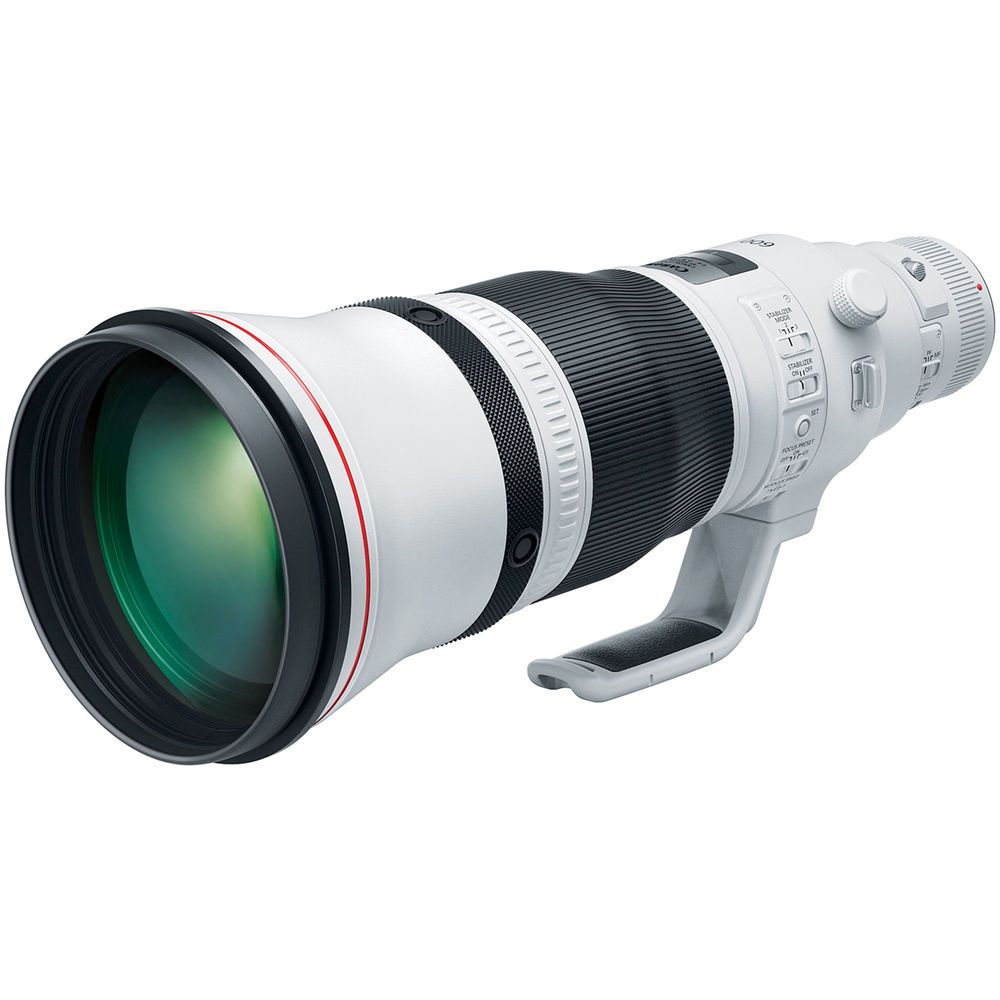
If you want to step it up a level, combine the 1D X III with Canon’s EF 600mm f/4 IS USM III lens.
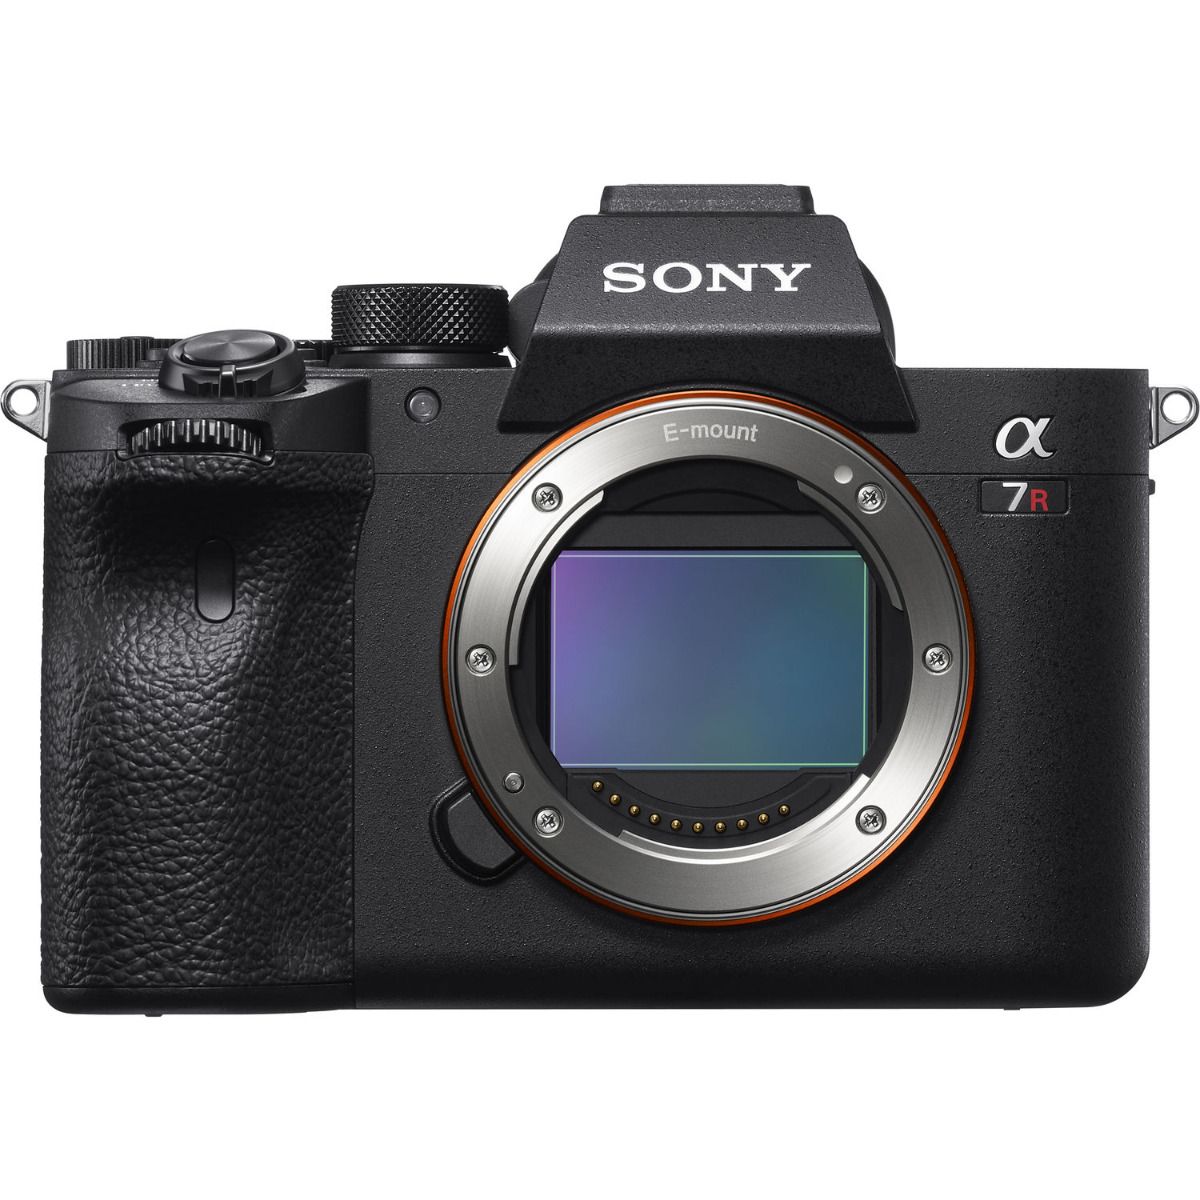
For those who would like an alternative to Canon, we can highly recommend the Sony A7R IV, a high-megapixel beast and a perfect all-round shooter.

The A7R IV pairs marvelously with the FE 100-400mm f/4.5-5.6 GM OSS Lens.
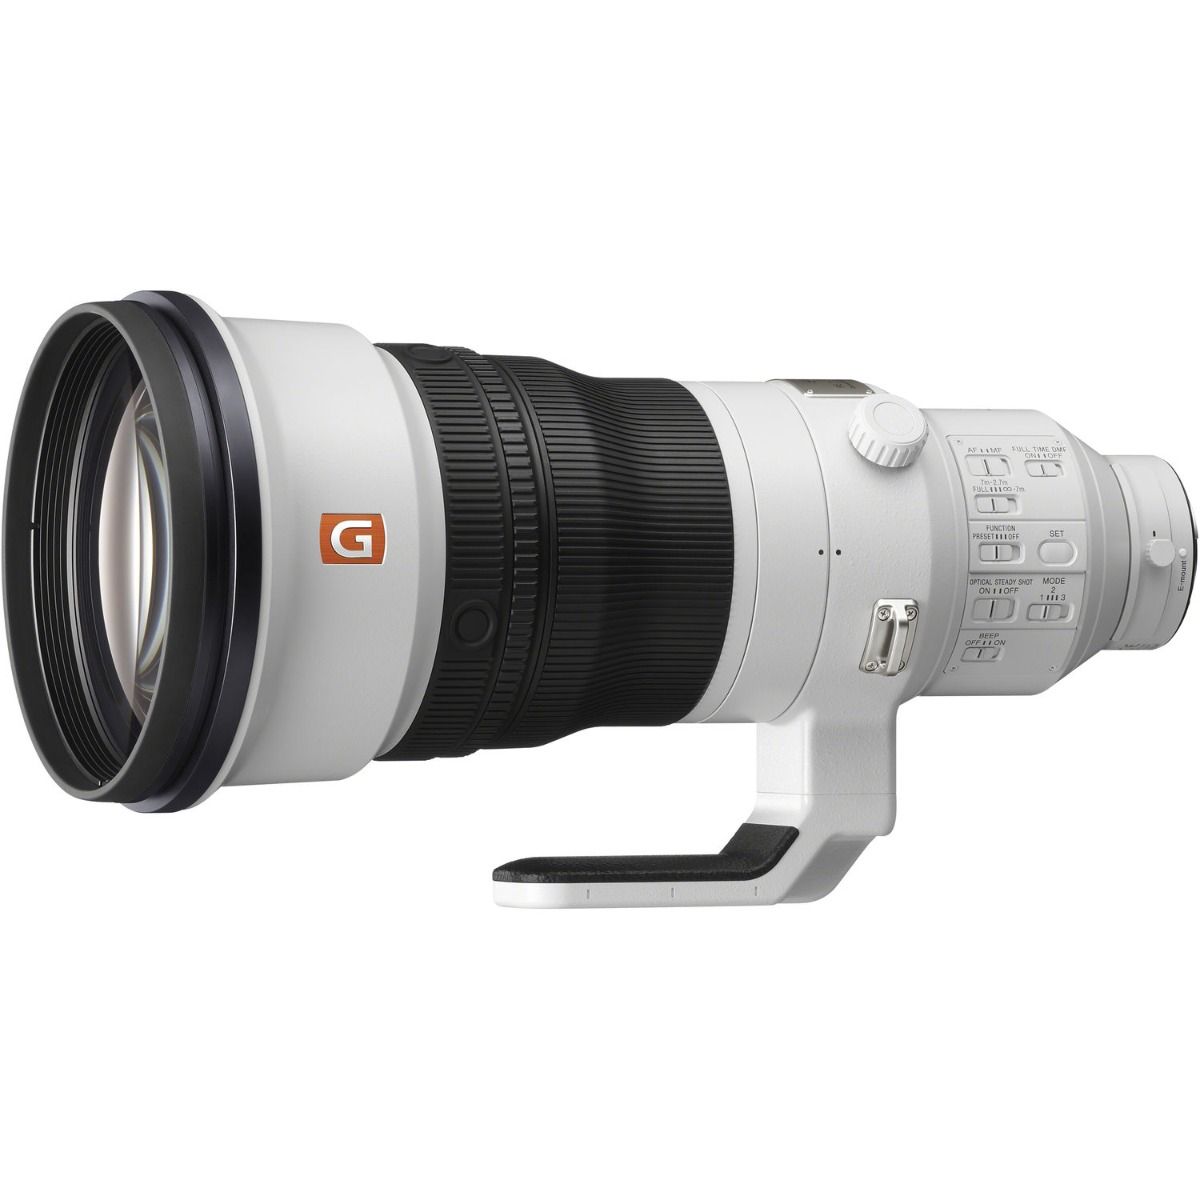
For the premium user, the Sony FE 400mm f/2.8 GM OSS Lens is top of the line glass that will elevate your shots above the rest.
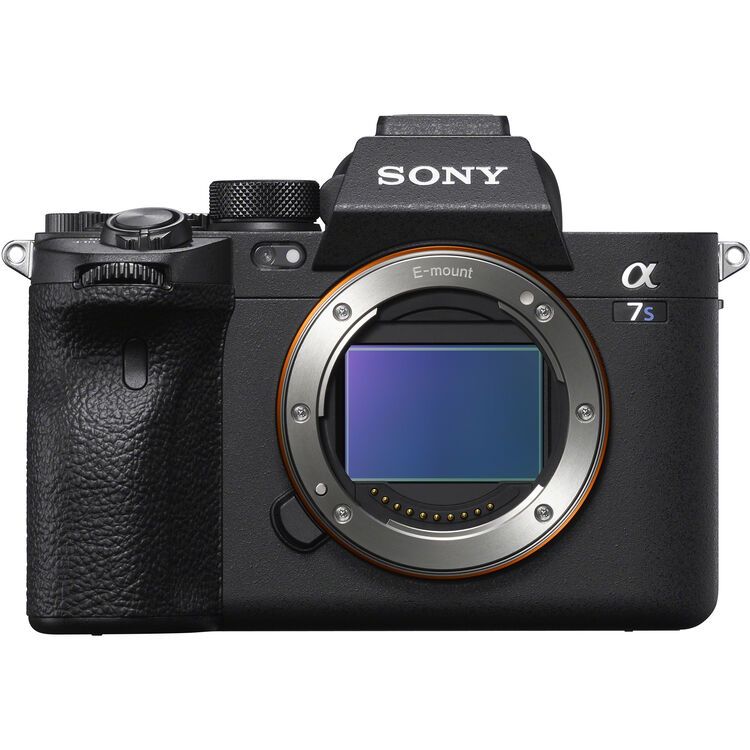
Feeling like trying your hand at some video? We can’t recommend the Sony A7S III enough.
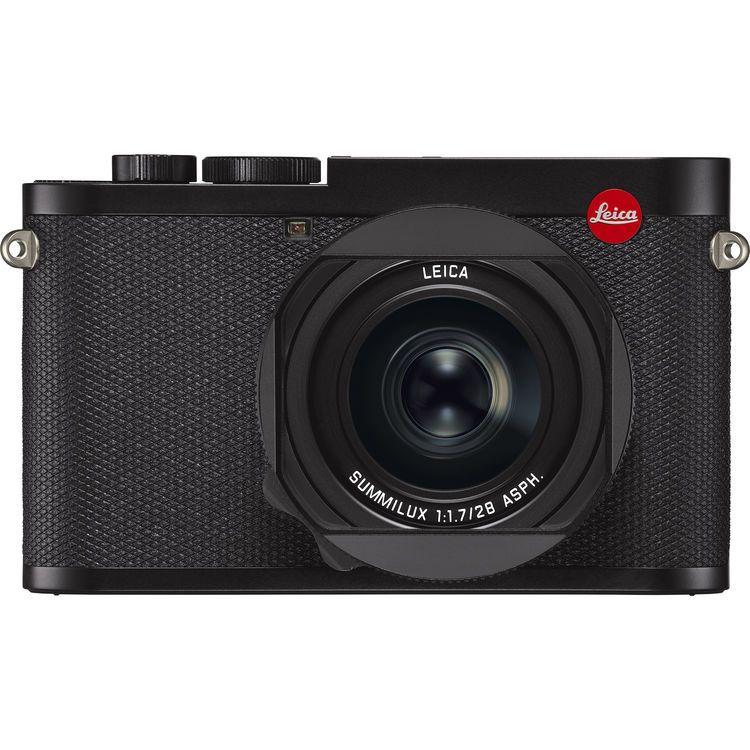
Finally, for the documentarian, the street photographer, the enthusiast of a slower pace of photography, there is the indomitable Leica Q2.


